This is an old revision of the document!
Introduction
Now that you have your Bone up and running, and Ethernet works, wouldn't it be nice to get rid of that Ethernet cable? Yeah, let's go WiFi! This tutorial is specifically for the verified WiFi adapter for Beagle Bone adapter in the Adafruit shop. It will not work with other WiFi adapters, as they all have different chipsets!

For this tutorial you will need:
Pick these parts up at the Adafruit shop!
Driver Install
You'll need to have Internet connectivity using Ethernet, and also be logged into the terminal to install the WiFi adpater's driver, so make sure to complete those tutorials first!
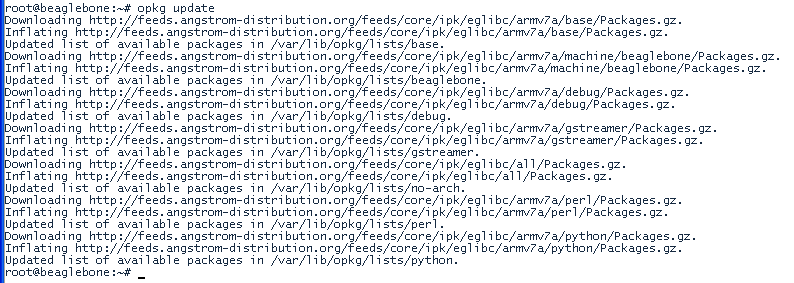
While logged in, type in opkg update and hit return, you should see the following
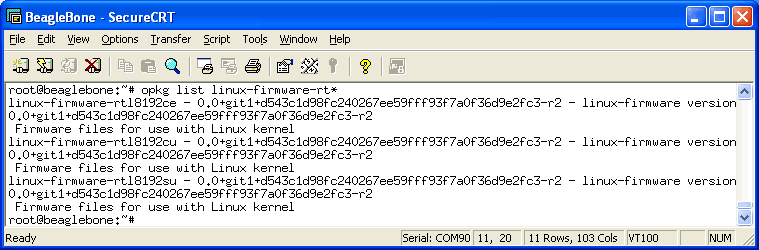
then type in opkg list linux-firmware-rt* and hit return
Finally type in opkg install linux-firmware-rtl8192cu and press return. Plug in the WiFi dongle, then type in reboot and return to reboot the machine
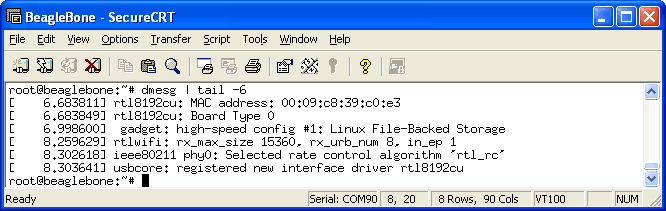
Now that its rebooted, check dmesg - you should see the following
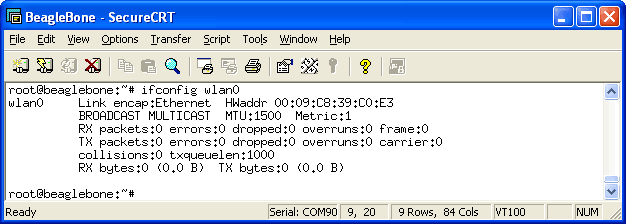
And if you type in ifconfig wlan0 there should be a link, it wont be connected yet so there's a lot of 0's and no inet addr
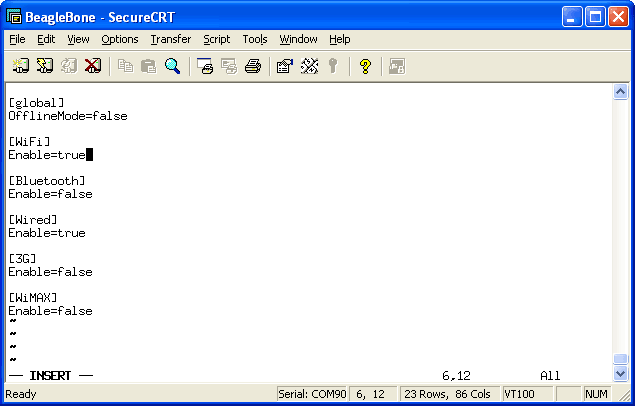
Now we can set up the connection manager to automatically manage the wifi. Edit /var/lib/connman/settings (I use vi but nano is also installed) and change WiFi from false to true, save it
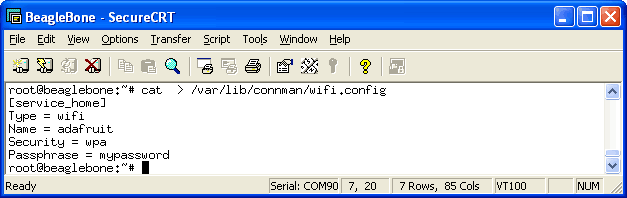
Create a file /var/lib/connman/wifi.config with your settings as shown below, starting with the [service_home] line and with a return after the Passphrase line, of course this should match your home network, not the adafruit one!
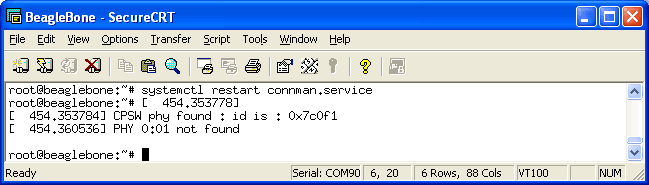
Restart connman to get it to accept the new settings:
root@beaglebone:~# systemctl restart connman.service
After less than 30 seconds or so, you should be connected:
root@beaglebone:~# ifconfig wlan0
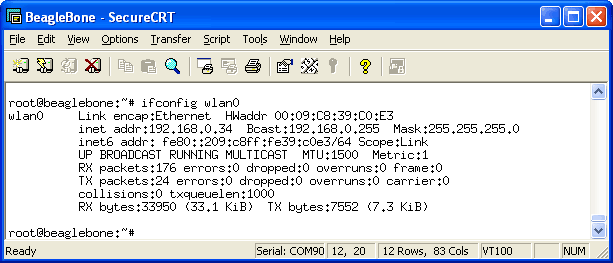
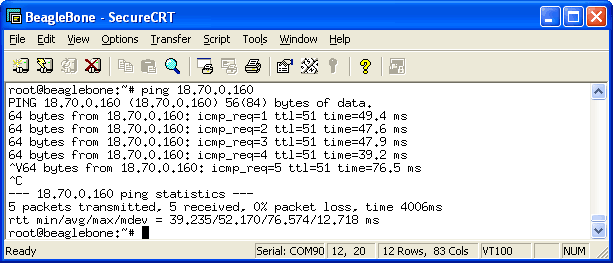
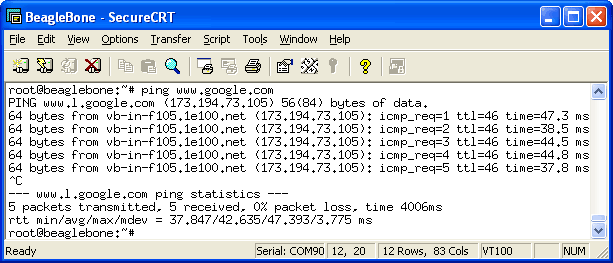
There should now be an inet addr You can then test pinging an IP address and a domain name
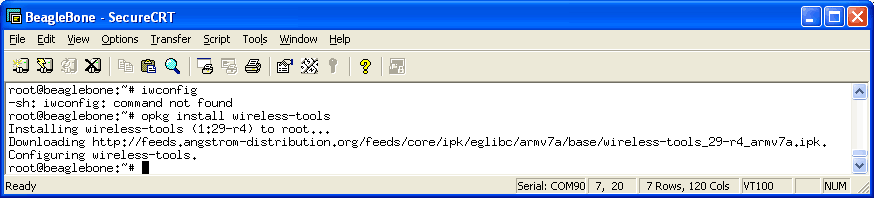
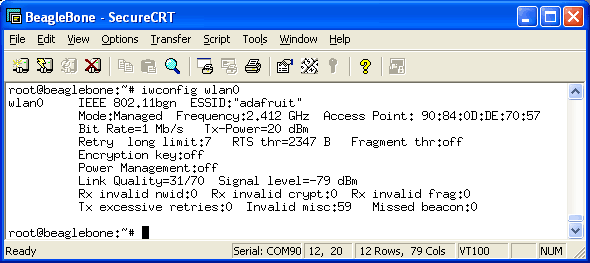
Finally, if you want more detailed information about your link you can opkg install wireless-tools to get the iwconfig command, which will give you tons of details.