|
Make Something Else Home |
OverviewHardwareFabricationDownload |
| Building |
| Overview |
|
There are two steps to building the lamp, one is soldering the circuitry, the other is building the housing. I suggest building and testing the circuitry first, then the housing. |
||
| Circuit Fabrication |
|
If you plan to build the housing out of halogen lamp tube (35mm I.D.) I would suggest getting a piece of perfboard, perforated prototyping board and cutting it into a circle that will fit inside the tube, then soldering all the parts. This requires a little bit of foresight, and attention as its hard to remeber what pin is what. 
The opamp is in the center, with the sense resistor and FET pointing down, the potentiometer has 5 wires because it has a built in switch Download the schematic from the download page. Look at it and place all the pieces before soldering anything! Place the 8-DIP opamp first, about center, then place the FET, on the perimeter so that the heat sink will press against the housing.then place all the resistors. Remember that the 0.1 ohm resistor must be precise in value and 1/2W or 1W (at least) otherwise known as a 'sense resistor.' In the pictures, the white ceramic tablet is the resistor, and the metal sheet is the heatsink for the FET. Preferably, the potentiometer and on/off switch should be in the same package. Make sure the pot is linear taper, not log/audio taper. Use solid-core wire when making jumper-wires on the board, and stranded for wires that go to the pot/switch/lamp. 
The other side of the circuit board, showing the heat sink, and the large sense resistor. Also, the lamp socket is visible in the top lefthand corner. To connect to the lamp, you can either (carefully) solder directly, or get a socket. The lamp should last a really really long time (1,000hrs at least) so there's nothing particularly wrong with connecting directly to the lamp. Just make sure you can still assemble it (read the housing assembly instructions since a ring needs to go between the board and lamp) I didn't include a fuse, but you may want to. (A proper LiIon battery is current limited anyways, which is why the whole system is current-controlled.) Use heat-shrink liberally when necessary, not electrical tape. Electrical tape doesn't hold as well. Plug in the lamp and give power to the system, verify that it works, there should be a ~150mV drop across the resistor, and a voltage that is 32 times that on pin 7 of the op amp. There should be 5V at pin 2. Turning the pot should dim/brighten the lamp. (Hopefully) |
||
| Housing and Lamp Retainer |
|
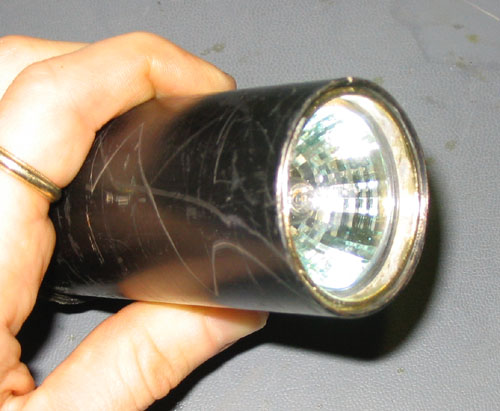
Find a thrown-out/broken torchiere halogen lamp, the kind that are 7ft tall and break all the time. This should be trivial, as they are cheaper to replace than repair. Check that the I.D is 35mm (1.4"). Cut a piece that is between 3" and 3.5" long that includes a set of threads. Also take one or two of the interconnect threaded pieces. 
Cut the interconnect so that you have two rings with three threads (or one with four and one with two). Debur/file everything. Thread one of the rings in all the way in, then place the lamp in so that the ring holds it and thread the other piece in, verify that they are the correct size. 
One of the filed rings inside the housing You can put a gasket in if you'd like, to make it more waterproof. To cap the other end, find a plastic jug cap that is 1.5" diameter. These are surprisingly common, and I got mine off of a thrown out motor oil container. Cut the threads out with a dremel or knife. Drill a hole and mount the potentiometer. Drill another hole to let the two battery connect wires through.
|
||

| Final Assembly |
|
To assemble, push the circuit board in, using the heat sink to hold the board in place (the heat sink presses against the sides of the housing).
Push the cap onto the end of the housing.
Then thread the inner ring, plug the lamp into the socket (or solder it in)
Then thread on the last ring.
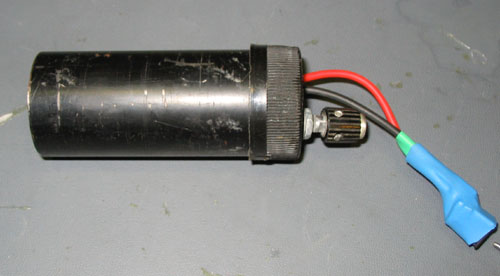
If you don't think you'll open it again, you might want to put a drop of threadlock or superglue, to keep it from unscrewing. Ducttape the cap, and hotglue/epoxy the hole where the battery wires emerge.
I soldered on a DC jack onto the end and shrink wrapped it all. |
||


| Battery and Plug |
| If you are using a Sony Infolithium or generic camcorder battery, you can plug into them using mini banana plugs, available from DigiKey. Then solder to a DC 2.1mm or 2.5mm plug that fits with the jack connected to the light. I would suggest a 2-4Ah battery. A 5W bulb sucks down about an amp, a 10W bulb, 2 amps. So multiply that by the number of hours of light you want, and buy that size battery. On EBay, one can find a NP-F550 size generic (2Ah) for $20 and the NP-F750 (3.5Ah) for $40. There's also the monster NP-F950 (5Ah) for $60. One of them will probably suit you, they are not a bad deal. However, most of the 'inexpensive' rechargers are rip offs and will ruin your batteries. (I'll post an easy-to-build li-ion charger soon...) | ||
| Mounting To Your Bike |
|
Umm, no real plan here, I used two hose clamps to attach it to the handlebars, then found a cellphone bag, stashed the battery in it and threaded it onto one of the hoseclamps I used for the light. It really depends on your bike, |
||