Table of Contents
Introduction
If you want to make a lot of PCBs using SMT technique, its key to use reflowing instead of soldering - so that the entire board is 'soldered' at once. But to do that you'll need to deposit paste precisely on the pads. For starting out, you can use a DIY stencil such as a laser cut kapton/mylar sheet (low cost) or depositing the paste by hand using a syringe.
However, if you ever decide to make a few hundred boards especially those with very fine pitch type parts (say 0.4 or 0.5mm pitch) it may be time to move to a framed stencil!
Framed v. Unframed
The1 key benefit of framed stencils is that they are 'pre-stretched'. Especially with large PCB panels, having the stencil-board-alignment off by even a mm can cause bridges or opens. With DIY stencils, alignment is a pain and takes care by the operator for each pass.
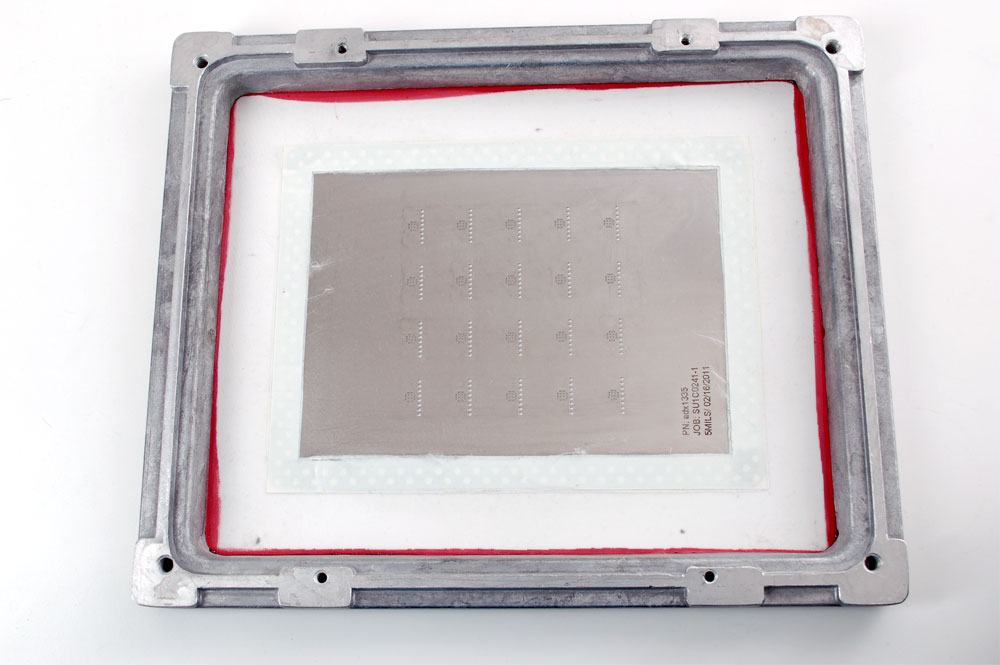
With a framed stencil, the thin stainless steel sheet is laser cut and then stretched into a solid cast aluminum frame. Its less likely to have misalignment because the sheet cant slide around
If you have the right equipment you can use unframed metal stencils and stretch them into a frame yourself, but unless you're a board fab house its unlikely that this is cost effective.
In a machine
Framed stencils are used in a 'screenprinting' PCB stencil machine (we'll have another tutorial about this one). The frame is bolted in place onto a hinge so you can move the stencil up (to replace the PCB) and down (to stencil)
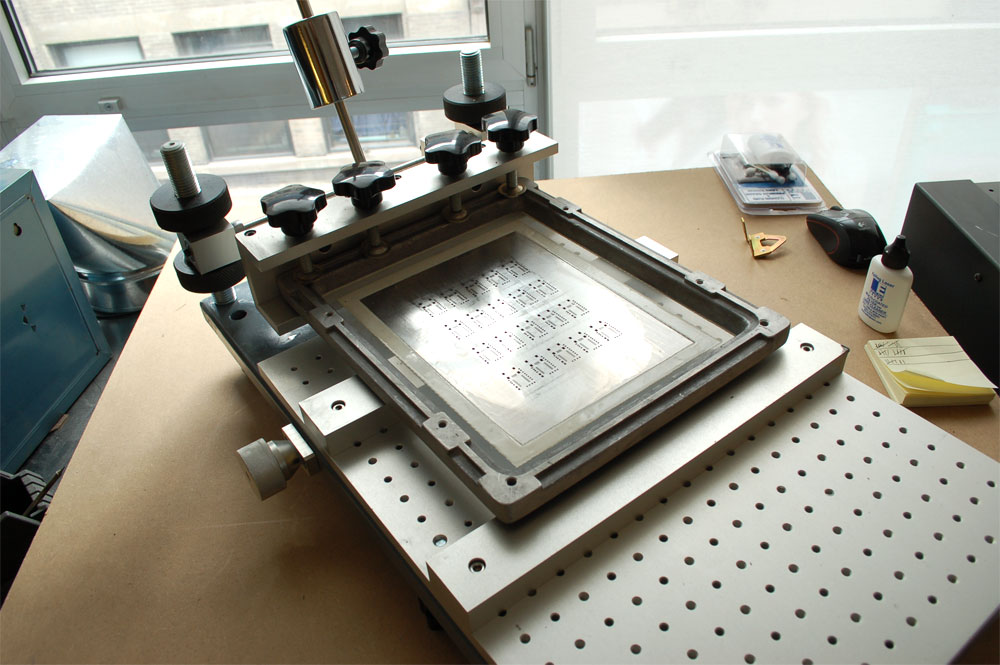
Since the stencil is stretched and flat, as long as it is bolted into the stenciller solidly, you will have minimal adjustment from one PCB to the next. This is what makes it ideal for multi-PCB runs. We do 10-50 PCB panels (of up to 20 pieces per panel) at a time with about 5 seconds between screenprints.
Where to get made
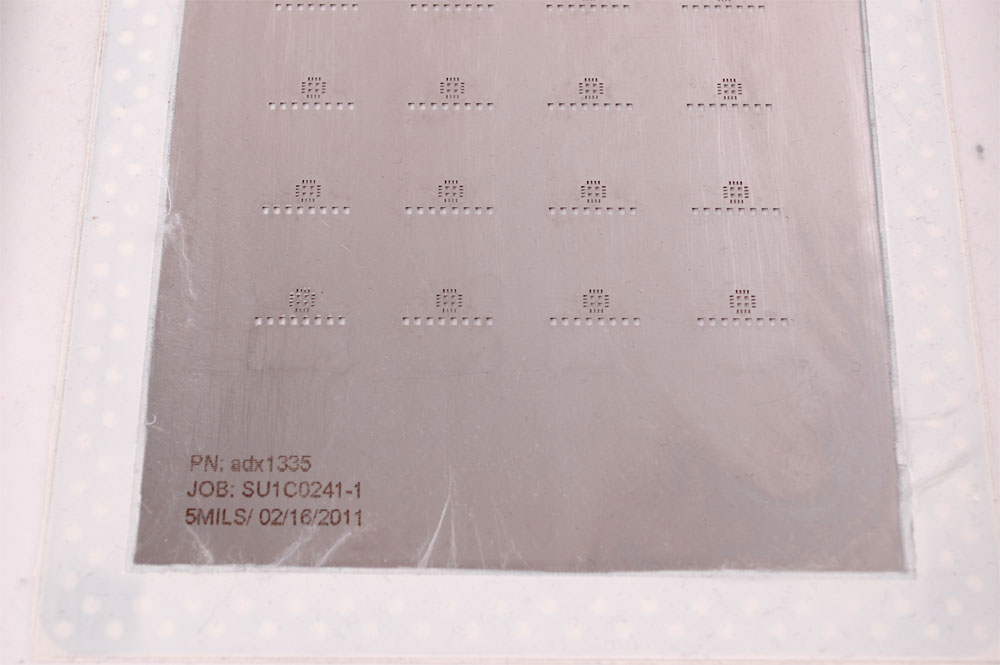
We get our framed stencils made by stencils unlimited. Its pretty easy to make a stencil, just export the Cream Top (or Bottom) layer from your PCB layout software and upload it during your order. They will calculate the best stencil thickness (you want a thicker stencil for large-pitch parts and thinner for fine pitch so an average is taken)* and ship it the next day.
If you have a board fab house with stencil-making capabilities, you can also ask them to make you the stencil. Don't forget to have a tiled Cream gerber if you are having panels made - so if your design is tiled get them to tile the GBC file for you!
* IPC 7525 has a long detailed document on calculating stencil thickness. It should be approximately 2.64 + 0.0831 * pitch-of-component then averaged.
