Table of Contents
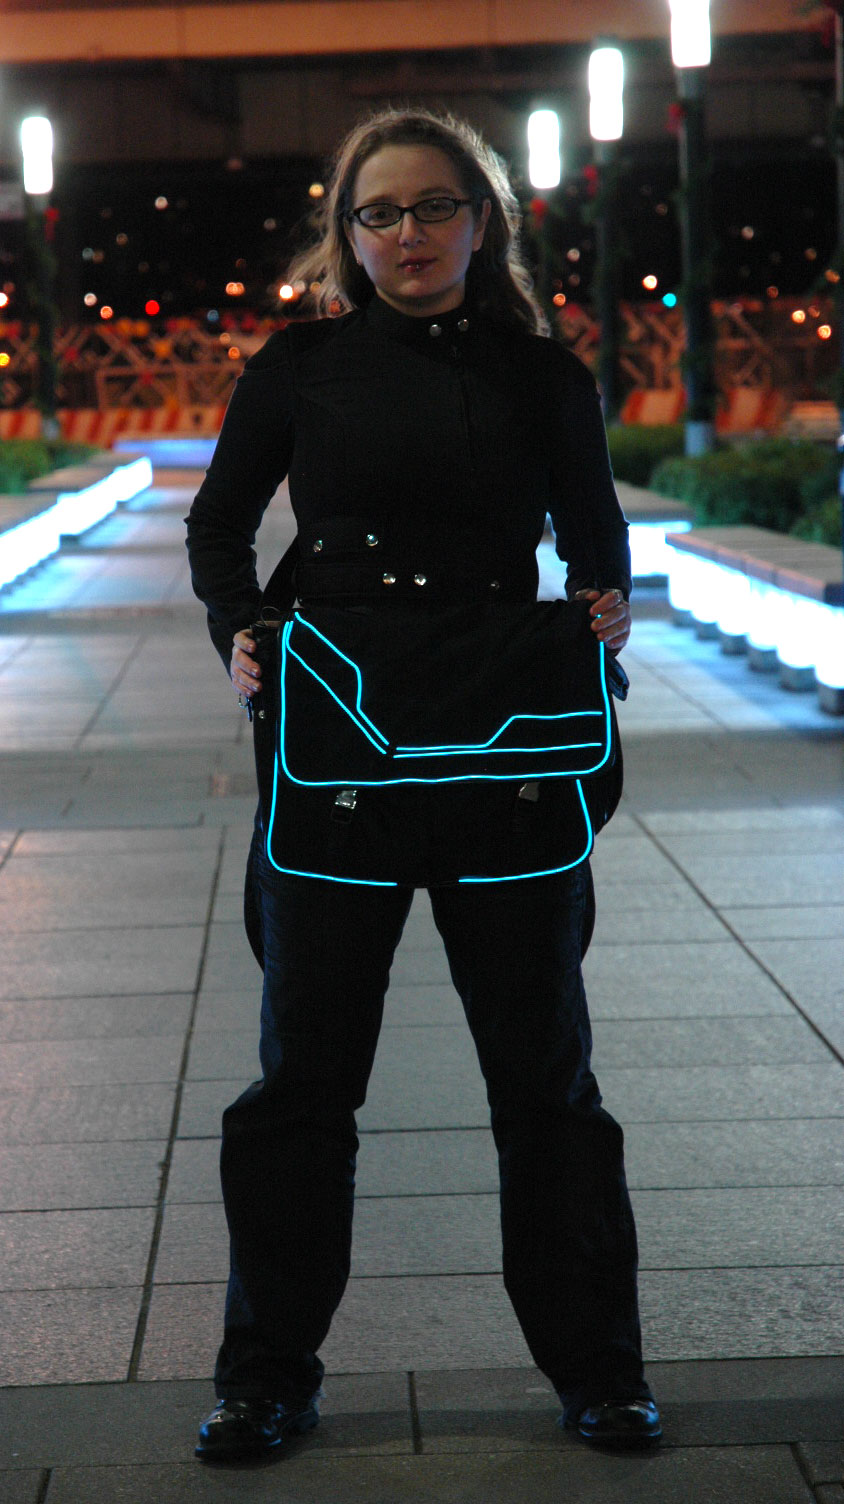
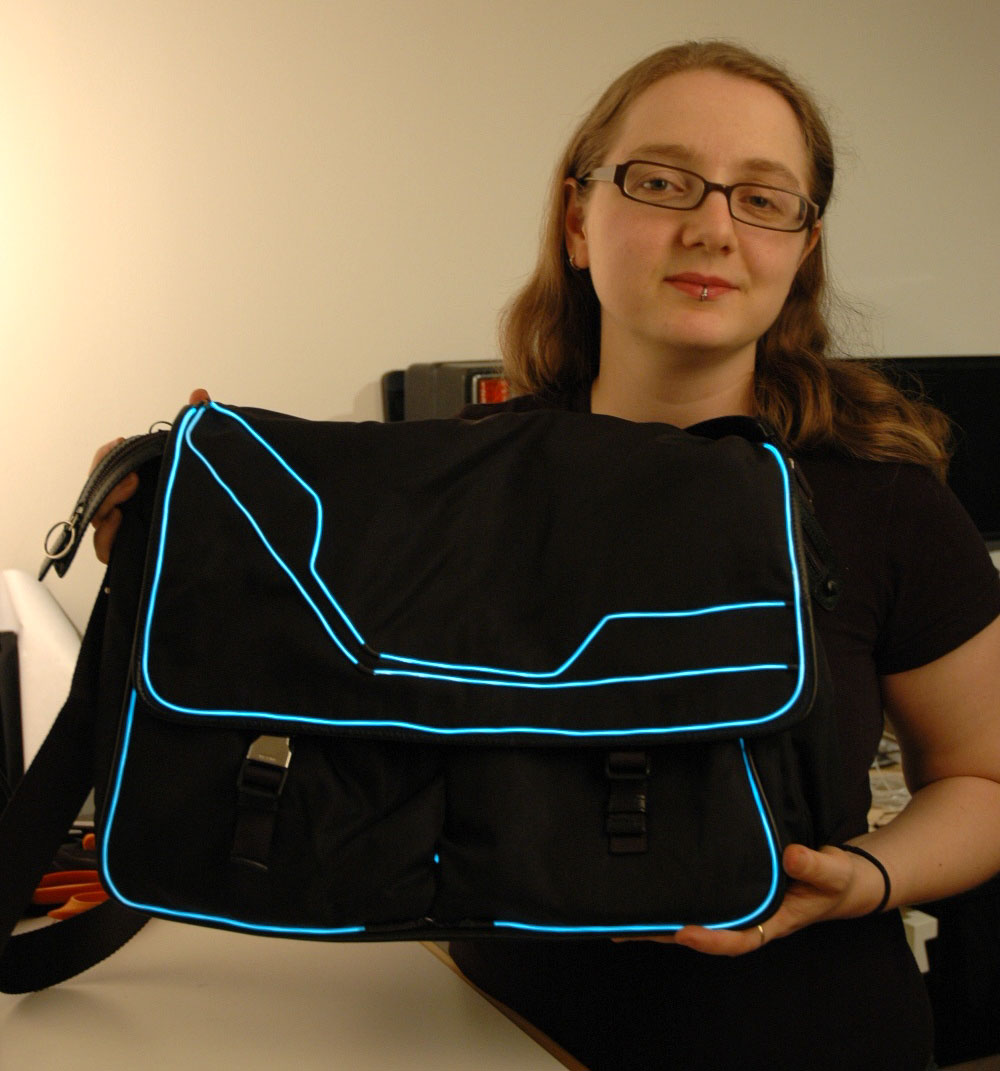
Tote your Thinkpad and port your Apple in style with our custom TRON-inspired laptop bag tutorial. With a little soldering and sewing skills you can have your own light up satchel, sure to impress geeky friends. So grab your sewing needle and soldering iron and follow along
This project was a collaboration between ladyada & becky stern, rock!
Tools
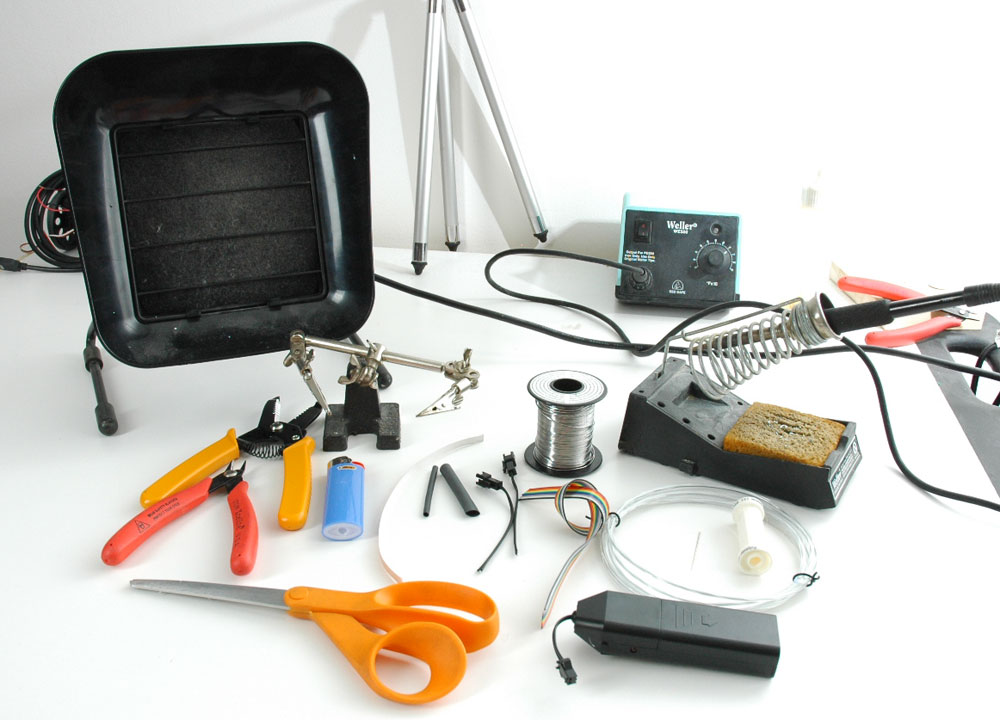
Stuff you'll need!
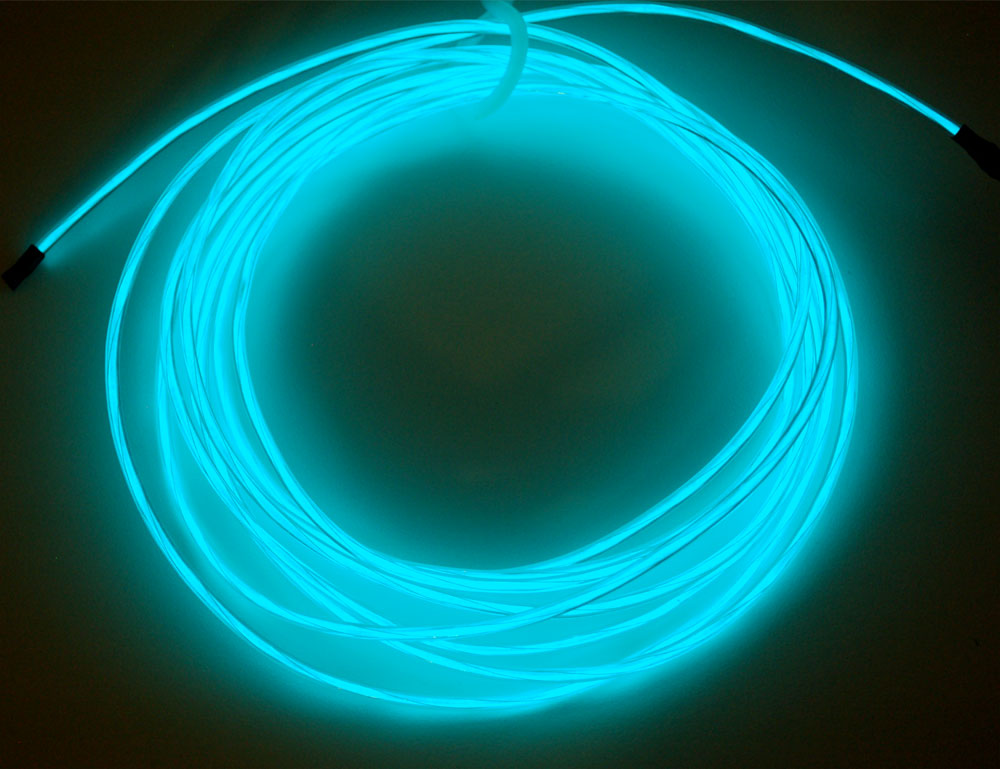
- EL (electro luminescent) wire - you can get this stuff online or sometimes in auto shops (its used for decoration). We suggest getting Aqua 2.3-2.6mm diameter which will appear white and is the brightest kind of EL
- EL Inverter - we really dig the 2 x AA inverters, they're easy to use and power and can run a few meters. You'll also need 2 AA batteries of course.
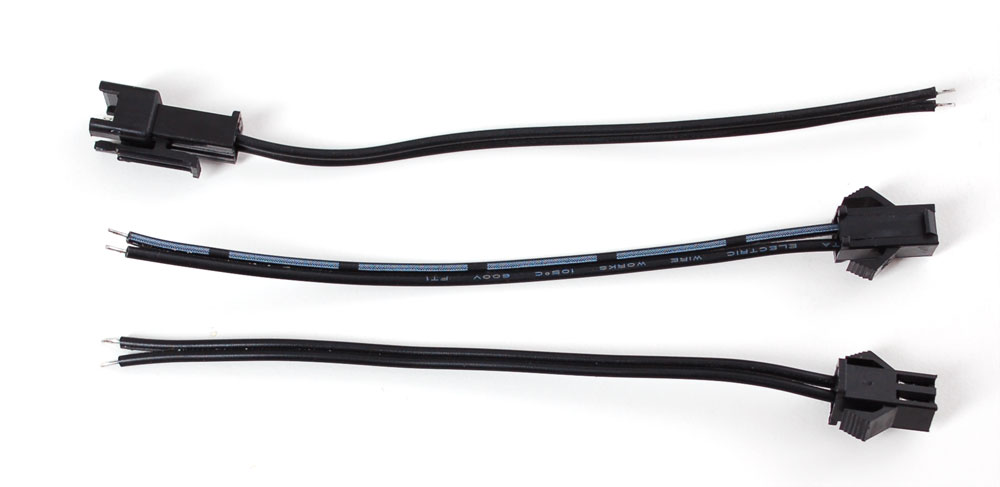
- Connectors for the Inverter - usually sold next to the inverter.
- Soldering iron and Solder - to attach the EL wire. Available in any electronics shop, hardware store, or radio shack, etc.
- Copper tape - you can get this at craft stores in the glassworking area
- Wire strippers with a 18 or 20 AWG notch to strip the EL wire. Available in any electronics shop, hardware store, or radio shack, etc.
- Wire cutters - For cutting the copper tape and EL wire. Available in any electronics shop, hardware store, or radio shack, etc.
- Heat shrink - in 1/4" and 1/8" diameter, to protect the EL wire. Available in any electronics shop, hardware store, or radio shack, etc.
- Ribbon or other thin stranded wire - for extending the inverter, as necessary.Available in any electronics shop, hardware store, or radio shack, etc.
- Lighter / Heat gun / Hair drier - to shrink the heatshrink.
- Scissors - for cutting thread.
- "Invisible" thread - made of nylon this stuff is strong, waterproof and clear! All sewing and craft stores will have this
- Heavy needle - make sure its large enough to thread the invisible thread, but thin and sharp enough that you can pass it through the fabric of the bag. All sewing and craft stores will have this
Design
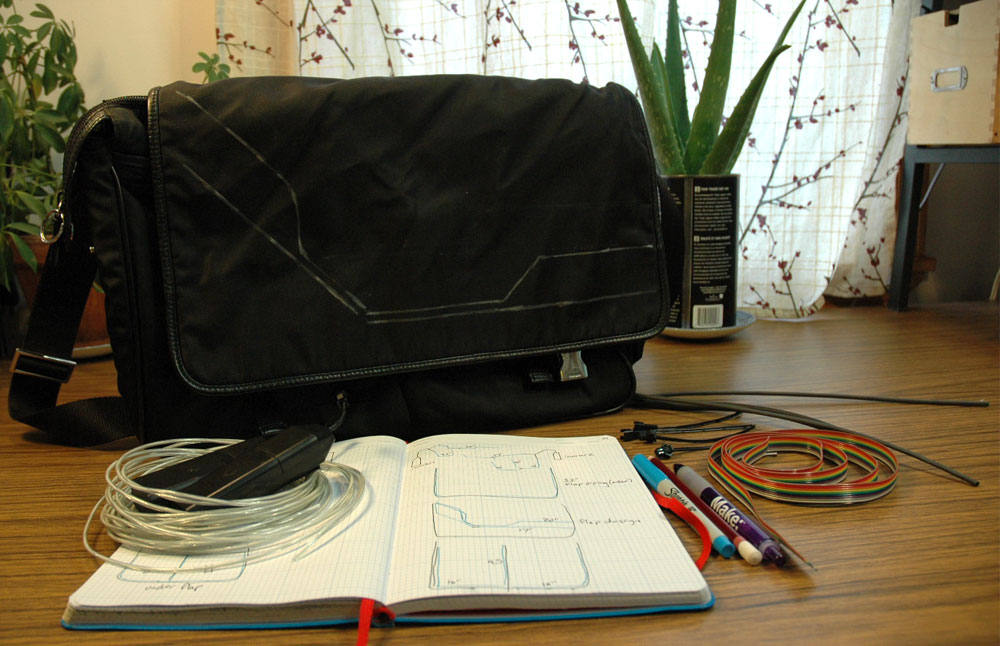
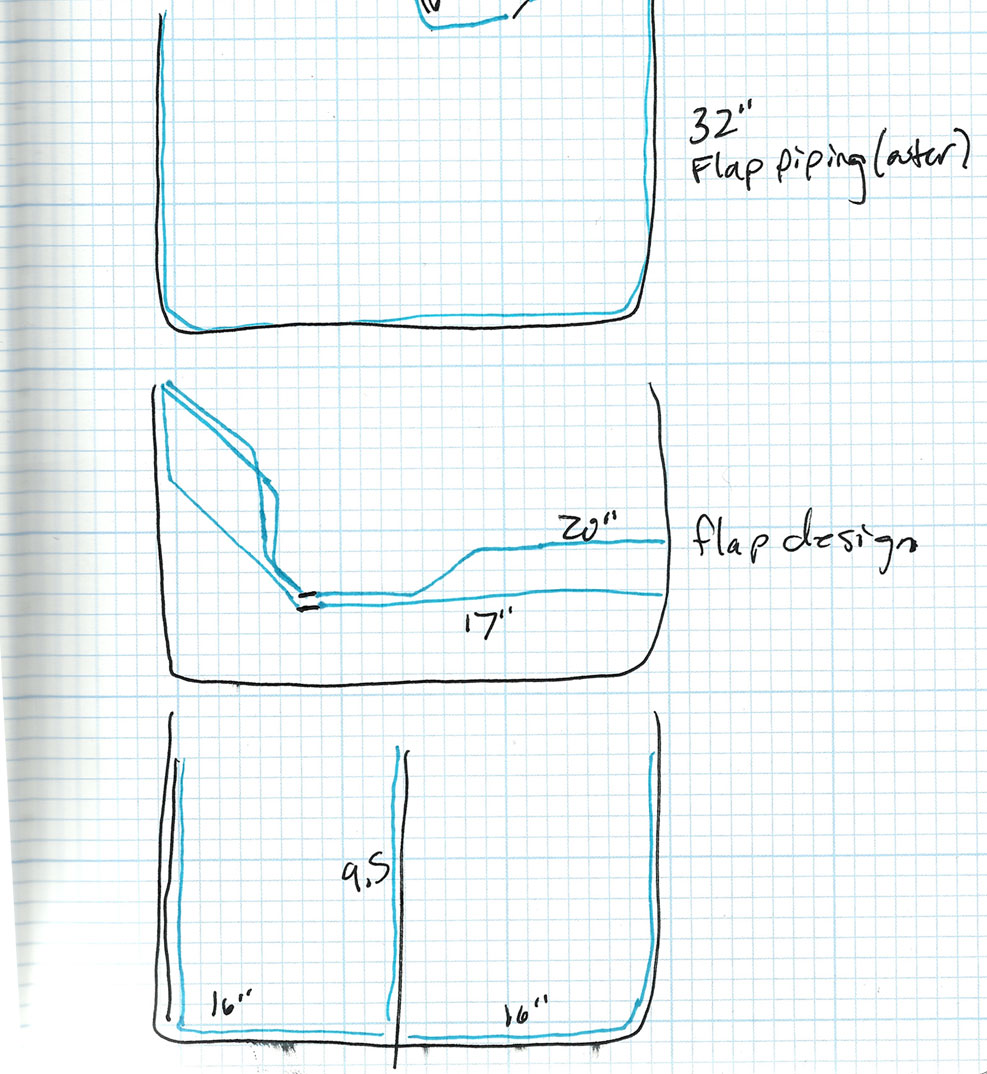
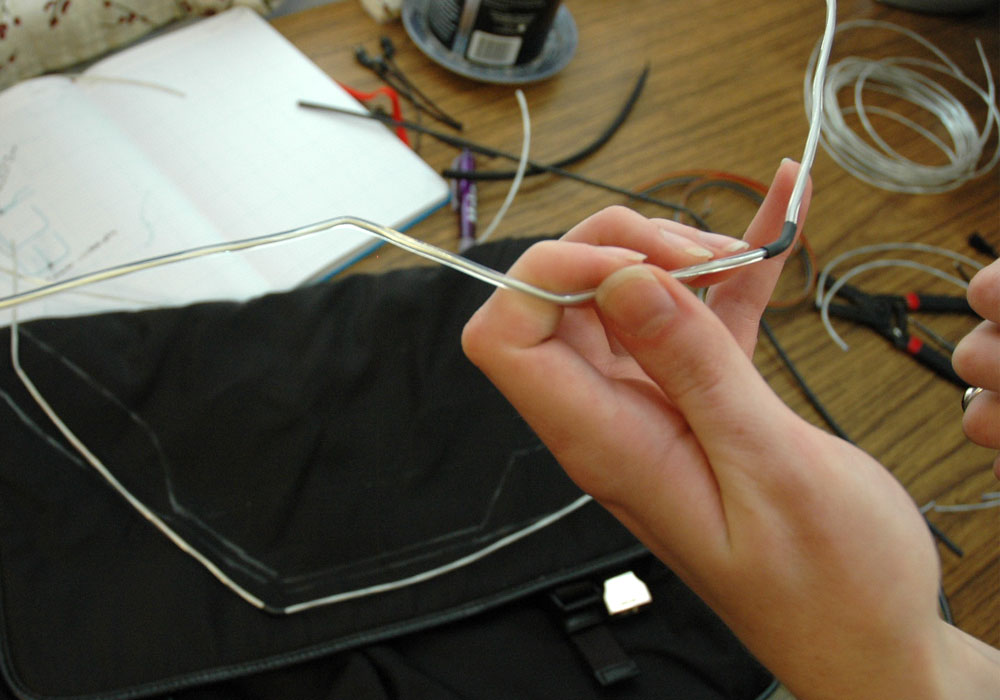
The first step is to plan out your design. We did this on some graph paper. EL wire is stiff and holds its shape but can't be bent many times or it will break (like any stiff wire). For that reason, you'll want to try to try and keep the wires on large flat surfaces or going around edges that don't flex.
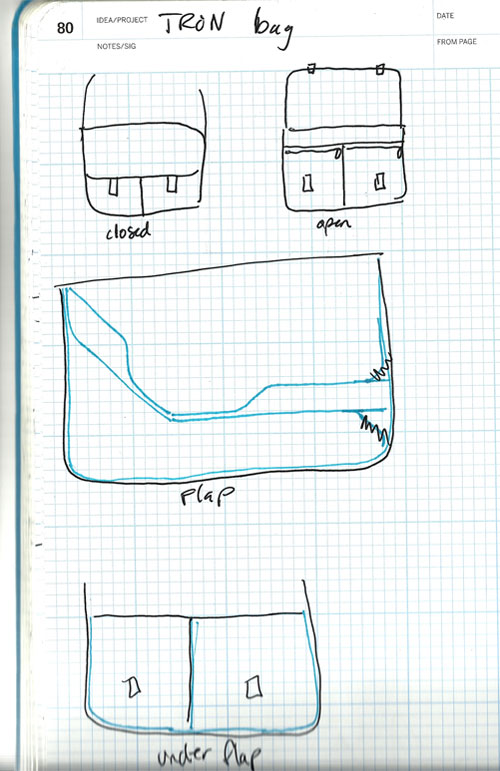
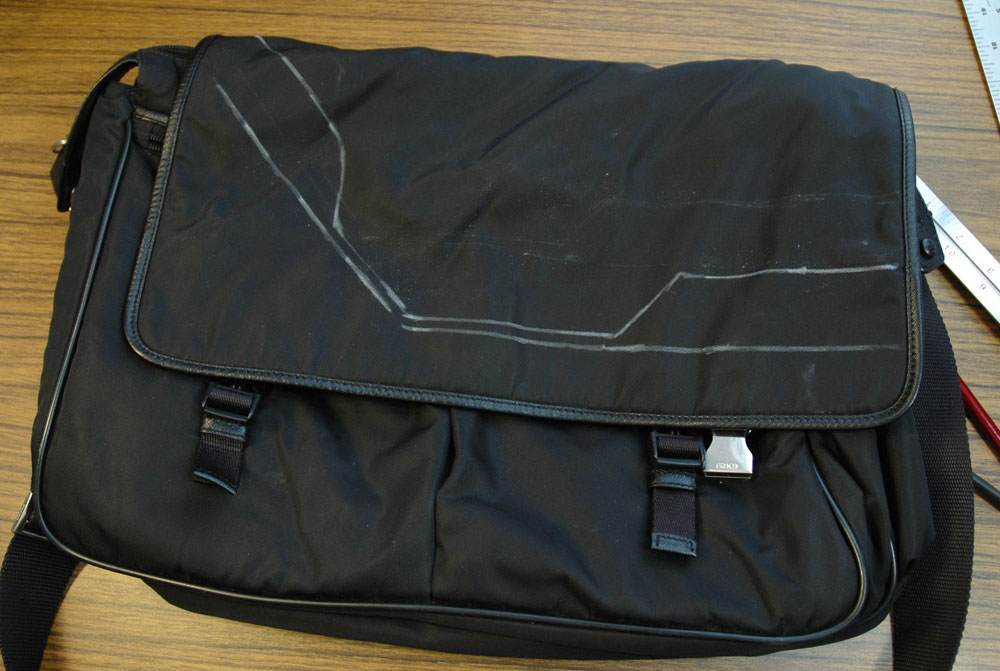
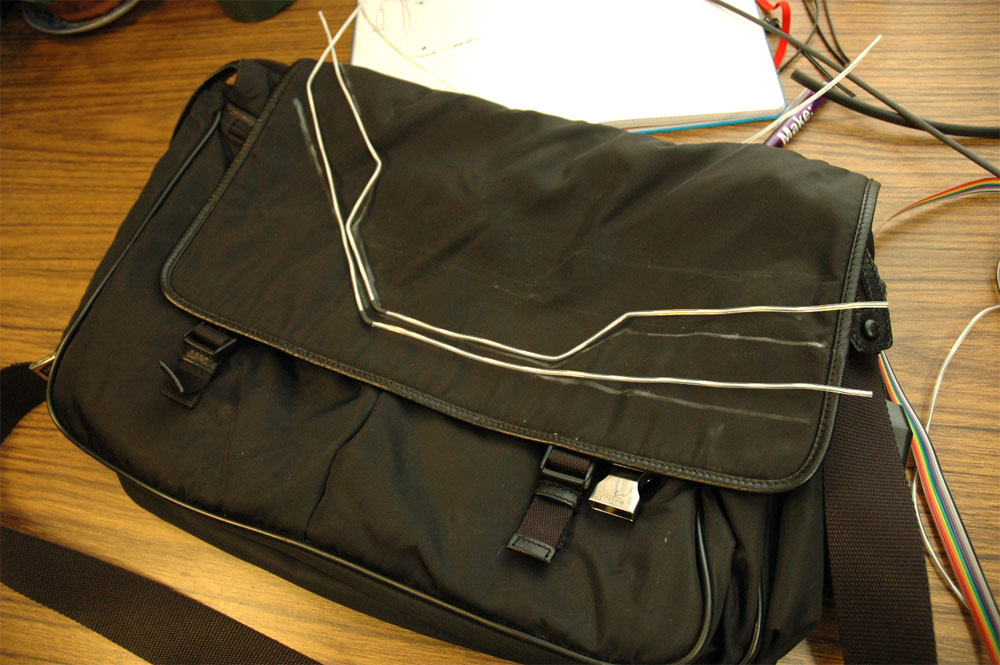
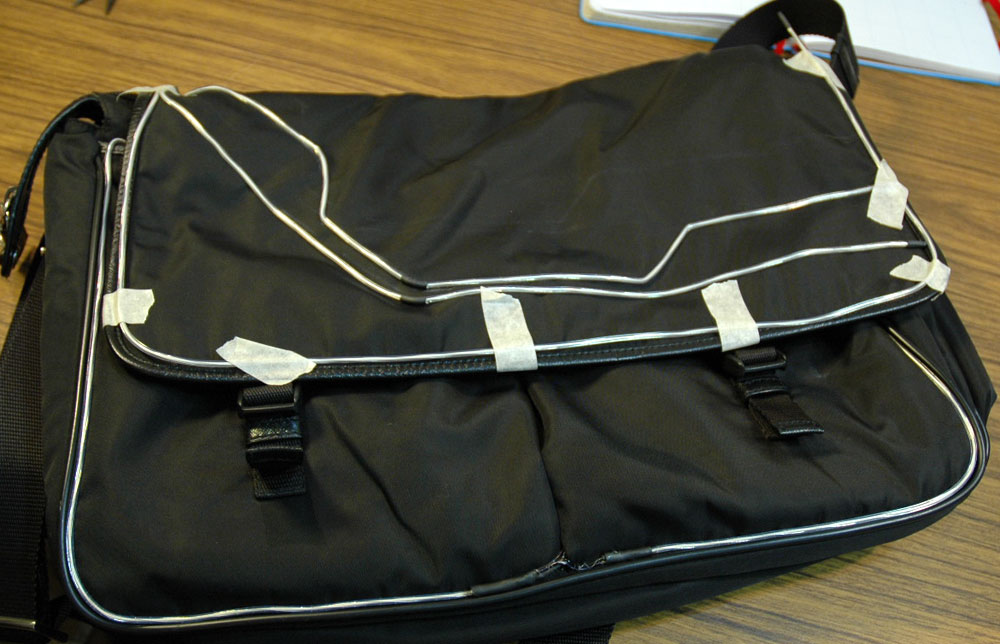
The nice thing about most laptop bags is that they have a flap and pockets with strong piping and corners to protect the computer, we'll take advantage of that! We're going to put a design on the large front flap, we'll start by chalking it out
Think about how you want the EL wire to travel around the bag. EL is hard to solder to, and harder to 'split' so keeping it simple is key! You'll want to have all the ends terminate near a pocket that will hold the inverter.
Since the pocket AA inverters can only drive 2 or 3 meters or wire maximum, its smart to keep the design short and sweet. Keep track of how long the final wire will be, add up all the segments and keep the number under 2.5m for the best look. You can also of course use a larger inverter or two inverters!
A half hour of planning now will make eveything easier later!
EL wire soldering
Now that you have your pattern, its time to start working with the EL wire. If you've used EL before, it might be easier for you to cut EL pieces to match the traced out pattern
Important Note!
We're EL wire experts, but if you're still not really good with EL or if you're just starting out, don't cut any pieces yet! Instead, solder up one EL wire at a time and then lay it out and cut the ends. This is because it can take a few tries to solder to EL and every time you make a mistake you'll have to cut another 1 cm off and start over
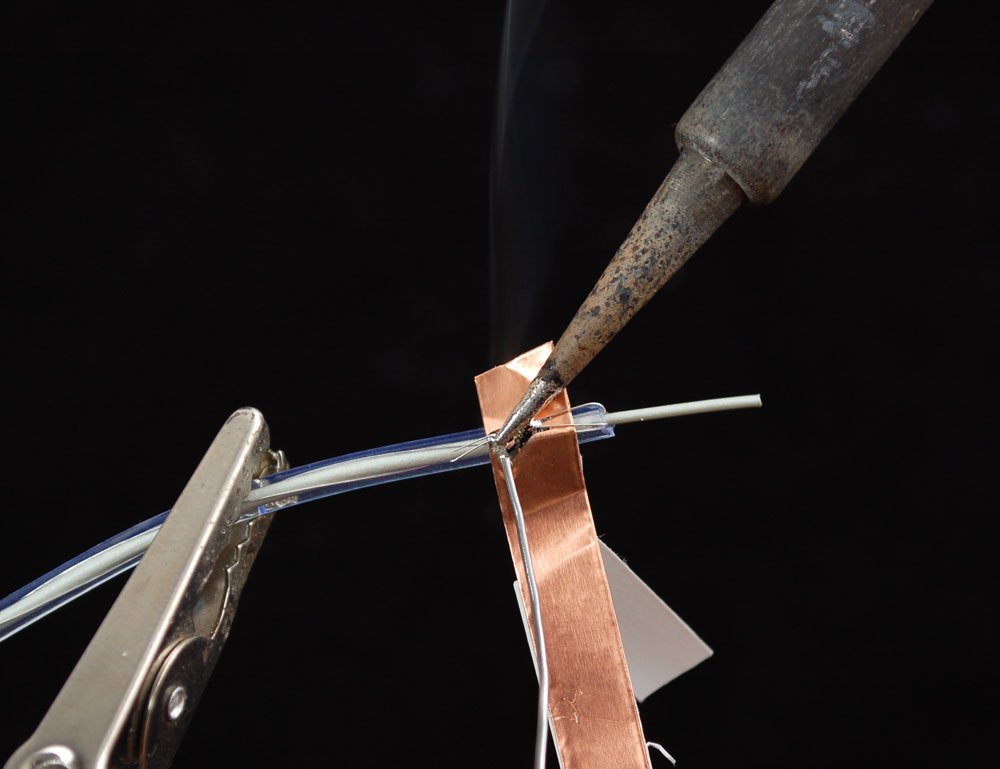
Once you've soldered your connector on, attach it to the inverter and test it, make sure the EL is glowing
Now disconnect the wire from the inverter - never cut EL wire while its lit!
And don't cut it yet, we'll do that in a later step!
Sewing
Now we'll start sewing the EL onto the bag. We suggest using 'invisible' thread - also known as nylon thread, its strong and clear so that it wont distract from your EL.
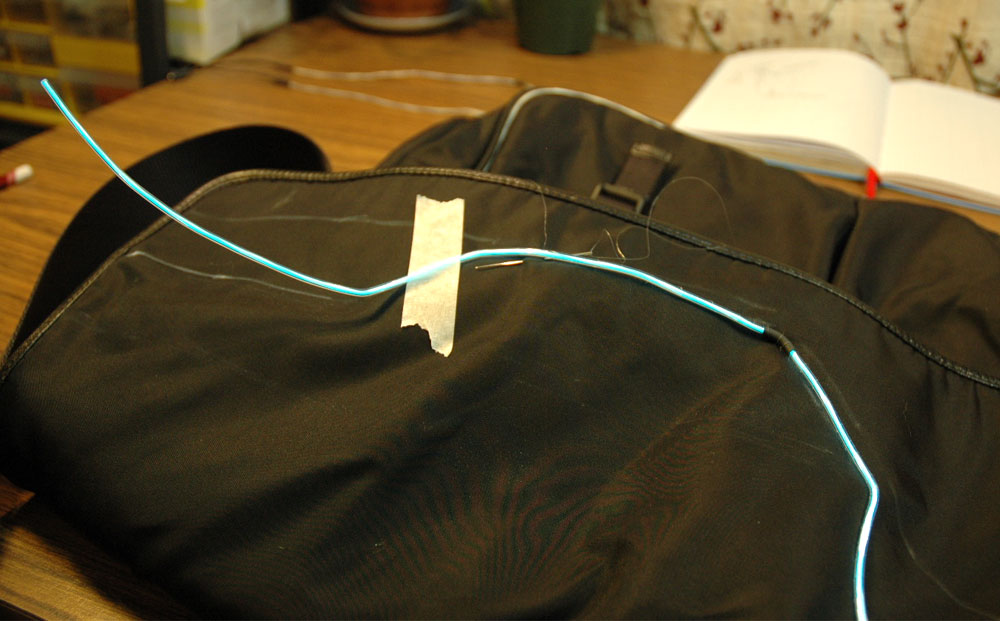
Place the inverter connected to the EL in the pocket you think is best, this will let you best judge how much wire you need - be sure to try opening and closing the bag so you don't make any mistakes. Its easy to cut EL wire down but impossible to make it longer so measure twice and cut once!
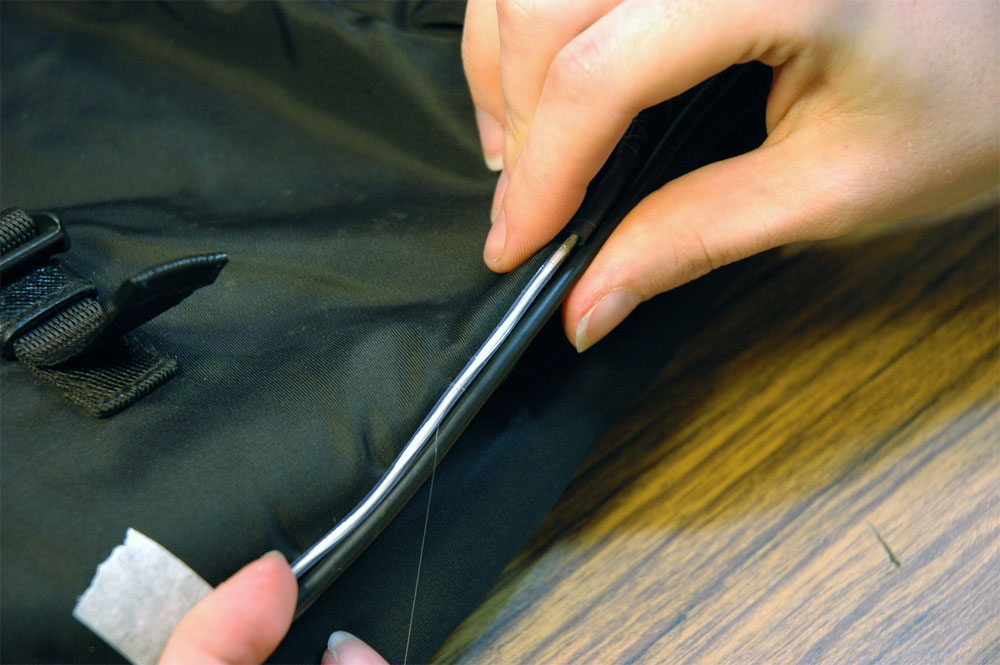
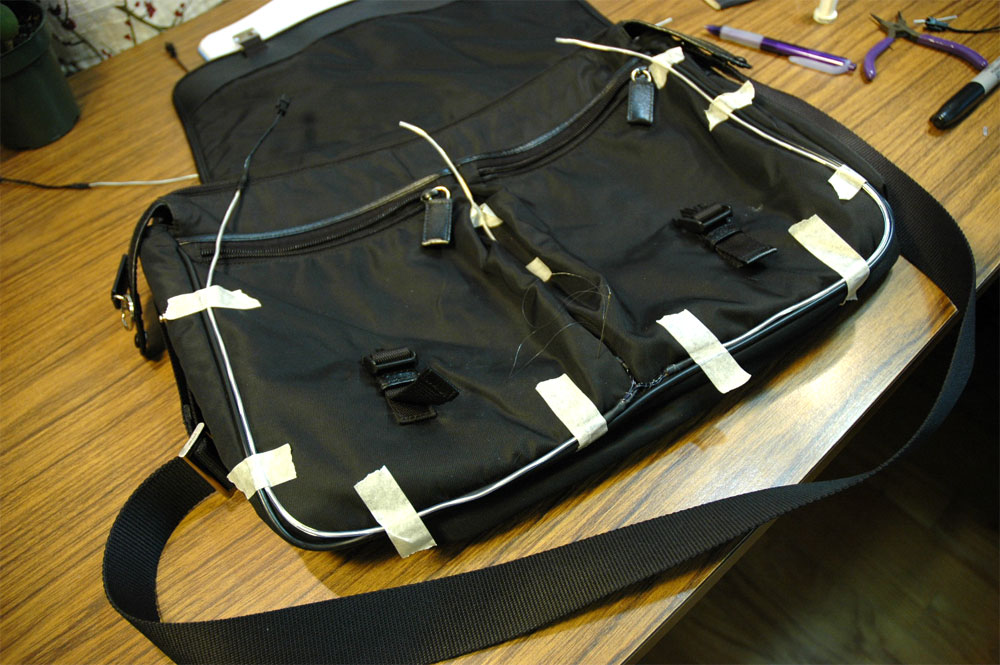
Lay the EL wire so it traces the chalk outline (or piping) - in this photo the EL is lit but we don't necessarily suggest that you sew it lit unless it helps you visualize the design. Use masking tape to keep the EL wire in place
Start at the "inverter" end
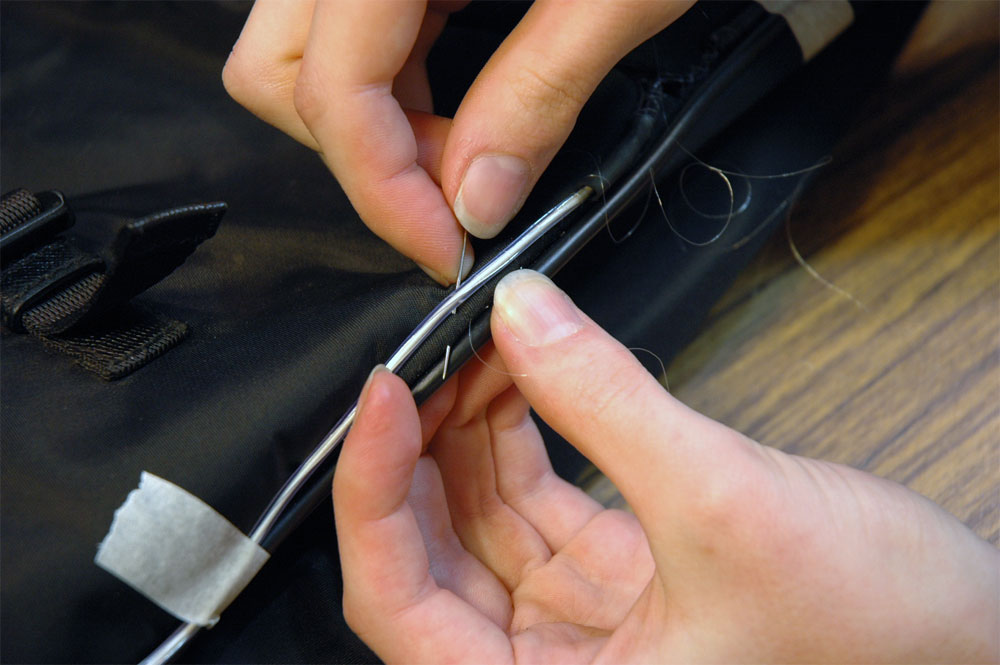
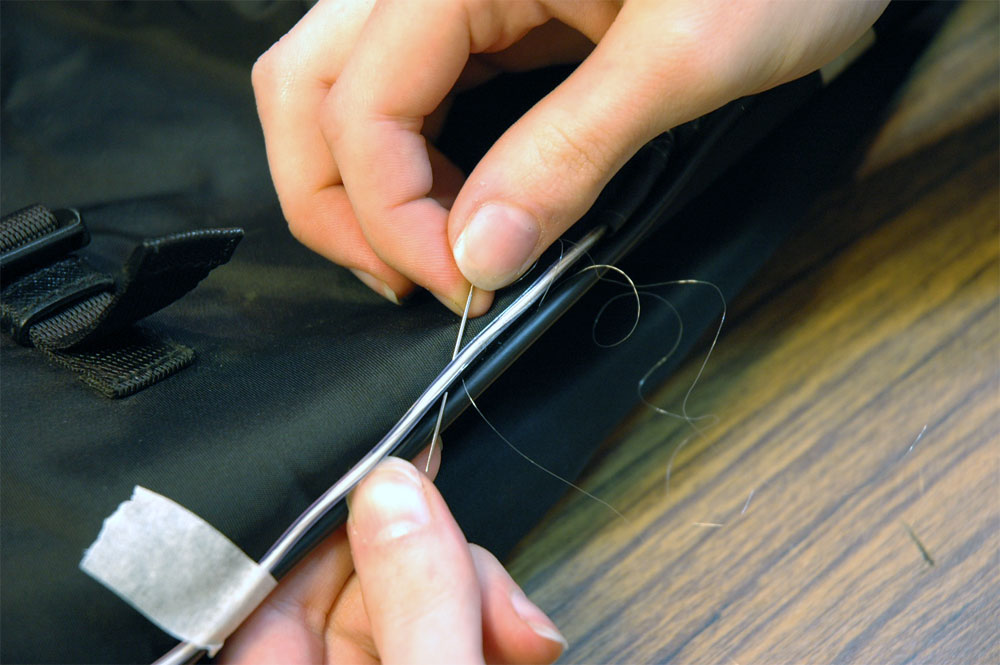
Use the needle and thread to wrap around the EL wire and tack it down, a stitch every cm is fine for long runs. We suggest grabbing plenty of material to provide a strong grip.
Once you have traced the pattern, then you should cut the ends with wirecutters! (again don't cut while its on)
You can cap the EL wire for protection with a piece of small heatshrink, while its still warm, squeeze it with pliers to seal it
Continue with all the pieces, taping them down and sewing them, making sure that all the connector ends wind up in the same pocket. You can see here how it all goes to the top left corner.
Detailing
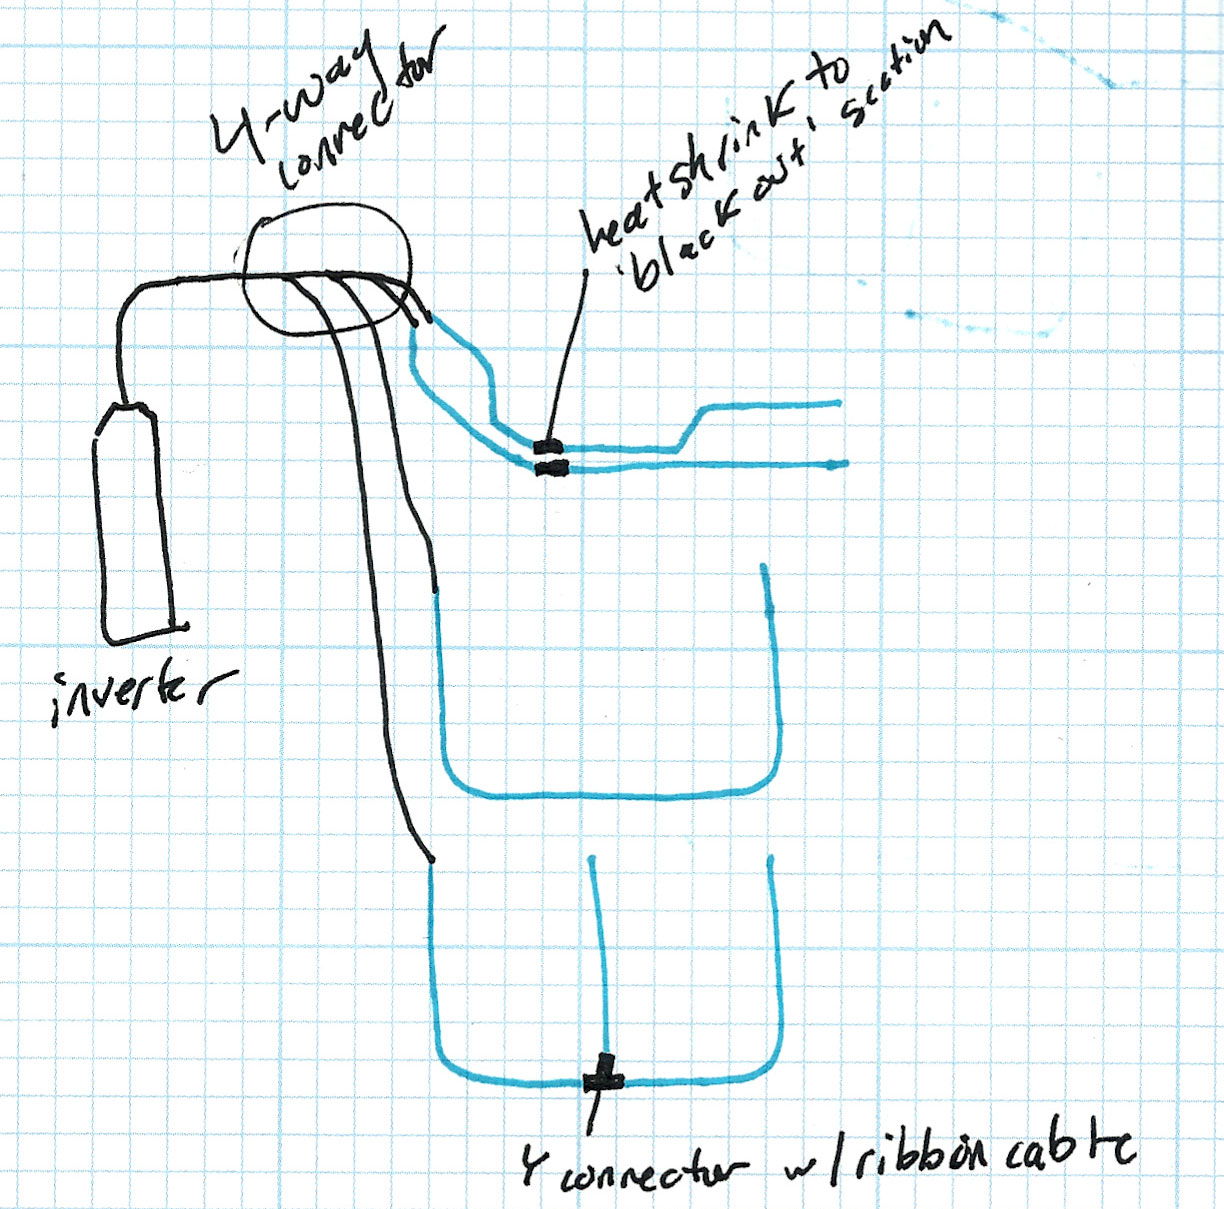
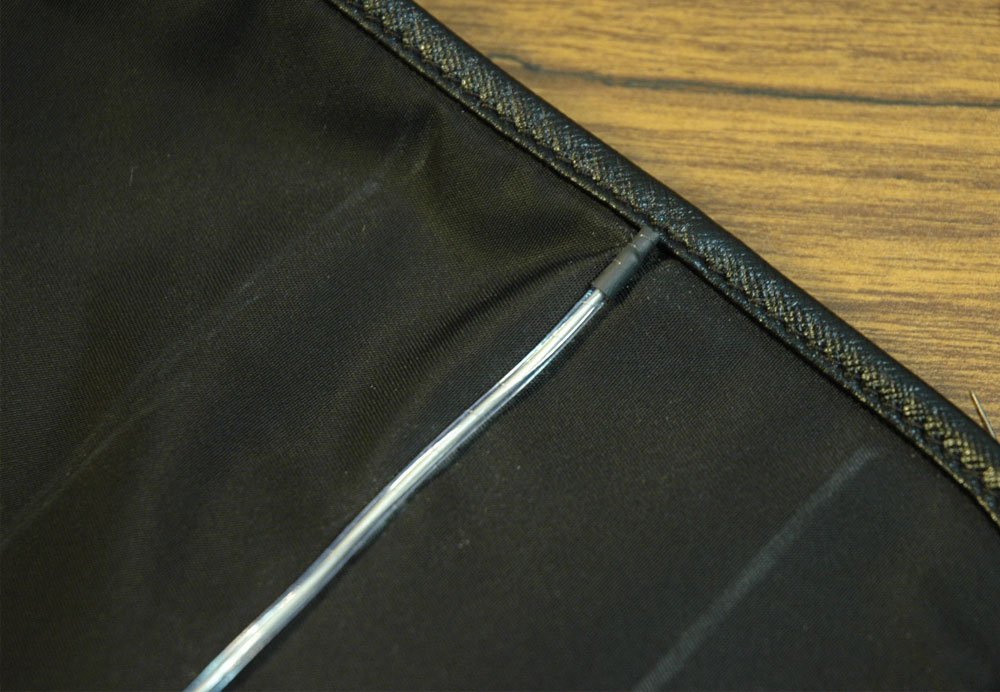
We wanted to have a 'broken' wire detail in the center of the bag to match the TRON detailing observed in the movie. We did this by slipping some heat shrink over the EL wire to 'black out' the light. Much easier than trying to solder it to a short piece of wire
Splitting wire
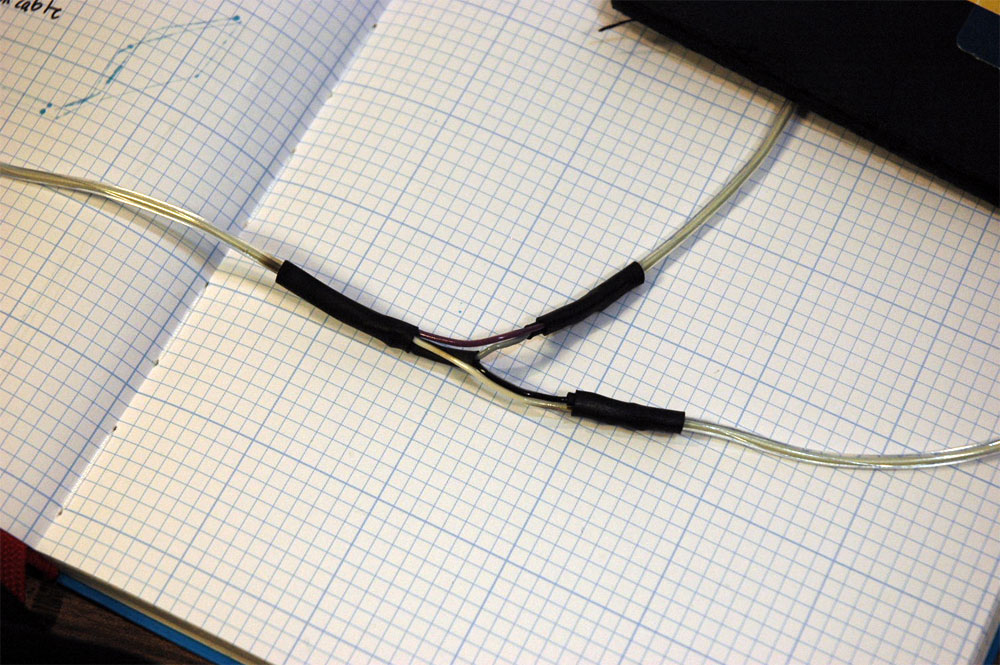
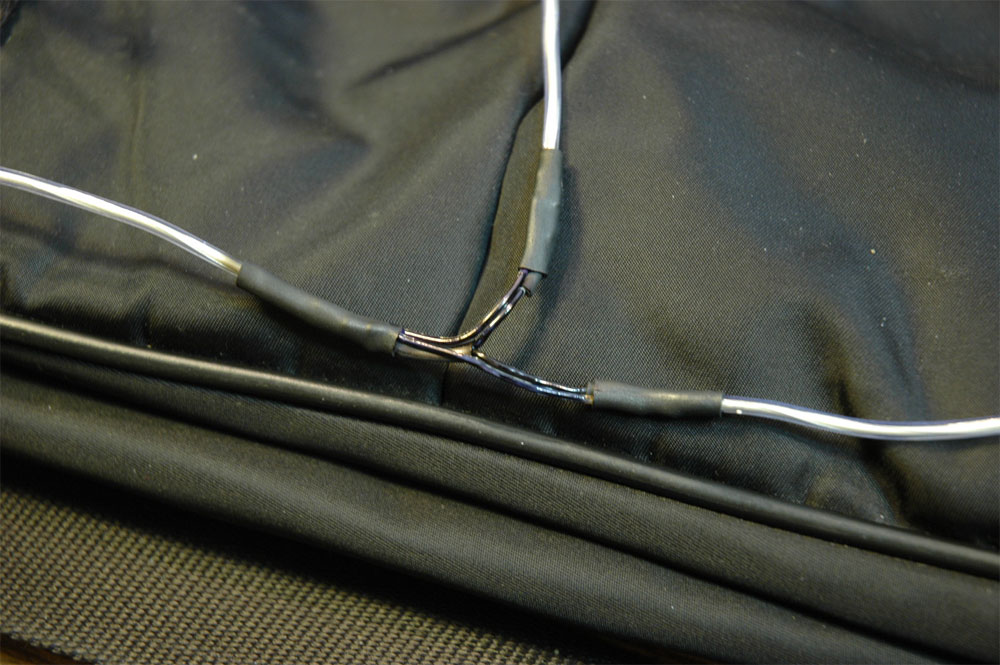
For the pocket detail, we wanted to have a piece of EL that split in two, this is possible but a little trickier than just a single piece. Make sure you're comfortable with soldering to EL wire since you'll need to solder to two ends, thus doubling the difficulty
You'll want to cut the first piece a little long, again, and then solder two pieces of ribbon or other thin stranded wire to both the core and corona wires. Each one can go to another EL piece
This time, start sewing from the junction, so that its centered

Finishing
Almost done! Once the EL wire is all sewn on make sure to test each strand again to make sure they are still strong and connected. Double check all the heatshrink as well.
You can pass the wires around the bag or, if it is easier, and you're OK with permanent modification, punch a hole and pass the wires through it. This can be a little neater and less obviously modded.

Finally we will connect the strands to the inverter. There are inverters that will 'animate' the strands but we like the 'solid on' look which also matches the TRON movie best. The only problem is we have 4 wires and we want to run them off of one inverter. We'll solve this problem by making a splitter, taking the one output of the inverter and allowing it to drive two EL wires. You can do this for as many strands as you'd like, just add up all the EL lengths
Solder and heat-shrink the wires.
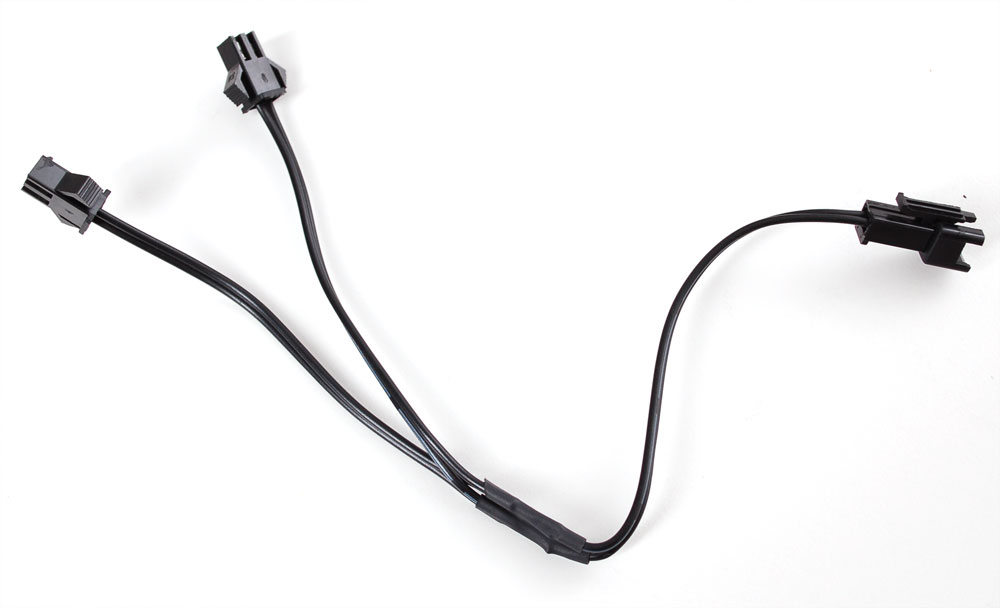
Use the splitter on the inverter (we used two inverters with two splitters here)
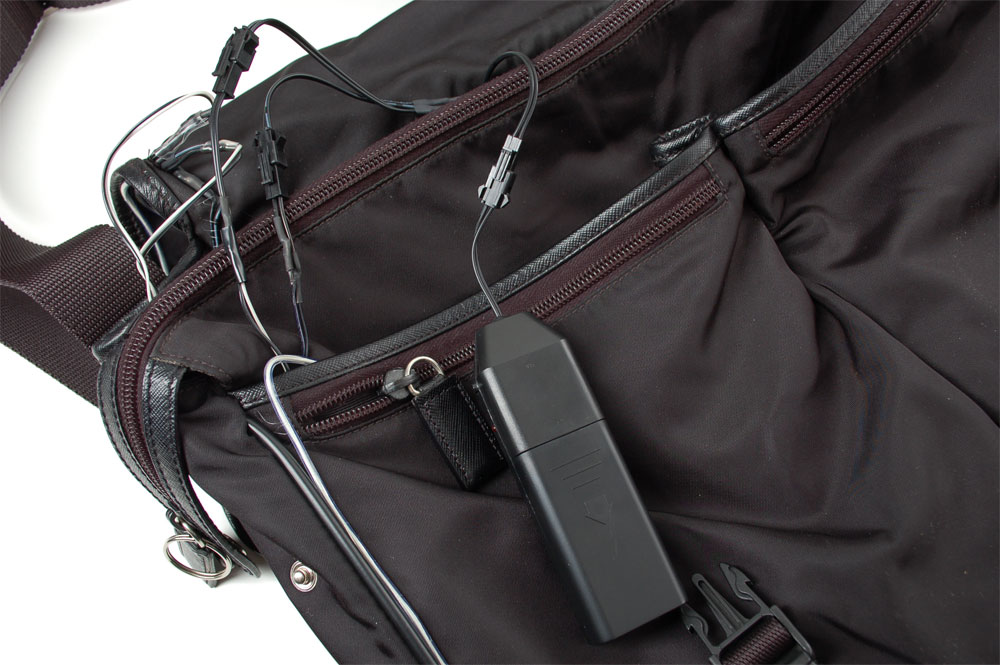
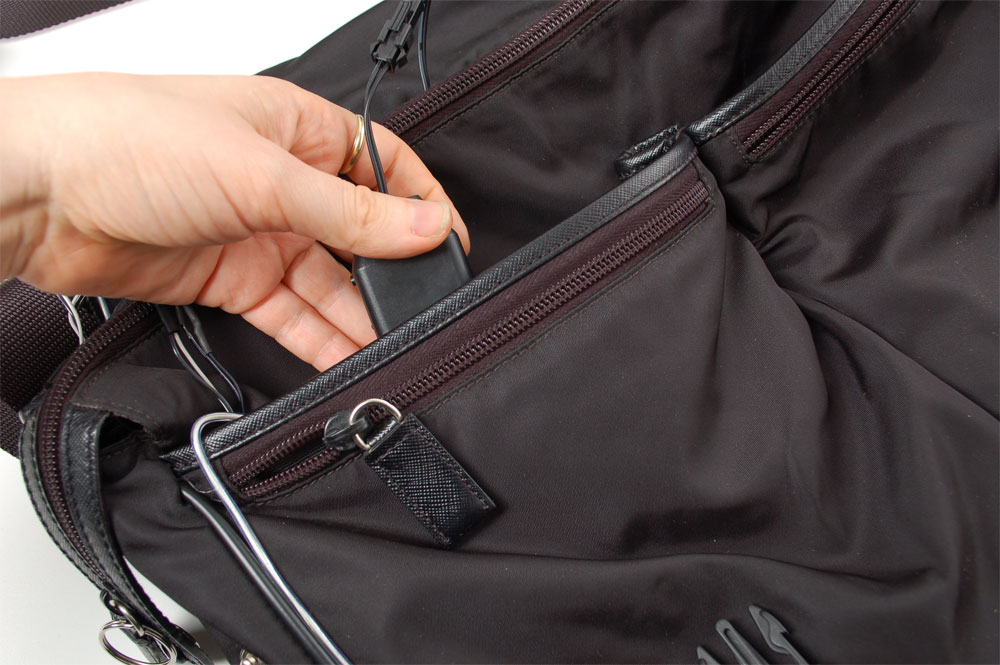
Store the inverters in one of the front pockets.
You're done! Enjoy your TRON bag.