I designed this tutorial course to accompany the Arduino starter pack sold at the Adafruit webshop. The pack contains all the components you need (minus any tools) for lessons 0-10. If people like this system, I will add another pack for another half-dozen lessons, numbers 11+
| Description | Distributor | Quantity | ||||||||
 |
Assembled Arduino board, preferrably an UNO (or whatever the latest version is) | 1 | ||||||||
 |
USB Cable. Standard A-B cable is required. Any length is OK. |
Or any computer supply store
|
1 | |||||||
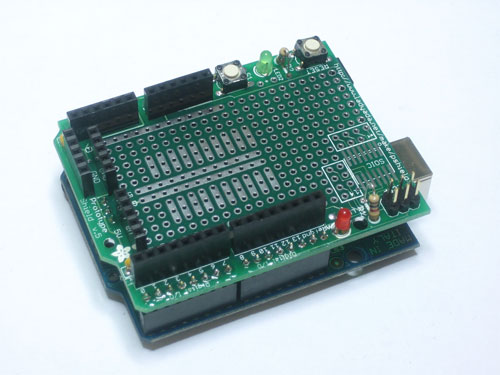 |
Proto shield kit See assembly instructions here |
Adafruit | 1 | |||||||
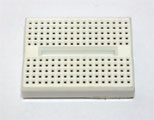 |
Tiny breadboard | Adafruit | 1 | |||||||
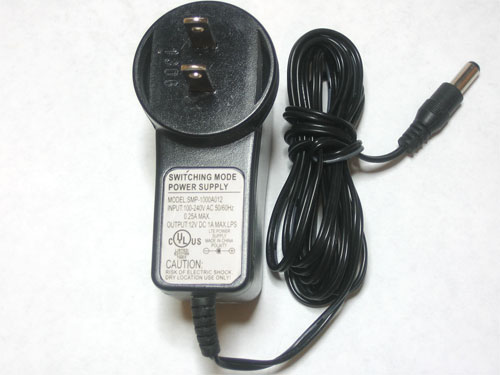 |
9V DC switch-mode power supply with 2.1mm barrel plug | Adafruit | 1 | |||||||
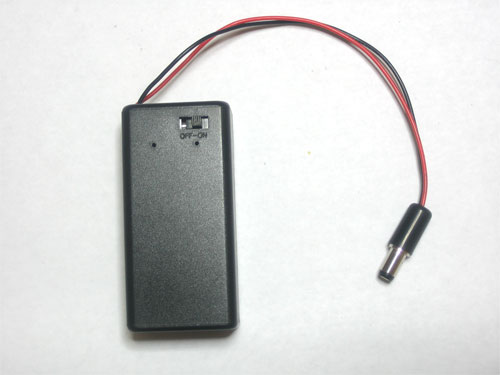 |
9V battery case with 2.1mmm barrel plug | Adafruit | 1 | |||||||
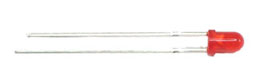 |
Red 5mm LED | Adafruit | 5 | |||||||
| Green ultra-bright LED | Adafruit | 1 | ||||||||
| Red ultra-bright LED | Adafruit | 1 | ||||||||
| Blue ultra-bright LED | Adafruit | 1 | ||||||||
| 1K Potentiometer (Marked 102) 1/2W |
1 | |||||||||
| 10K Potentiometer (marked 103) 1/2W |
Adafruit | 1 | ||||||||
|
100 ohm resistor, 5% 1/4 W Brown Black Brown Gold |
Generic | 5 | |||||||
|
1.0 Kohm resistor, 5% 1/4 W Brown Black Red Gold |
5 | ||||||||
|
10 Kohm resistor, 5% 1/4 W Brown Black Orange Gold |
5 | ||||||||
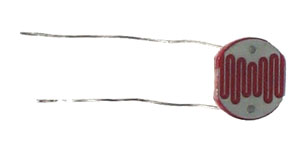 |
CdS Photocell | Adafruit | 1 | |||||||
 |
Bundle of wires | Adafruit | 1 |


Tools are not included in the starter pack, but you probably have a few of these tools kicking around the house. Ask a friend if you can borrow them?
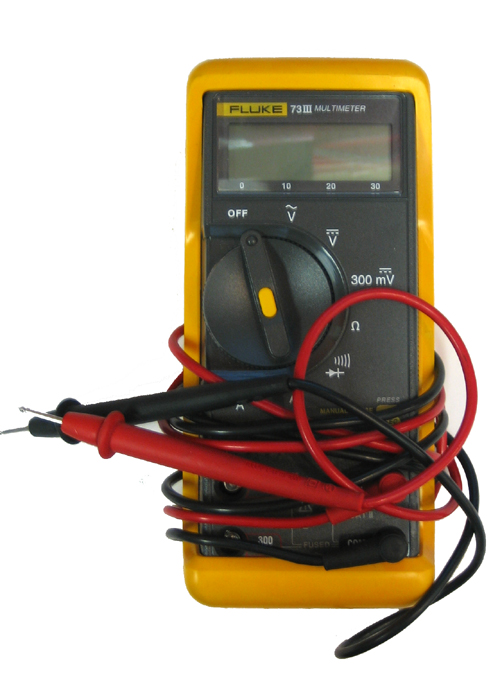 |
Multimeter/Oscilloscope A meter is helpful to check voltages and continuity. |
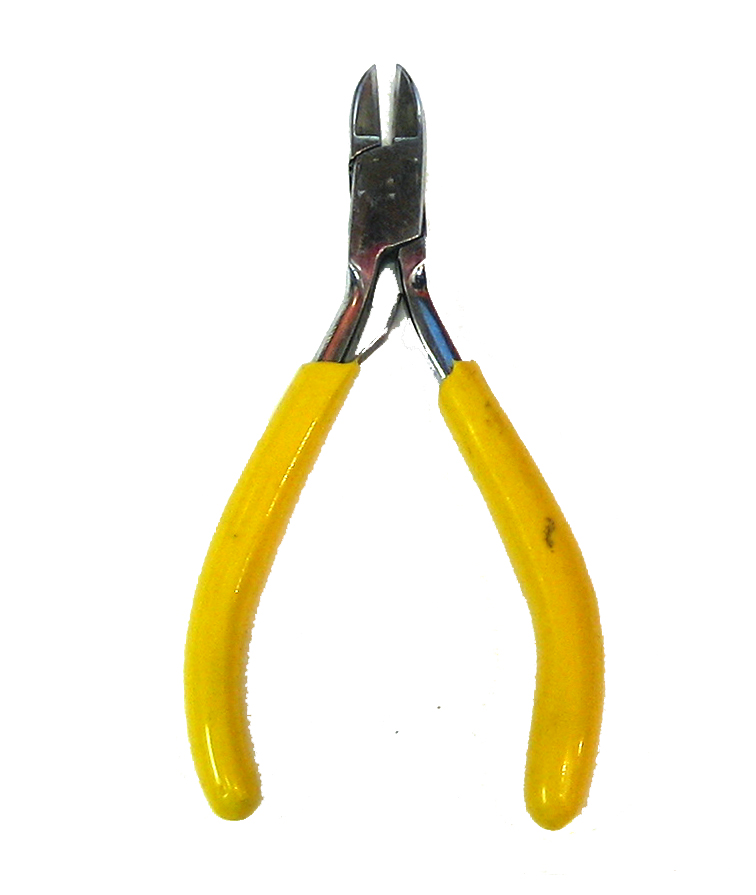 |
Flush/diagonal cutters. Great for cutting component leads and wires. Check out my recommended basic diagonal cutters and where to buy. |
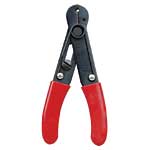 |
Wire strippers very handy for making wire jumpers! Check out my recommended basic wire strippers and where to buy. |
If you need to get any soldering done, you may also want....
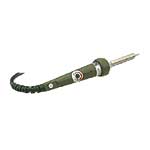 |
Soldering iron. One with temperature control and a stand is best. A conical or small 'screwdriver' tip is good, almost all irons come with one of these. A low quality (ahem, $10 model from radioshack) iron may cause more problems than its worth! Do not use a "ColdHeat" soldering iron, they are not suitable for delicate electronics work and can damage the kit (see here) Check out my recommended basic soldering iron and where to buy. |
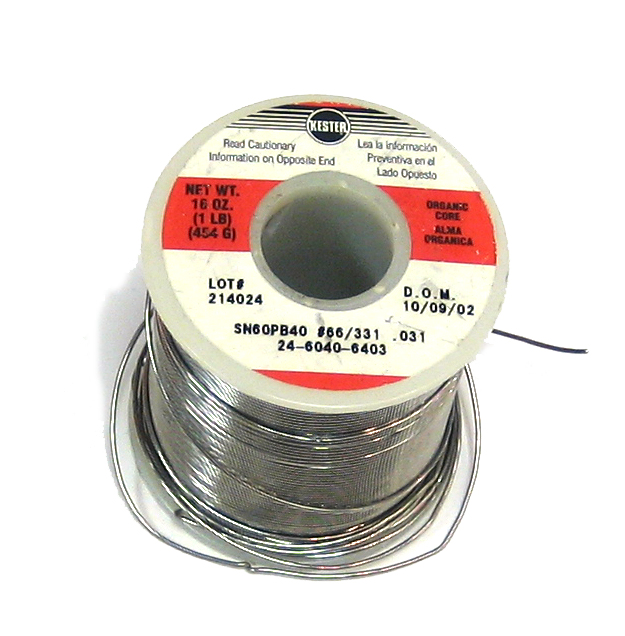 |
Solder. Rosin core, 60/40. Good solder is a good thing. Bad solder leads to bridging and cold solder joints which can be tough to find. Dont buy a tiny amount, you'll run out when you least expect it. A quarter pound spool is a good amount. |
You'll want to solder up your protoshield and 9V battery holder. The protoshield instructions are here.
Some older kits came with the 9V holder and plug not connected. The 9V instructions follow! Learn how to solder by looking here, if you don't know how.
Start by unscrewing the plastic cover from the barrel plug
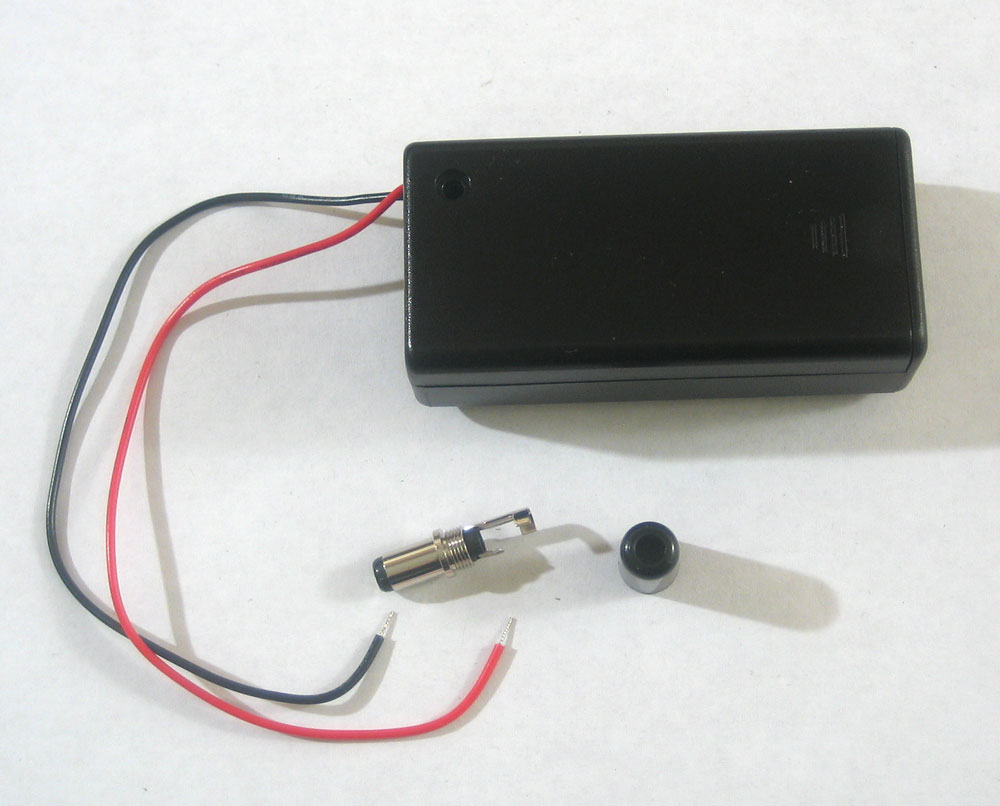
Thread the barrel cover onto the red and black wires so that the round part is near the pack itself, see the image below
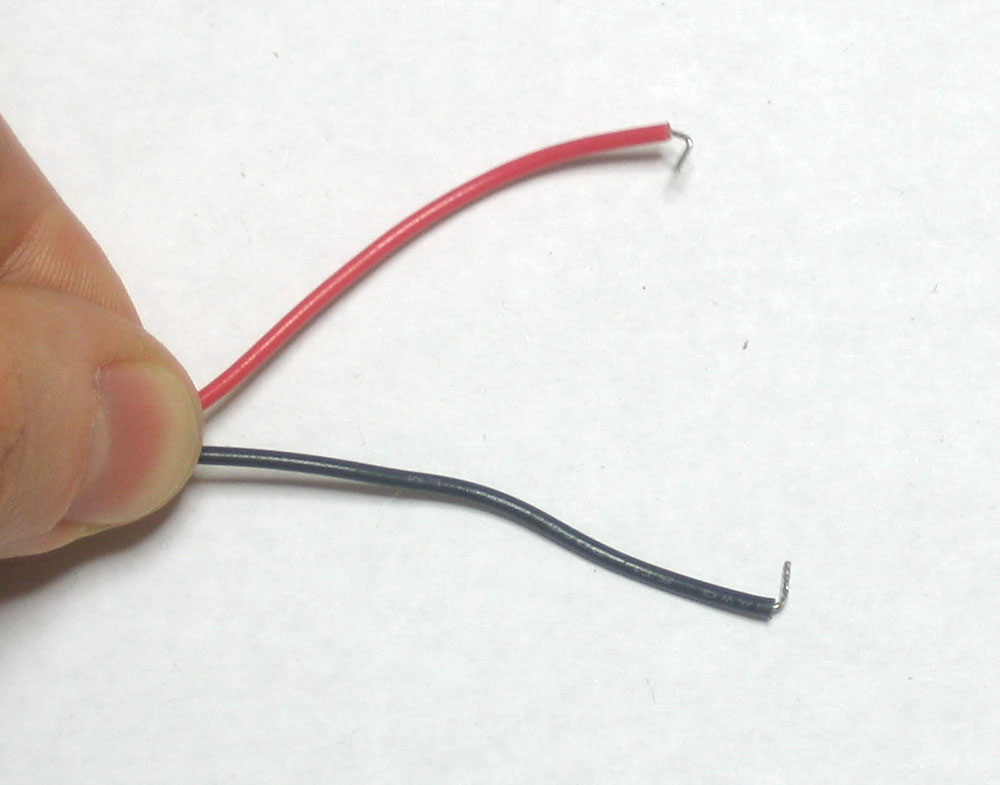
Use a pair of pliers (or your fingernails) to make little hooks out of the ends of the red and black wires.
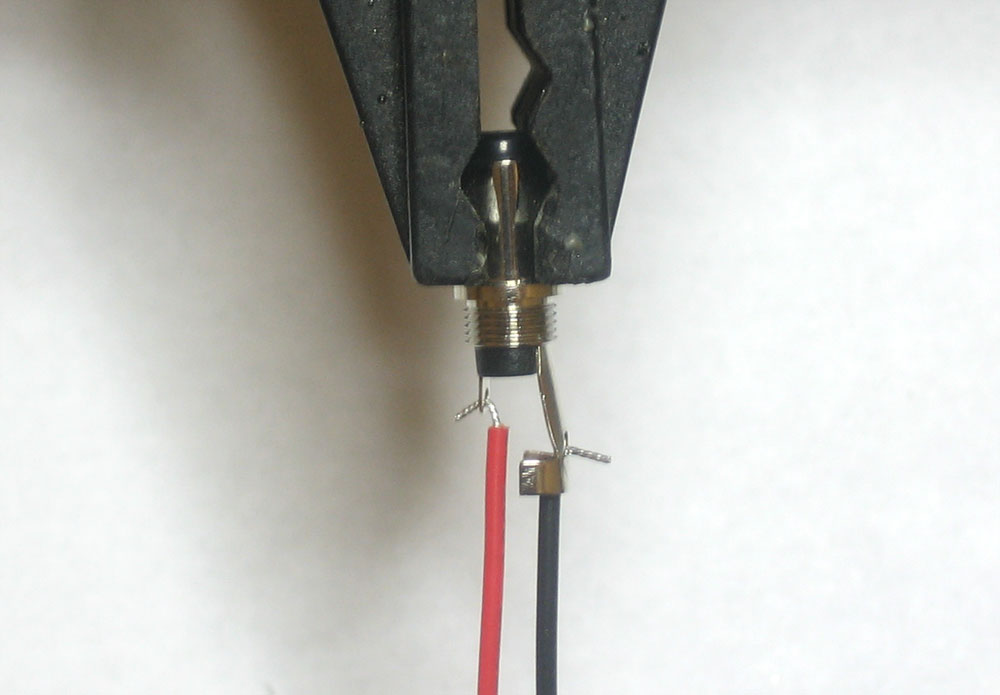
Place the 2.1mm barrel plug in a vise or 3rd hand tool to keep it steady. Hook the red wire onto the middle tab and the black wire to the outer tab as shown. Then bend the hooks over all the way so that the wires can't come loose while you solder
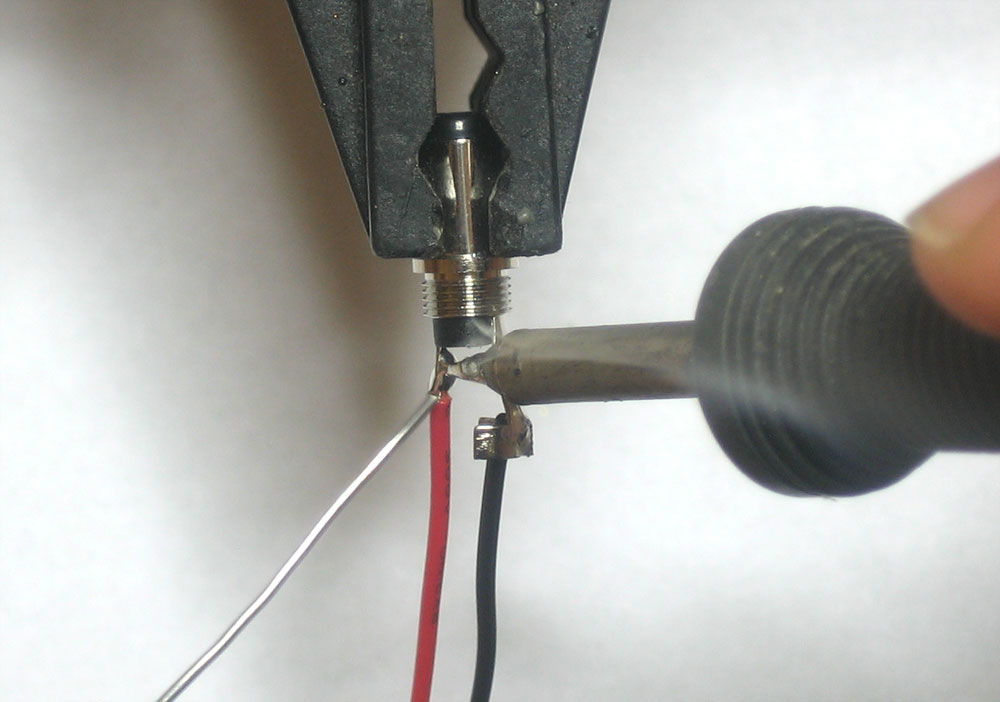
Solder both hooks to the tabs with a touch of solder. Make sure you heat the black wire tab well as its large enough that it may take a moment for the solder to melt onto the tab well.
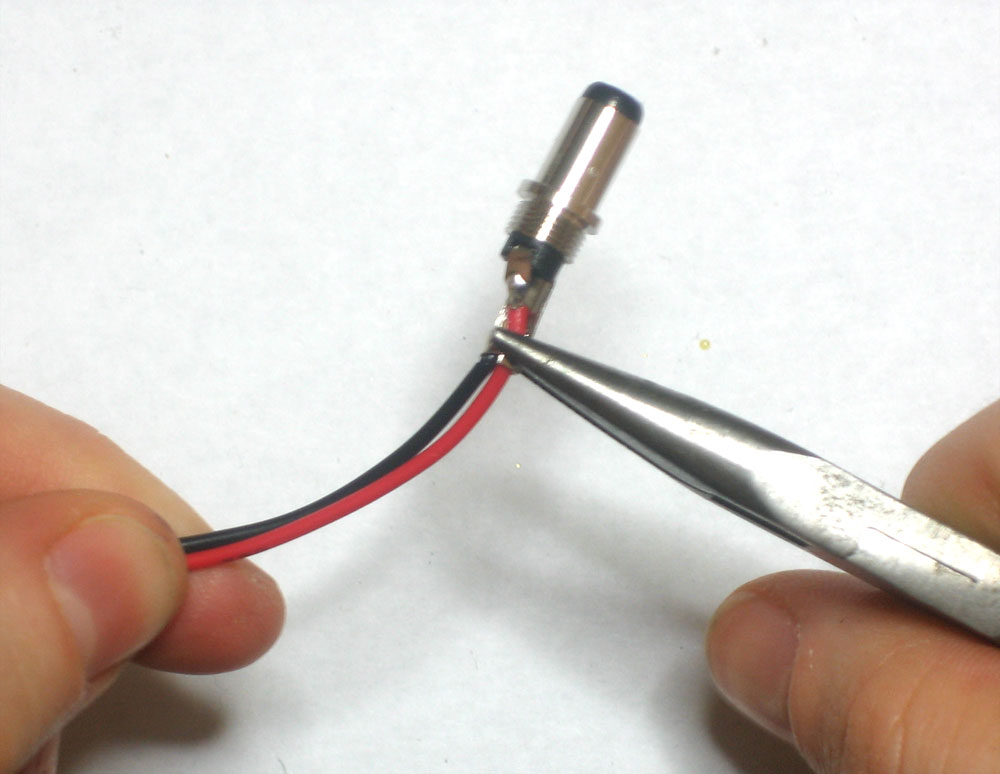
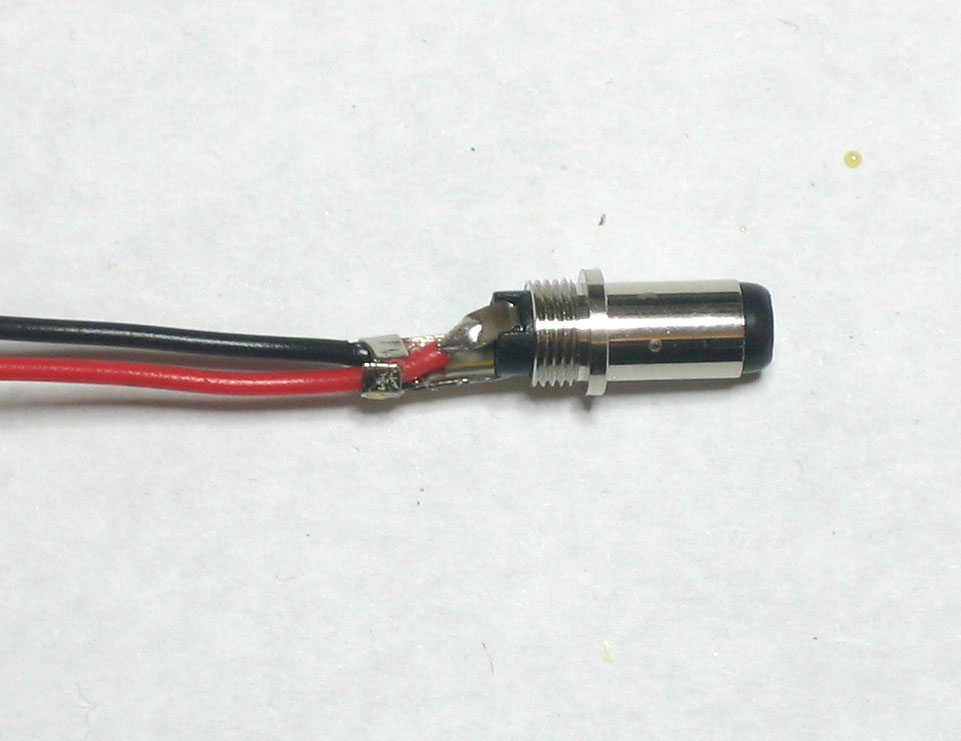
Sometimes the plug doesn't have a little tab, instead there is a cyclindrical tab in the center. In that case, poke the red wire inside the cylinder and solder it there, you don't need to crimp it. The black wire sill still go on the larger outer tab
Make sure the soldering is neat, the two wires should not be poking out.
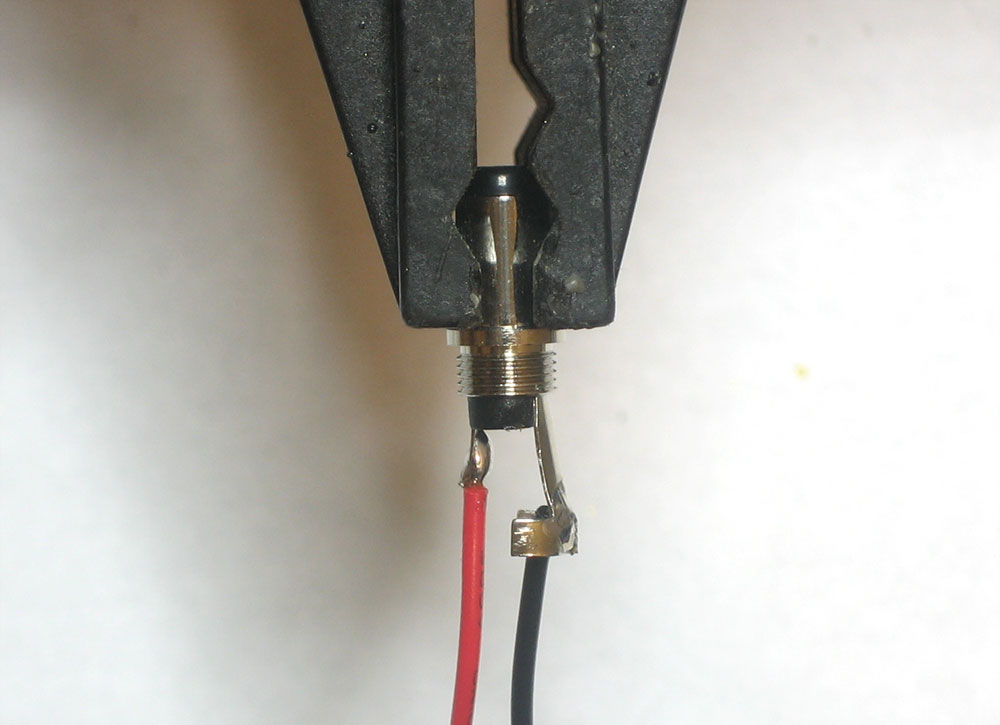
Gently pull the red wire towards the black wire and bend over the tabs so that they hold the two wires together. Don't crimp them too tightly or the tab can/will cut into the red wire. Just make sure its snug.
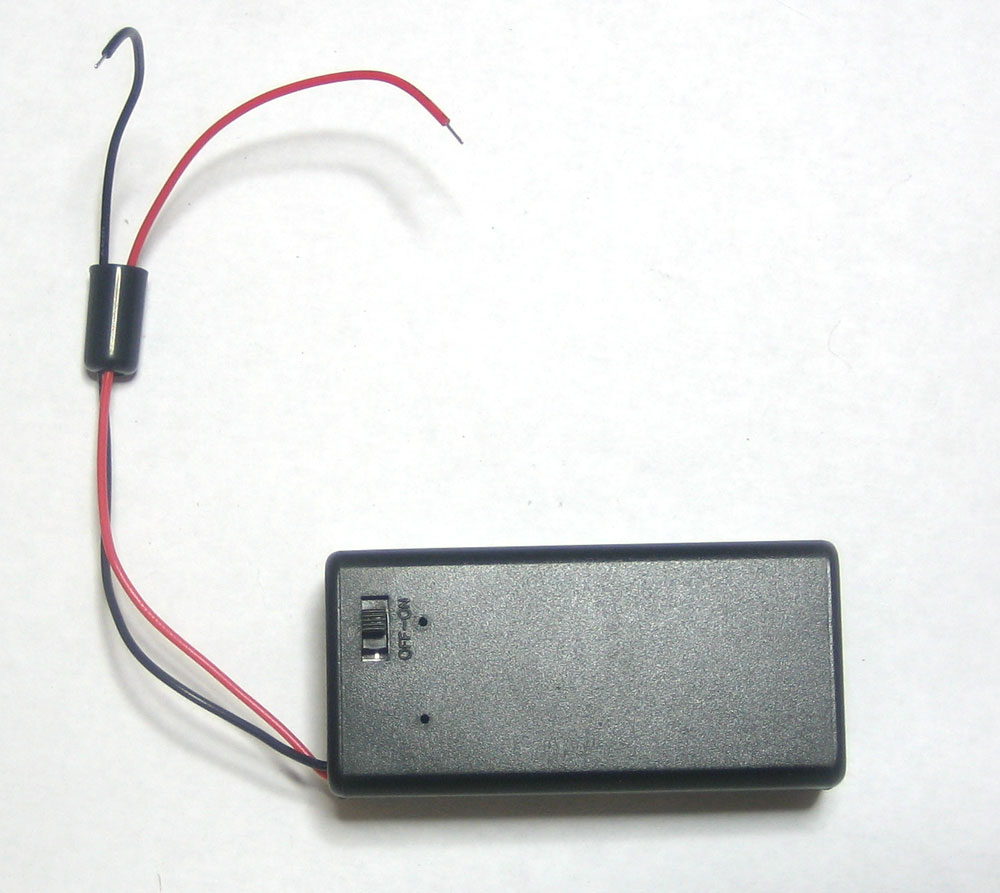
Now screw the plug cover on to protect the connector

You should probably use your multimeter to test continuity between the inner conductor and the outer conductor to make sure they are not shorted. A tutorial on how to do this is here.