The first thing we will do is test the GPS by connecting it directly to the computer. This is useful because sometimes you may want to get geolocative data directly into software. You dont need to do this step, but it can be helpful to determine if your GPS module is working - one less thing to worry about later.
You can connect with an FTDI cable or use your Arduino
The easiest way to connect the GPS module to a computer is to remove it from the Arduino and connect the GPSPWR line to ground.
Then plug in an FTDI cable and connect using a serial terminal program (or the Arduino IDE, see below)
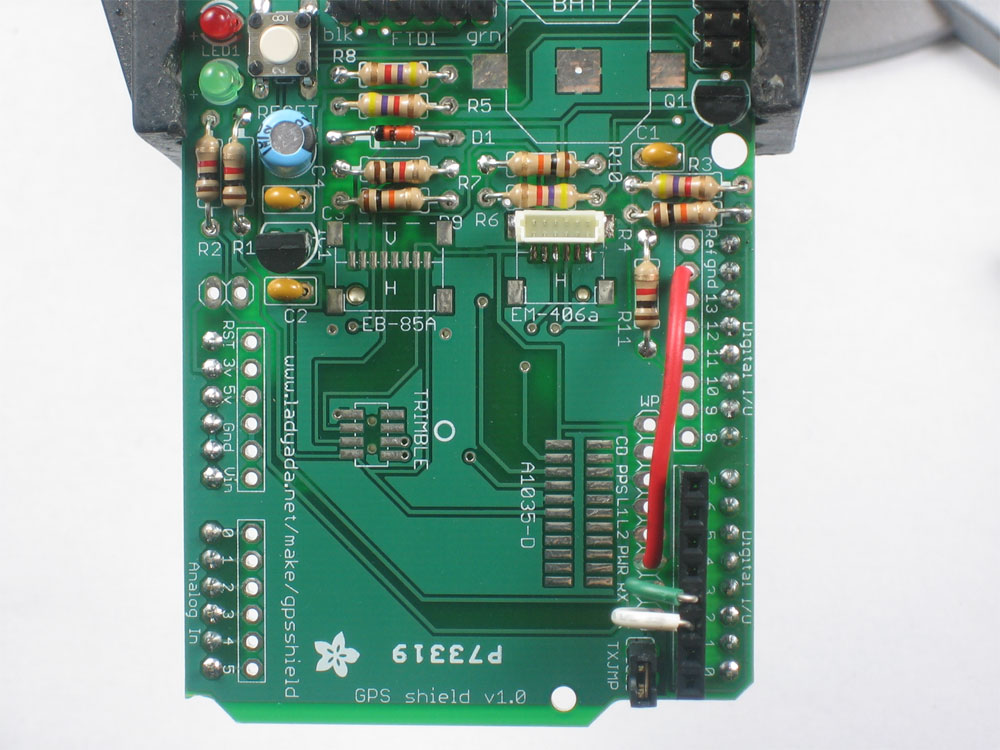
Remove the shield from the Arduino. Connect the GPS TX line to digital pin 1 and the RX line to digital pin 0. Connect the PWR line to digital pin 2.
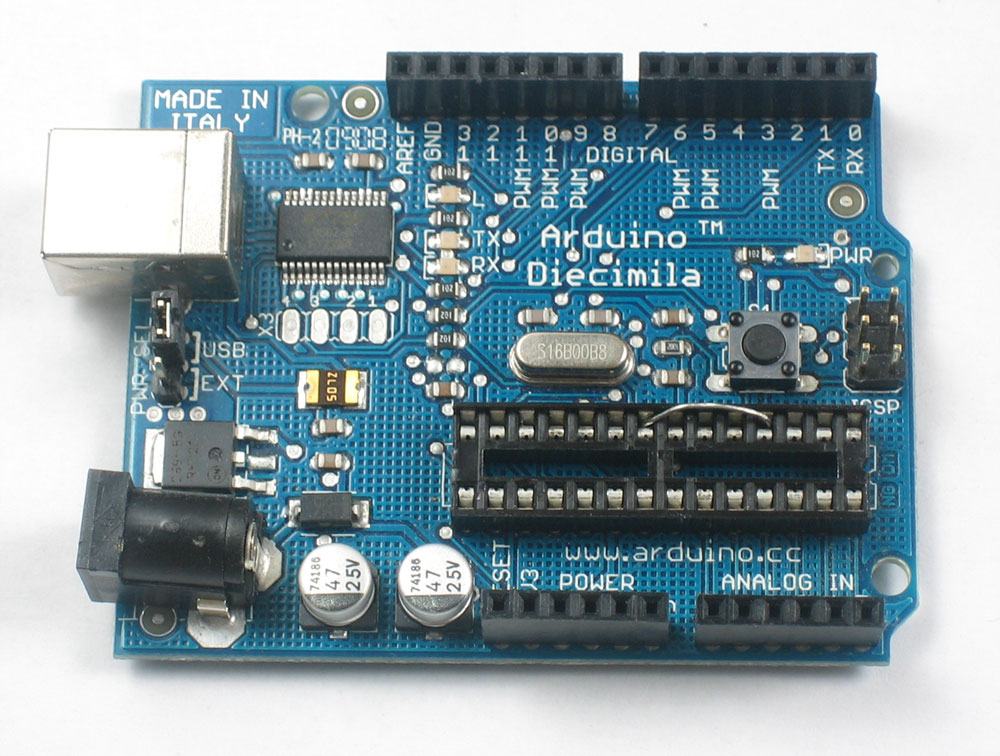
We want the GPS unit to talk to the FT232 chip on the arduino which will let us listen in using USB, but the problem is that the Arduino chip (ATmega168) is in the way so we must remove it.
First, gently pry the Arduino microcontroller from its socket using a small flat screwdriver or similar. Try to make sure the pins dont get bent. Put it in a safe place. Preferably in an anti-static bag.

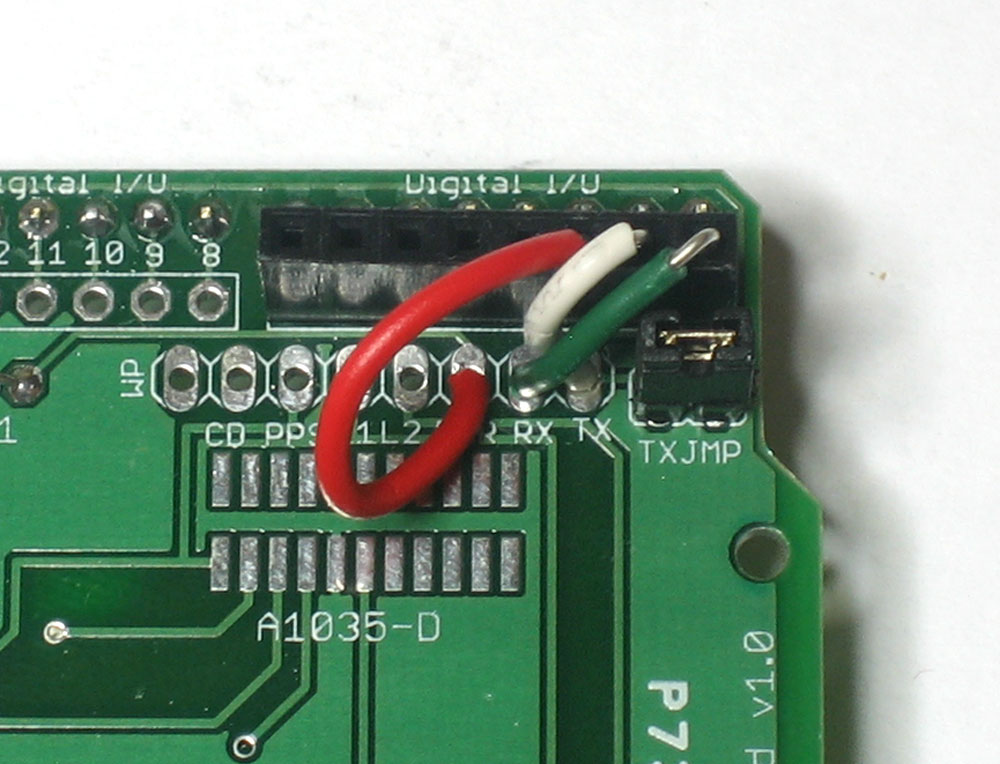
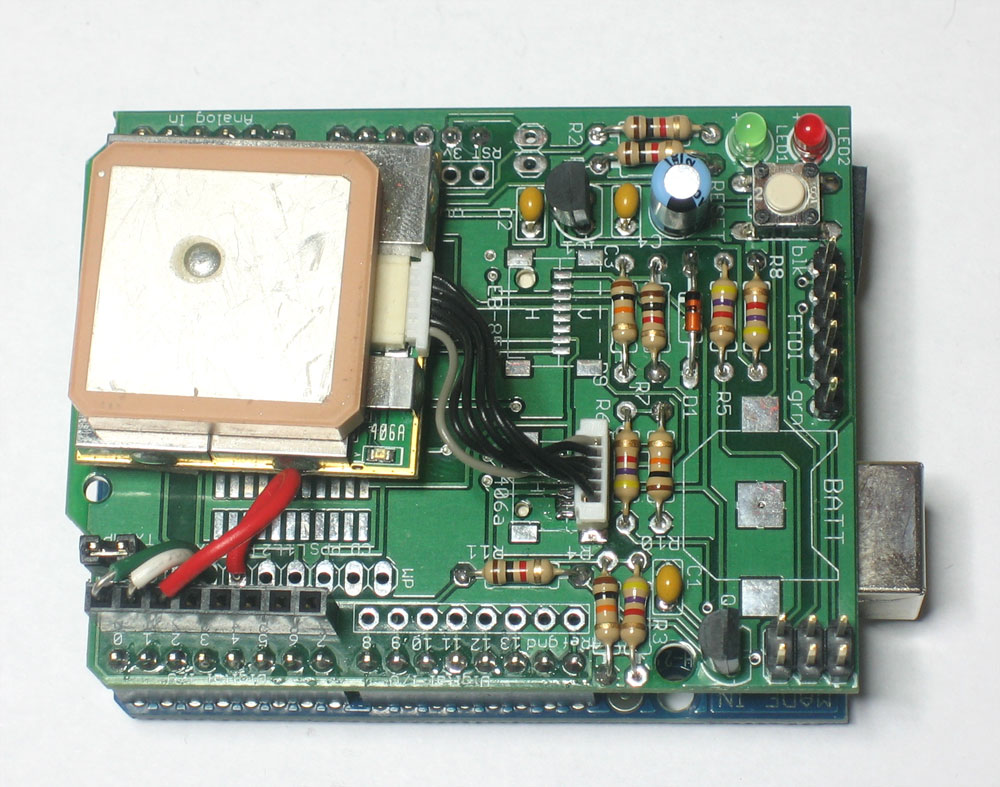
Next we will jumper digital i/o pin 2 to ground (LOW) which will make sure the GPS unit is turned on when we connect up. Use a spare piece of wire and plug them into the empty socket as shown. Triple check to make sure you have the jumper in the proper socket holes!
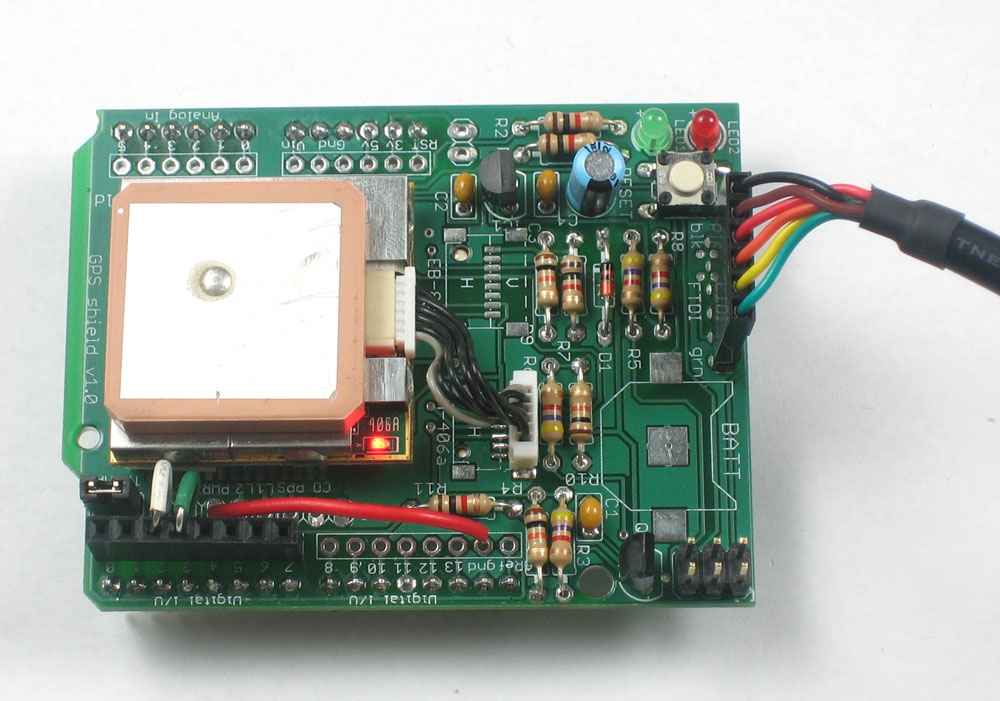
Plug the shield into the Arduino, and plug the GPS module into the little connector
Now connect the Arduino to your computer via USB. The GPS module should light up, indicating that its on. If the GPS module doesnt turn on, check the PWR jumper is connected to digital pin 2, that the socket jumper is correct, and that the Arduino is powered.
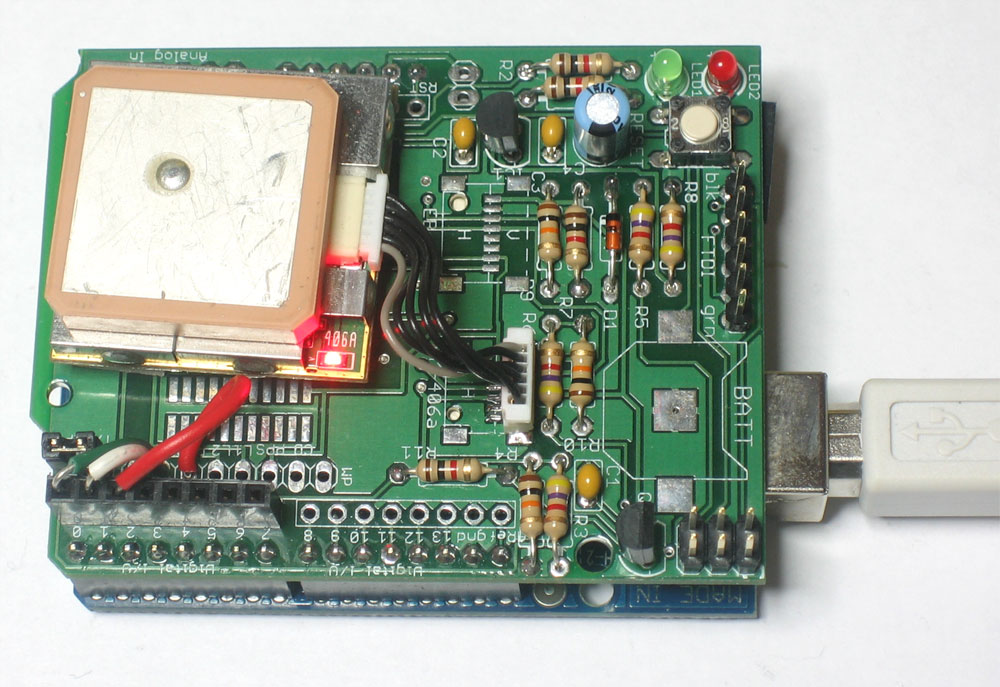
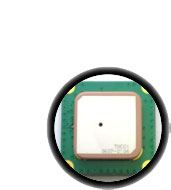
If possible, try to be near a window or outside. If possible, place the GPS module so that the antenna (the large silver square) is outside and pointing upwards. This will make it easier for it to get a location fix.
Lastly we will use the Arduino software to open up the USB serial port and listen in on the GPS. Start up the software, make sure that the correct Serial Port is selected and click on the Serial Monitor button. Select 4800 baud (unless you have an EB-86A which may be 38400 by default) If you changed the baudrate in some way, try all the possibilities until you get a clear output
You should see a whole bunch of strange looking numbers and data, all the lines start with $GP (Geographical Position). These lines are NMEA sentences which indicates that the GPS is functioning properly and is sending data as it should.
If you are outside or have a clear view of the sky, you may be able to get fix data! In the sentences above, look for the line that says $GPGRMC,211420.565,A,4042.3932,N,07400.4680,W,,260608,,*19
This line is called the RMC (Recommended Minimum) sentence and has pretty much all of the most useful data. Each chunk of data is seperated by a comma.
The first part 211420.565 is the current time GMT. The first two numbers 21 indicate the hour (2100h, otherwise known as 9pm) the next two are the minute, the next two are the seconds and finally the millseconds. So the time when this screenshot was taken is 9:14 pm and 20 seconds
The second part is the 'status code', if it is a V that means the data is Void (invalid). If it is an A that means its Active (the GPS could get a lock/fix)
The next 4 pieces of data are the geolocation data. According to the GPS, my location is 4042.3932N (Latitude 40 degrees, 42.3932 minutes North) & 07400.4680W. (Longitude 74 degrees, 0.4680 minutes West) To look at this location in Google maps, type +40° 42.3932', -74° 00.4680' into the google maps search box. Unfortunately gmaps requires you to use +/- instead of NSWE notaion. N and E are postive, S and W are negative.
The next data is not used, the one after that is 260608 which is the current date (26th of June, 2008).
Finally there is the *xx data which is used as a data transfer checksum
Once you get a fix using your GPS module, verify your location with google maps (or some other mapping software). Remember that GPS is often only accurate to 5-10 meters and worse if you're indoors or surrounded by tall buildings.
Now may be a good time to read up all about NMEA and how GPS works.