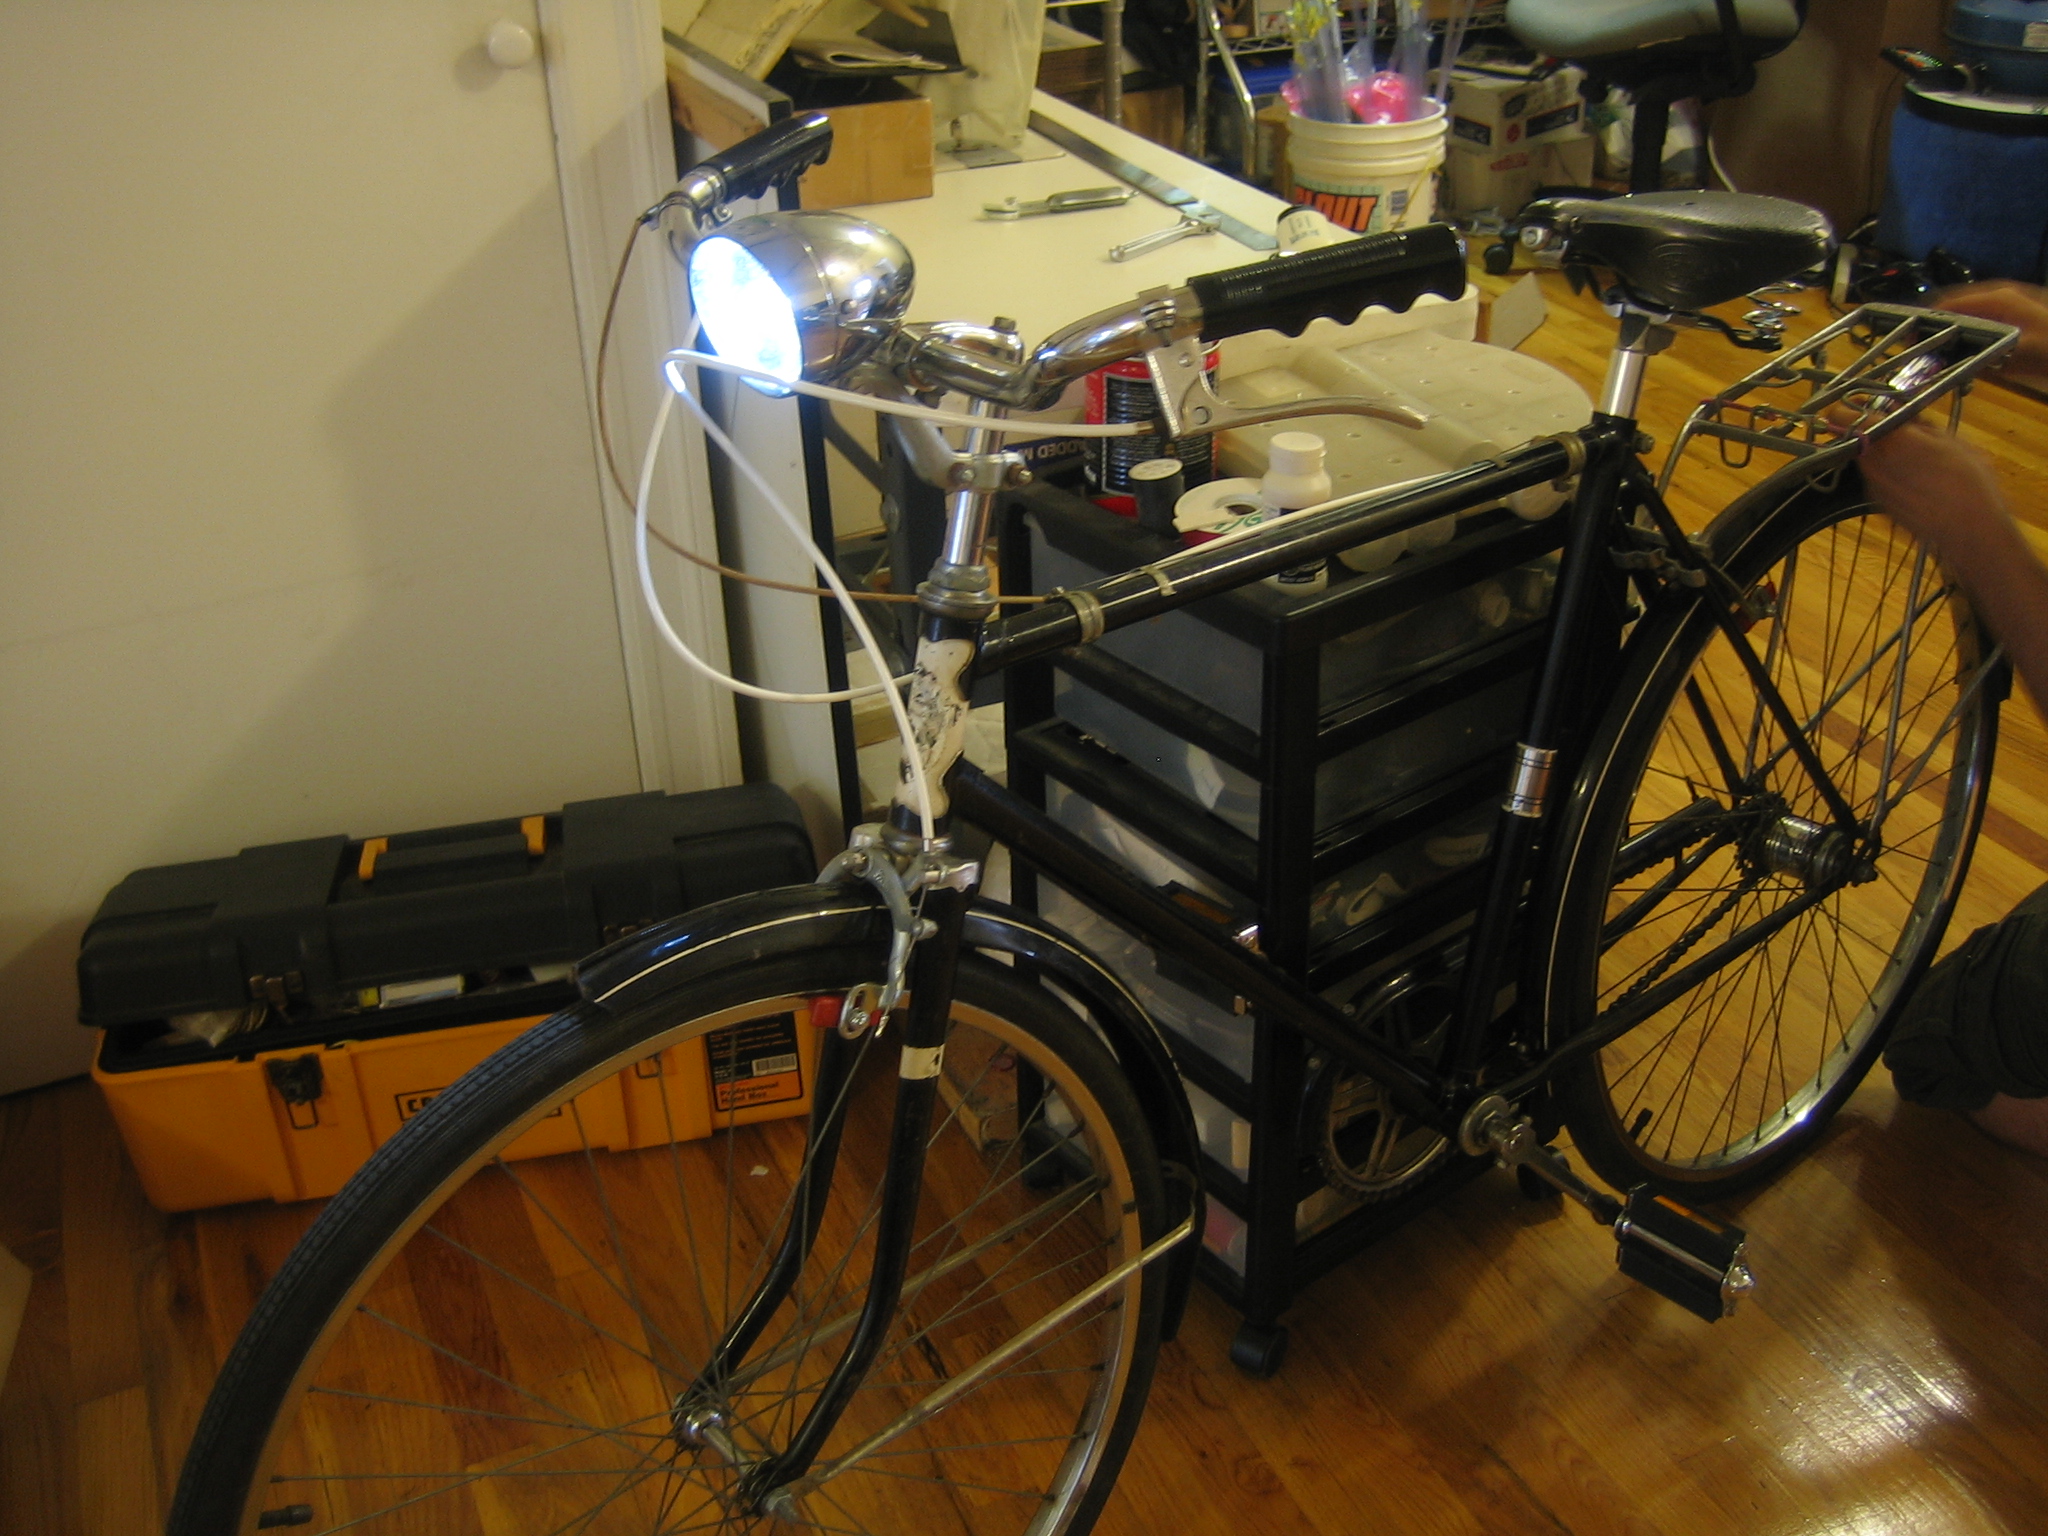
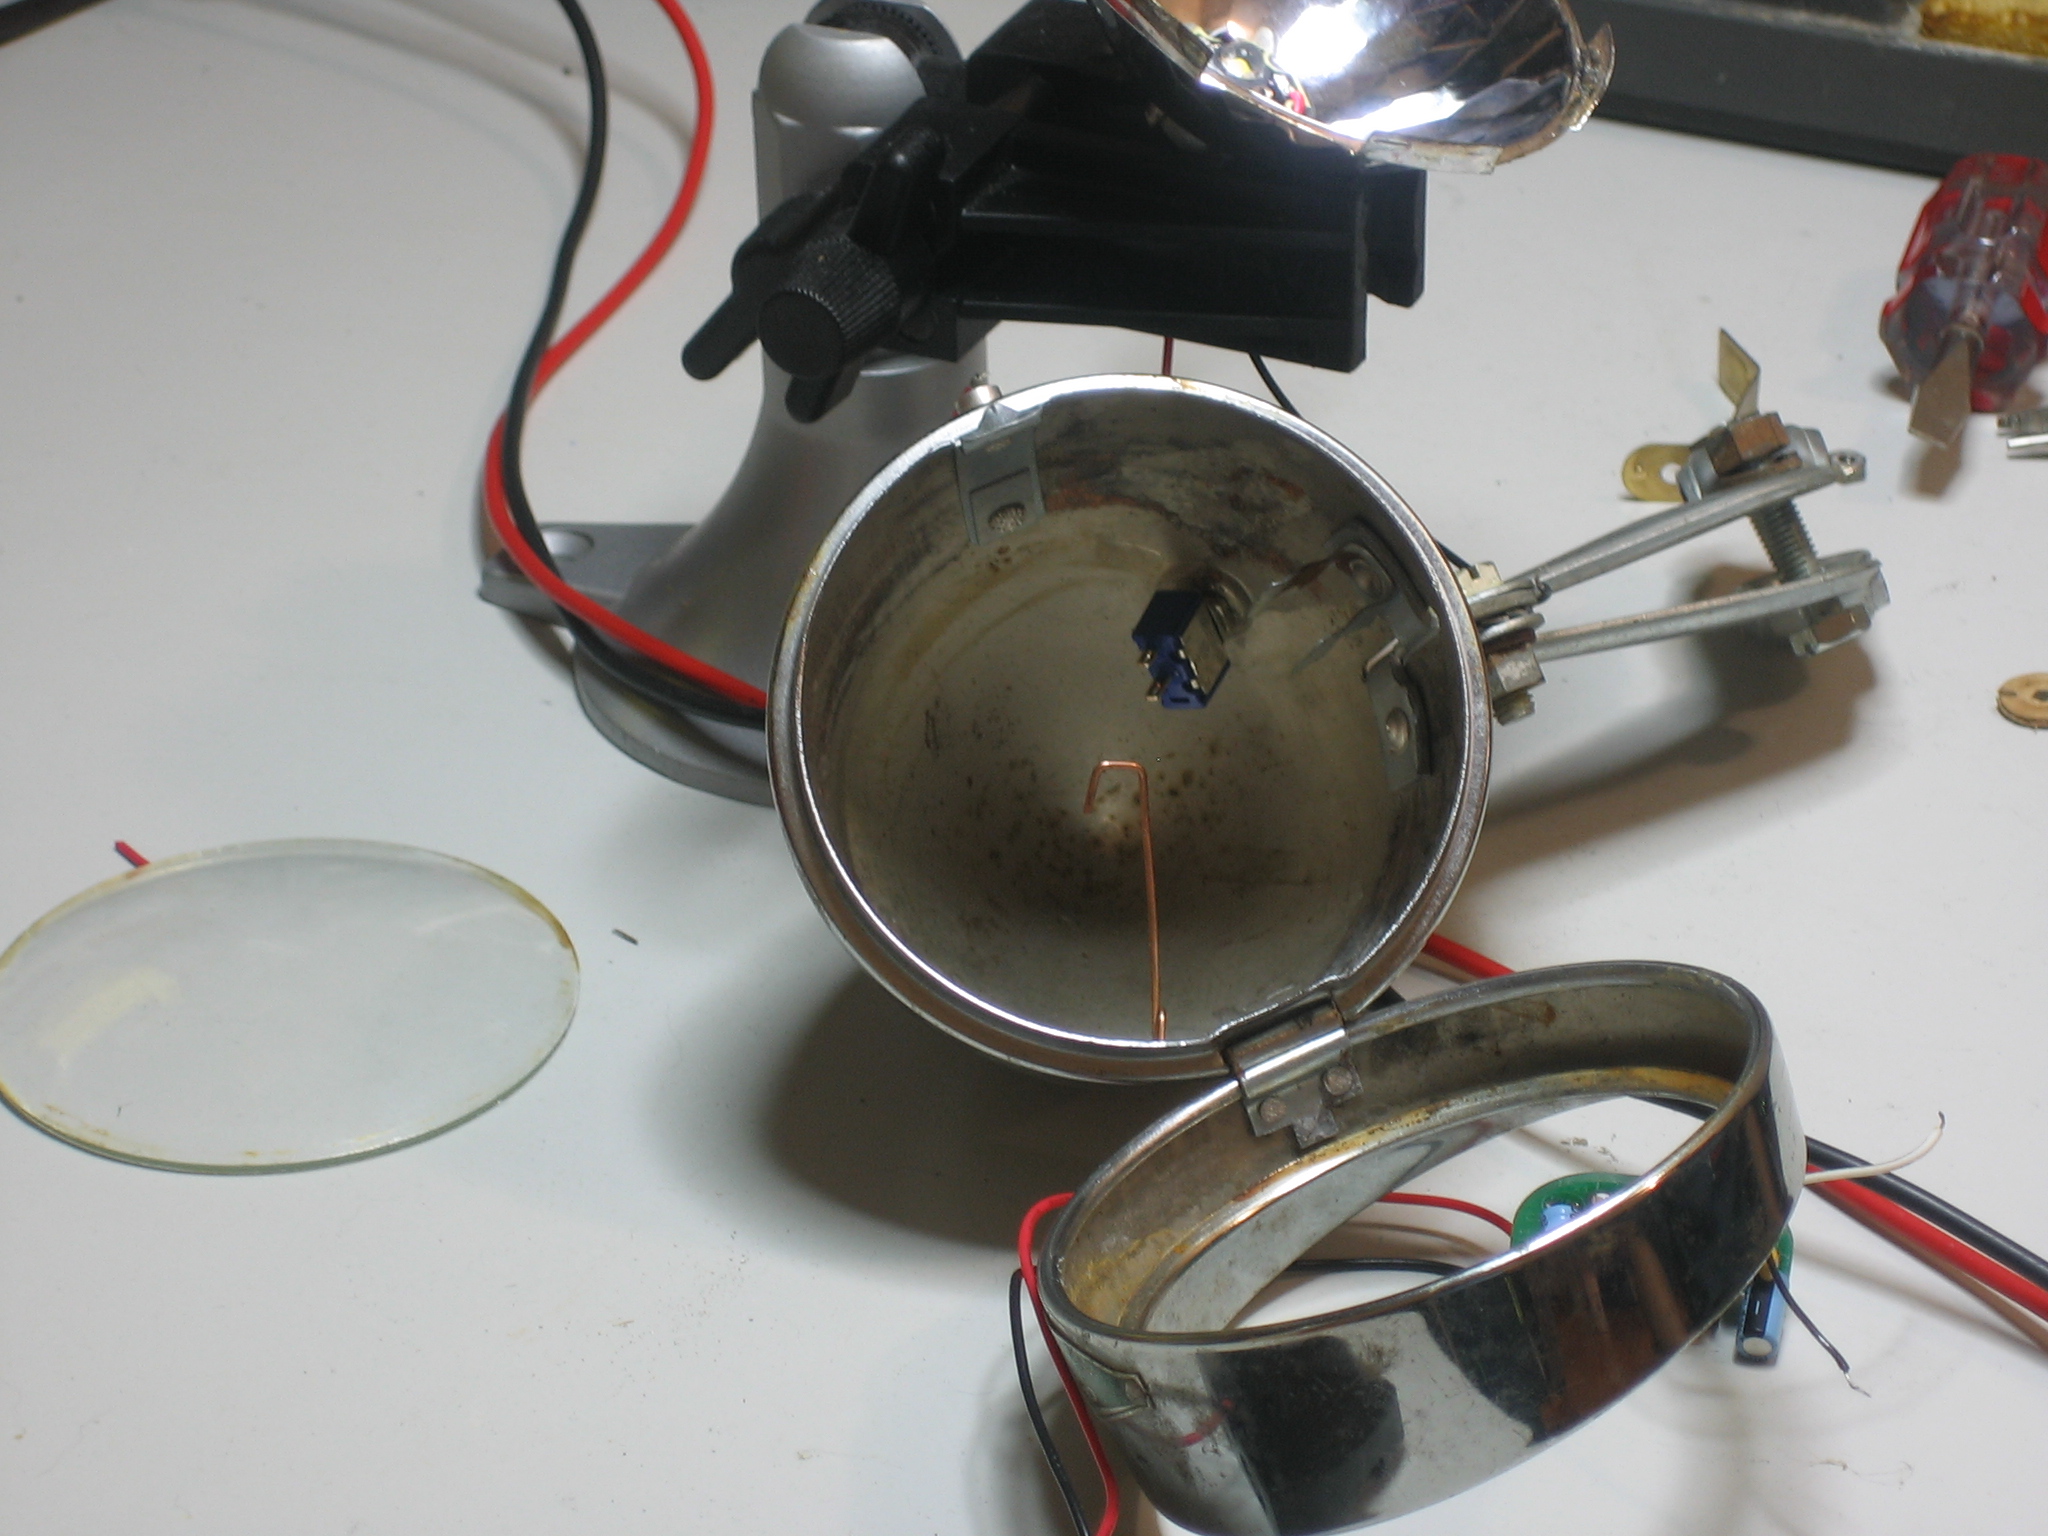
This is a quickie project showing how you can upgrade a vintage bike lamp for a '60s or '70s roadster into a powerful 1W LED light. Its much more efficient and a lot brighter!
This is a very old project, using the first version 1 of the MintyBoost - It wont work with V3 Mintyboosts currently sold!
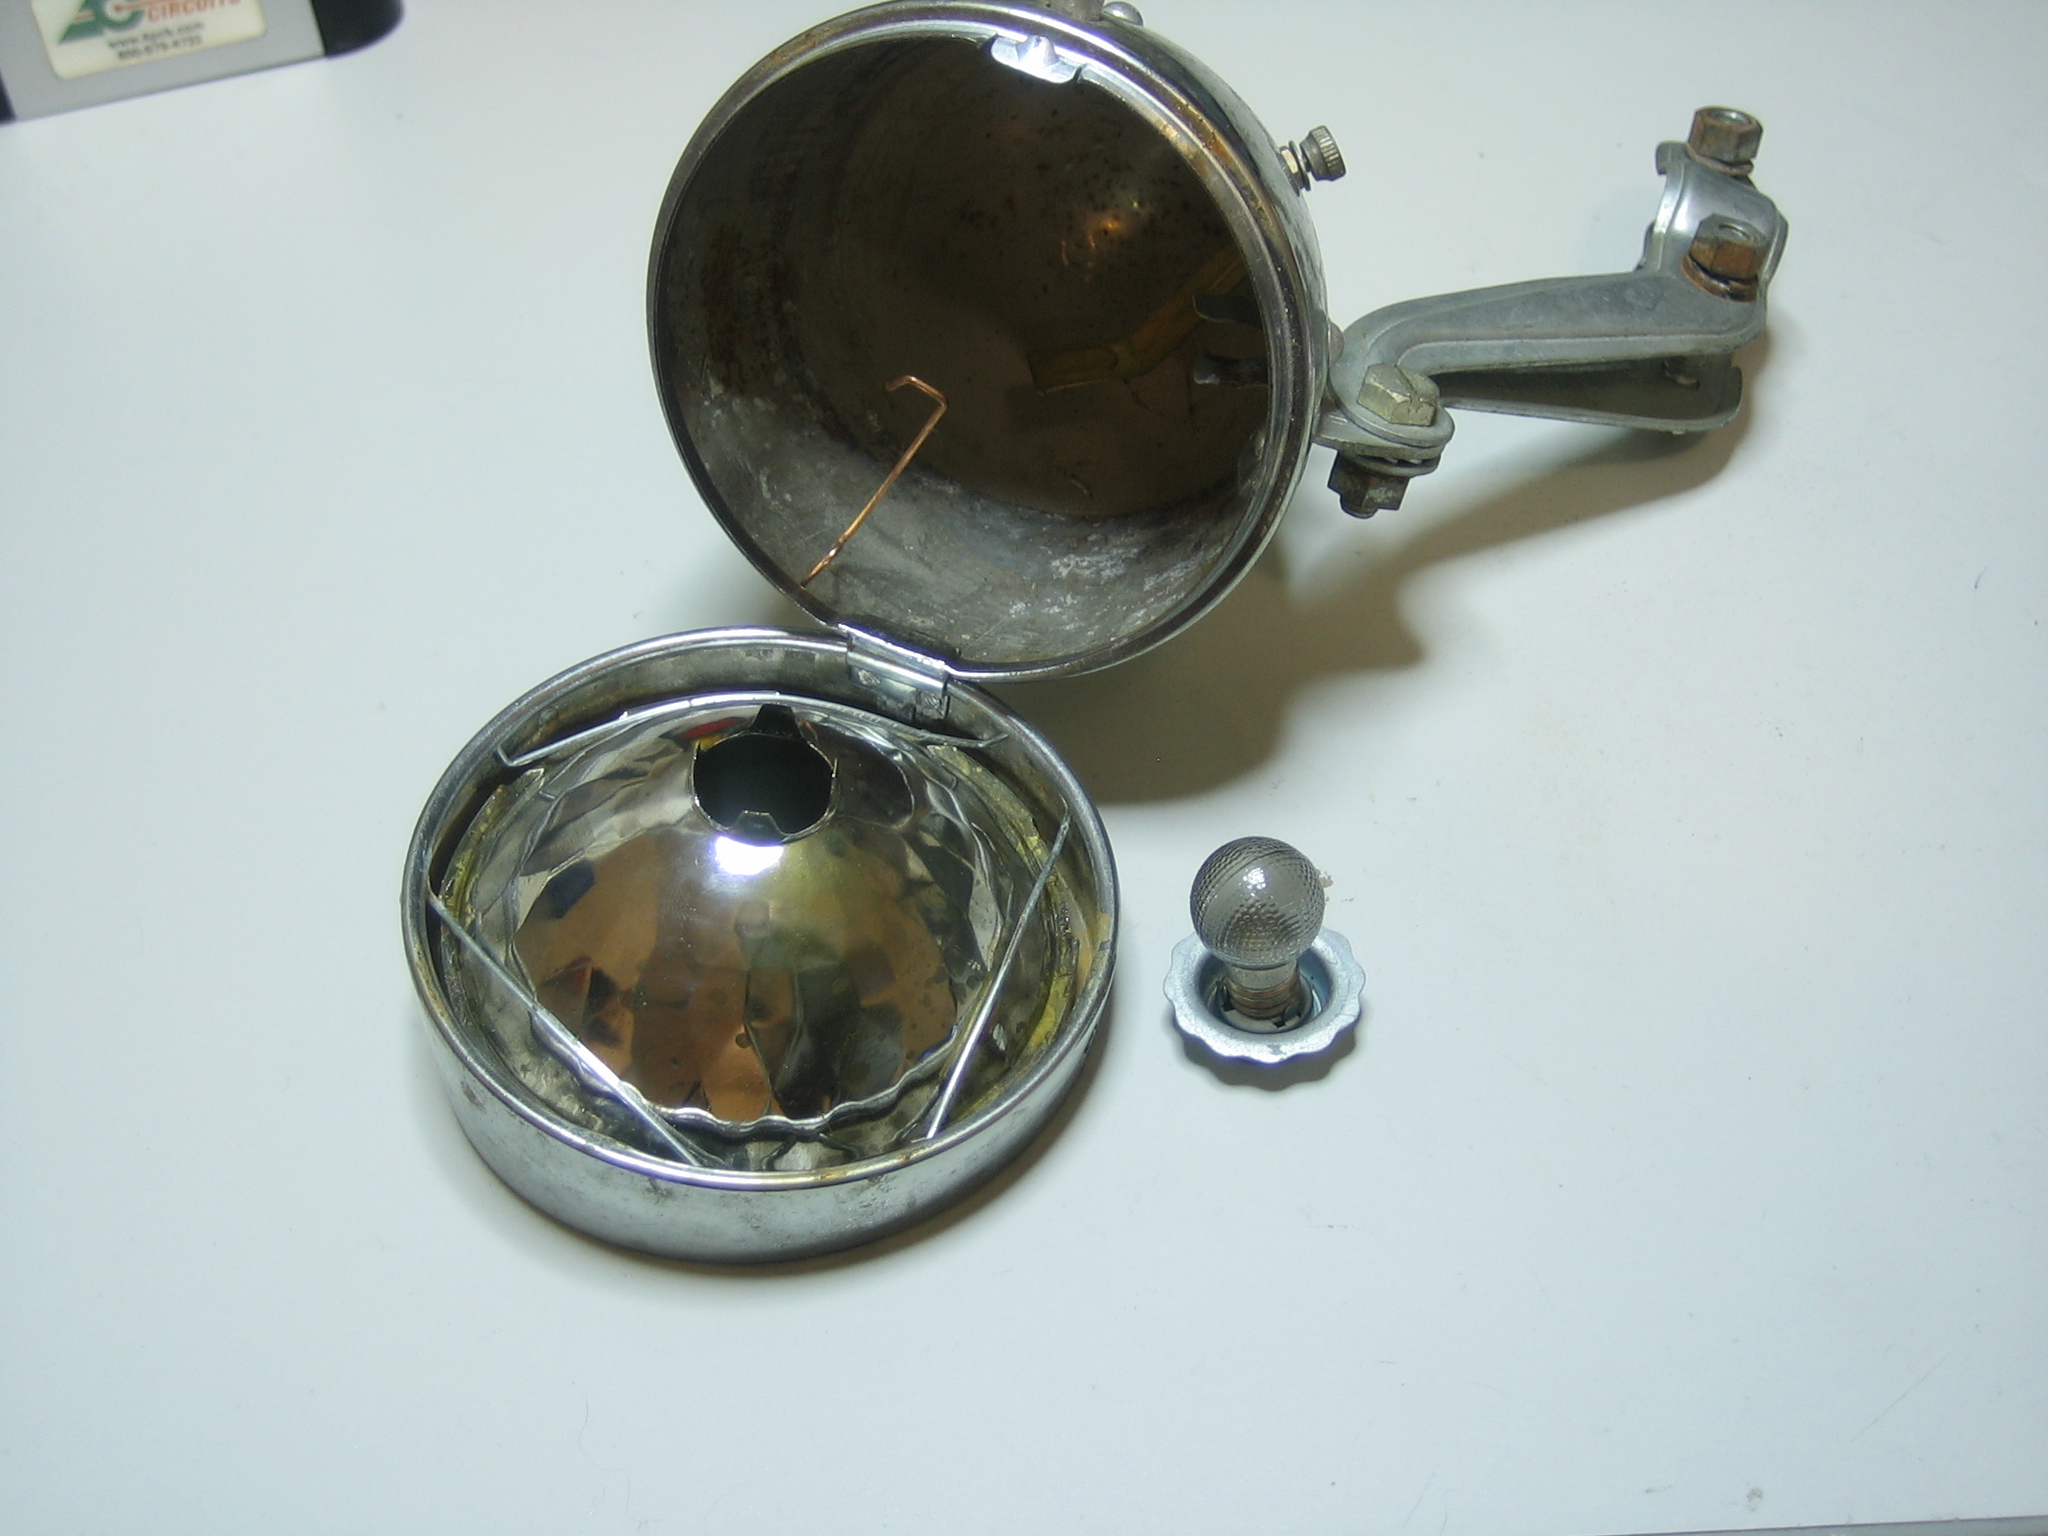
Check your local bike shop or ebay for tossed out lamps. They are plentiful!

This one was $5, which is a reasonable price.

White LEDs need to run at 3.3-3.5V, you can use 3 AA batteries but then the voltage can fluctuate a lot and finding a low dropout regulator may be a pain. Instead I chose to use a MintyBoost which I hacked so that instead of 5V out it gives 3.3V. Its not ideal at all, as it does not drive the LED at full power, but that's OK by me.
First build a mintyboost but leave out the USB holder (and 2 resistors are not necessary)
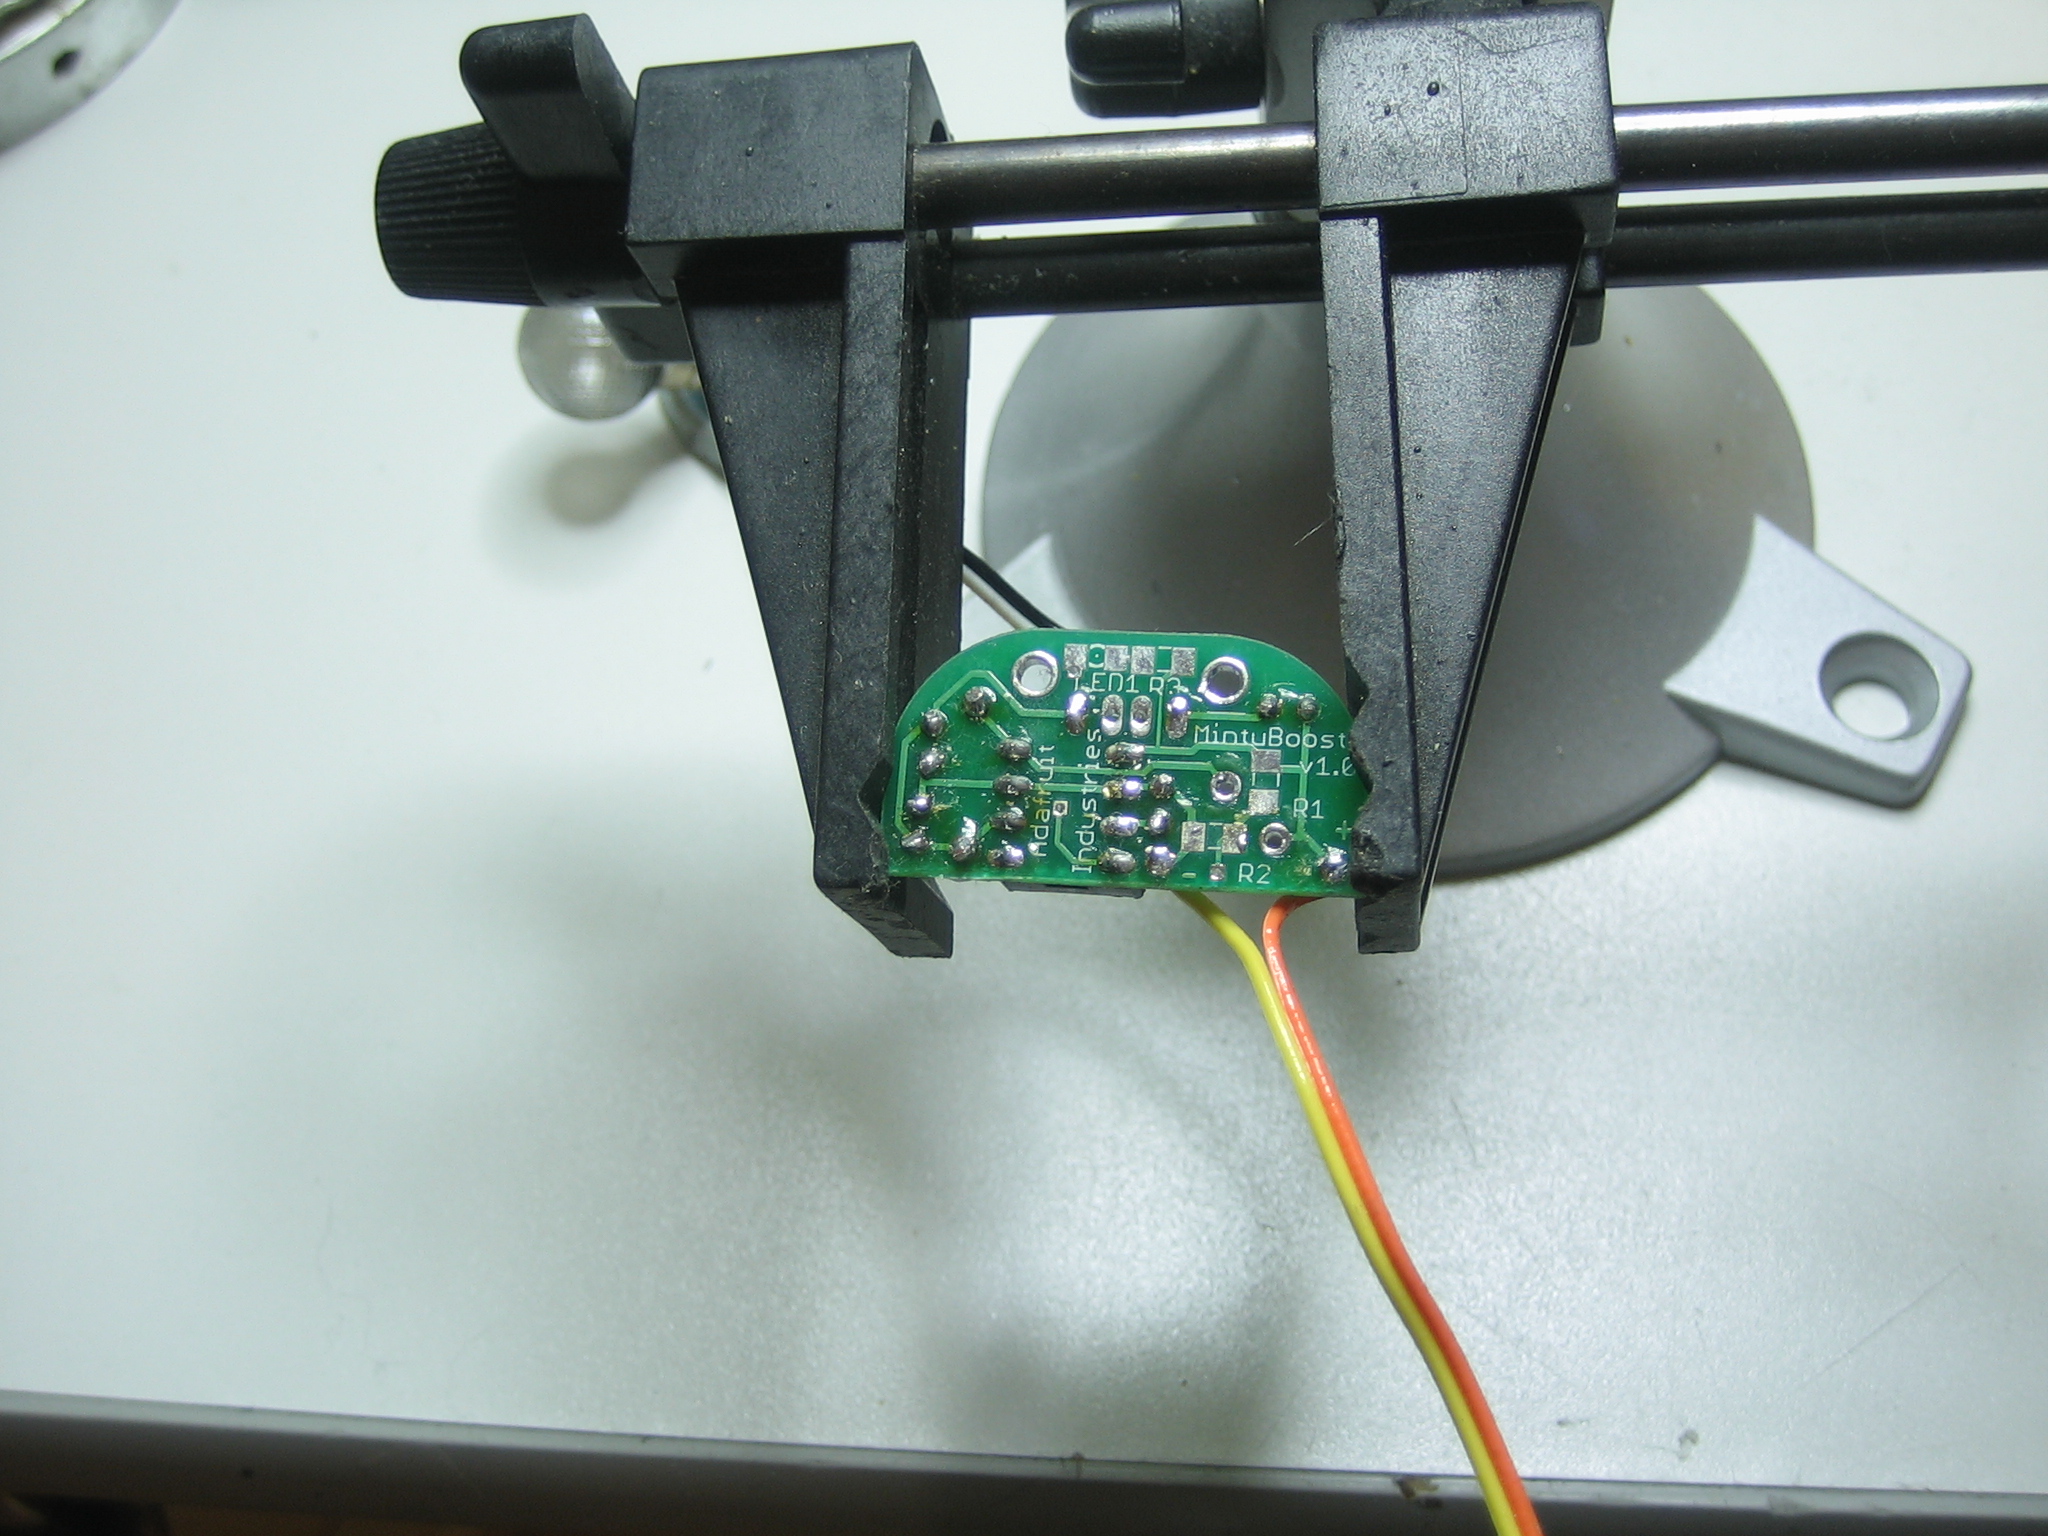
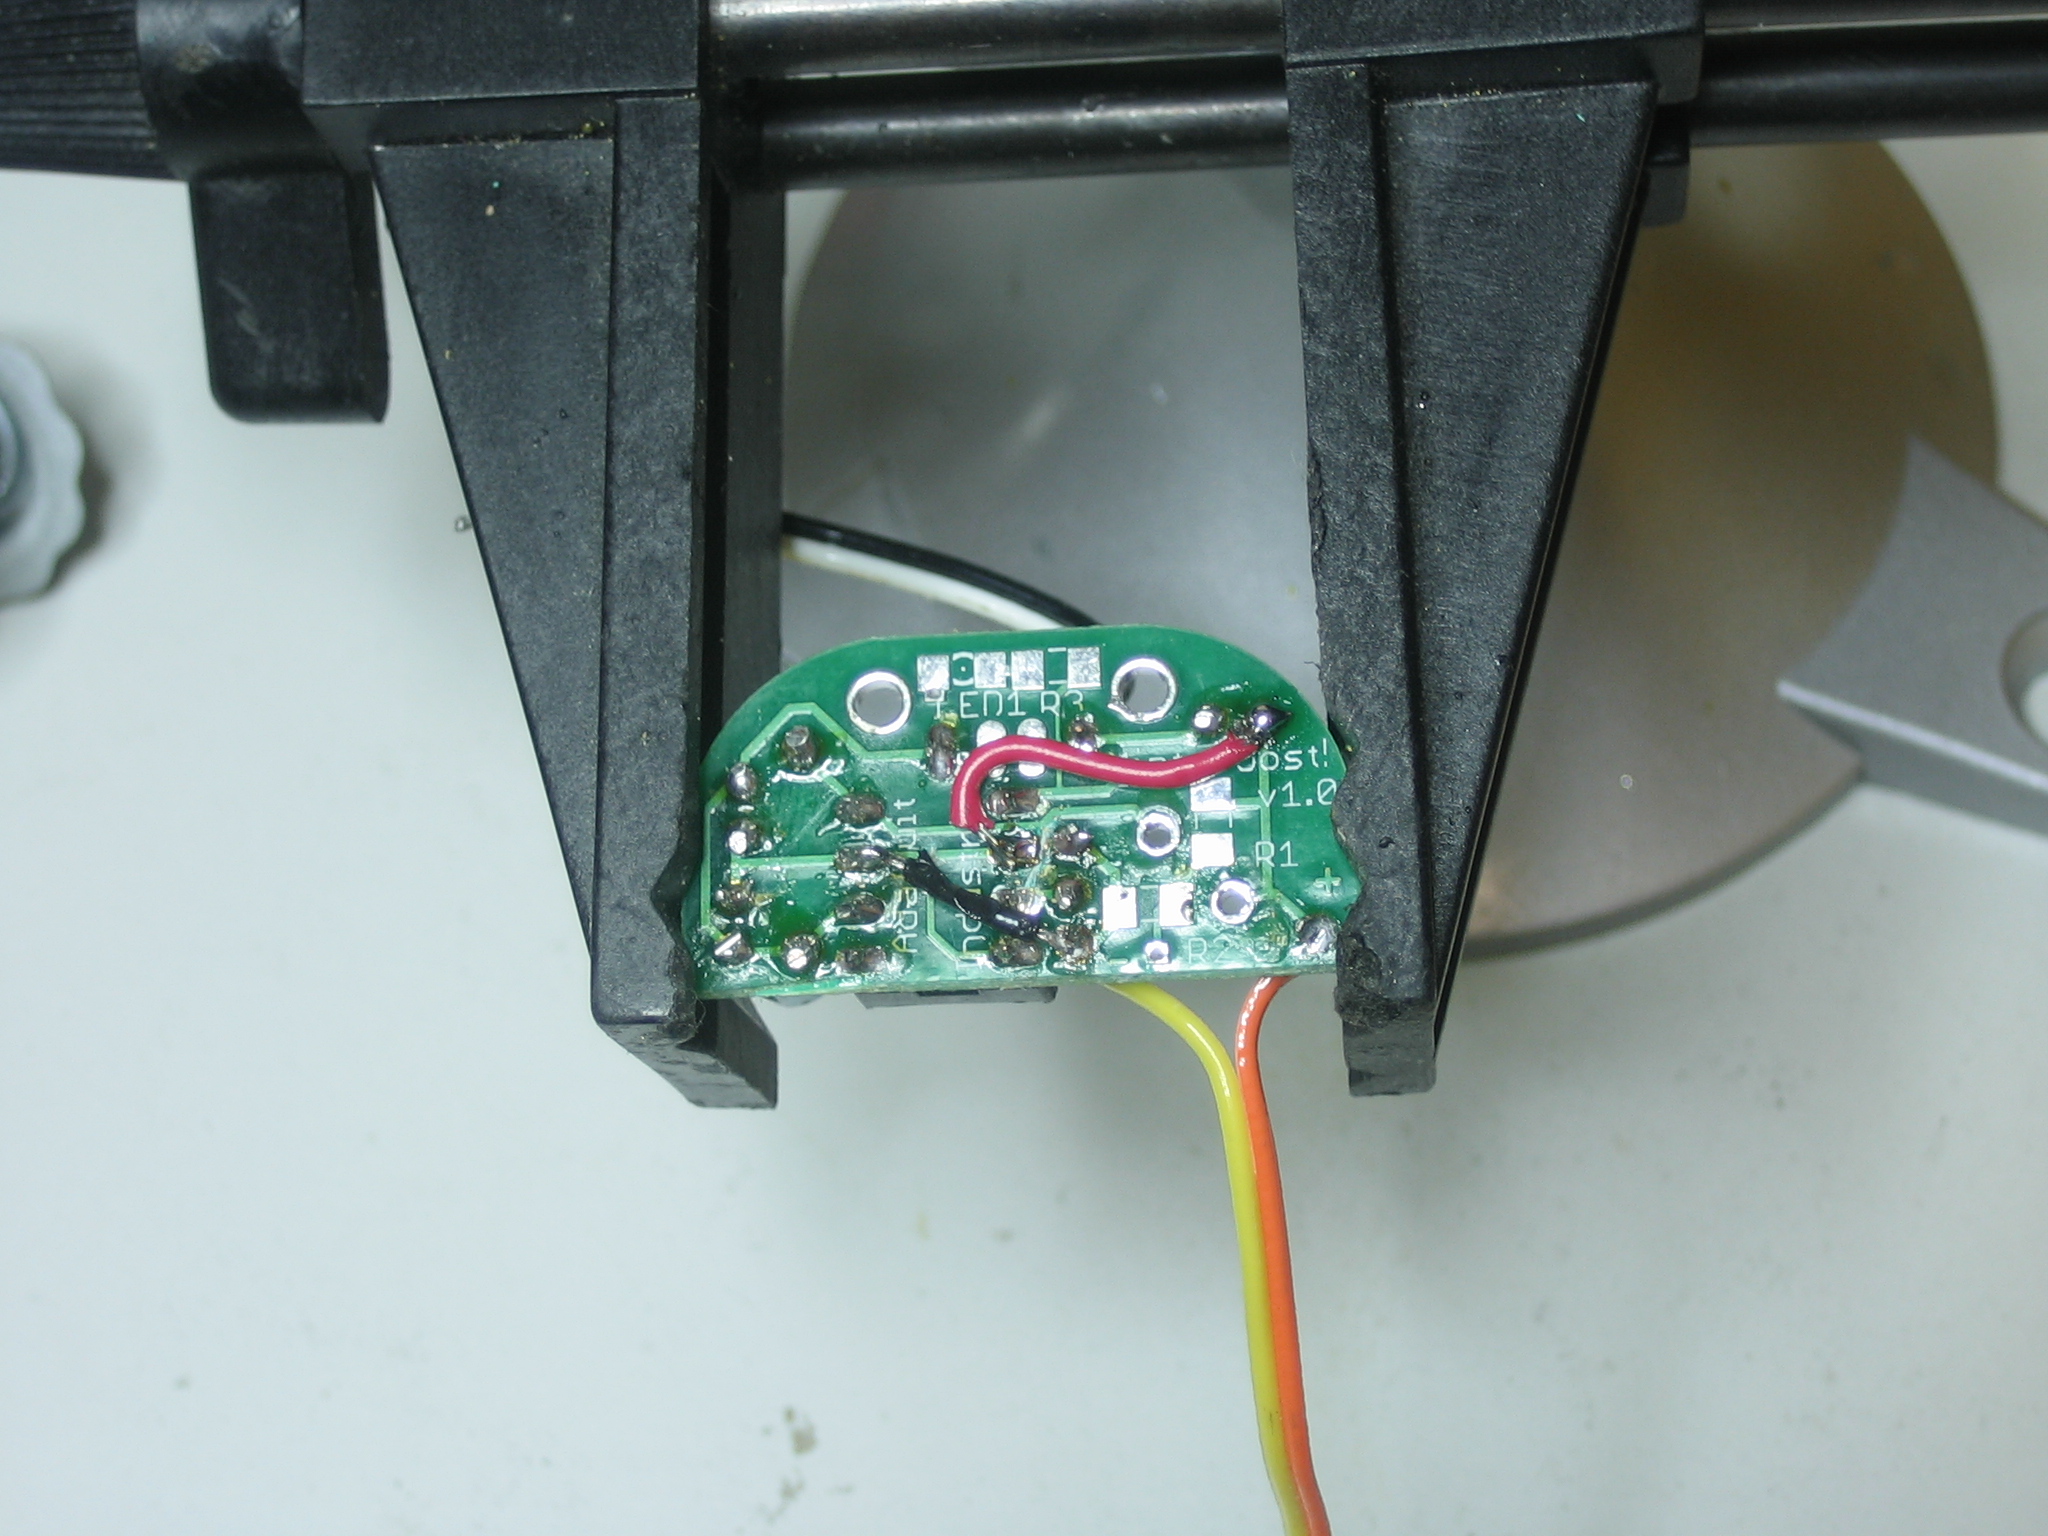
Next cut the two lines to pin 2 (voltage selector pin)
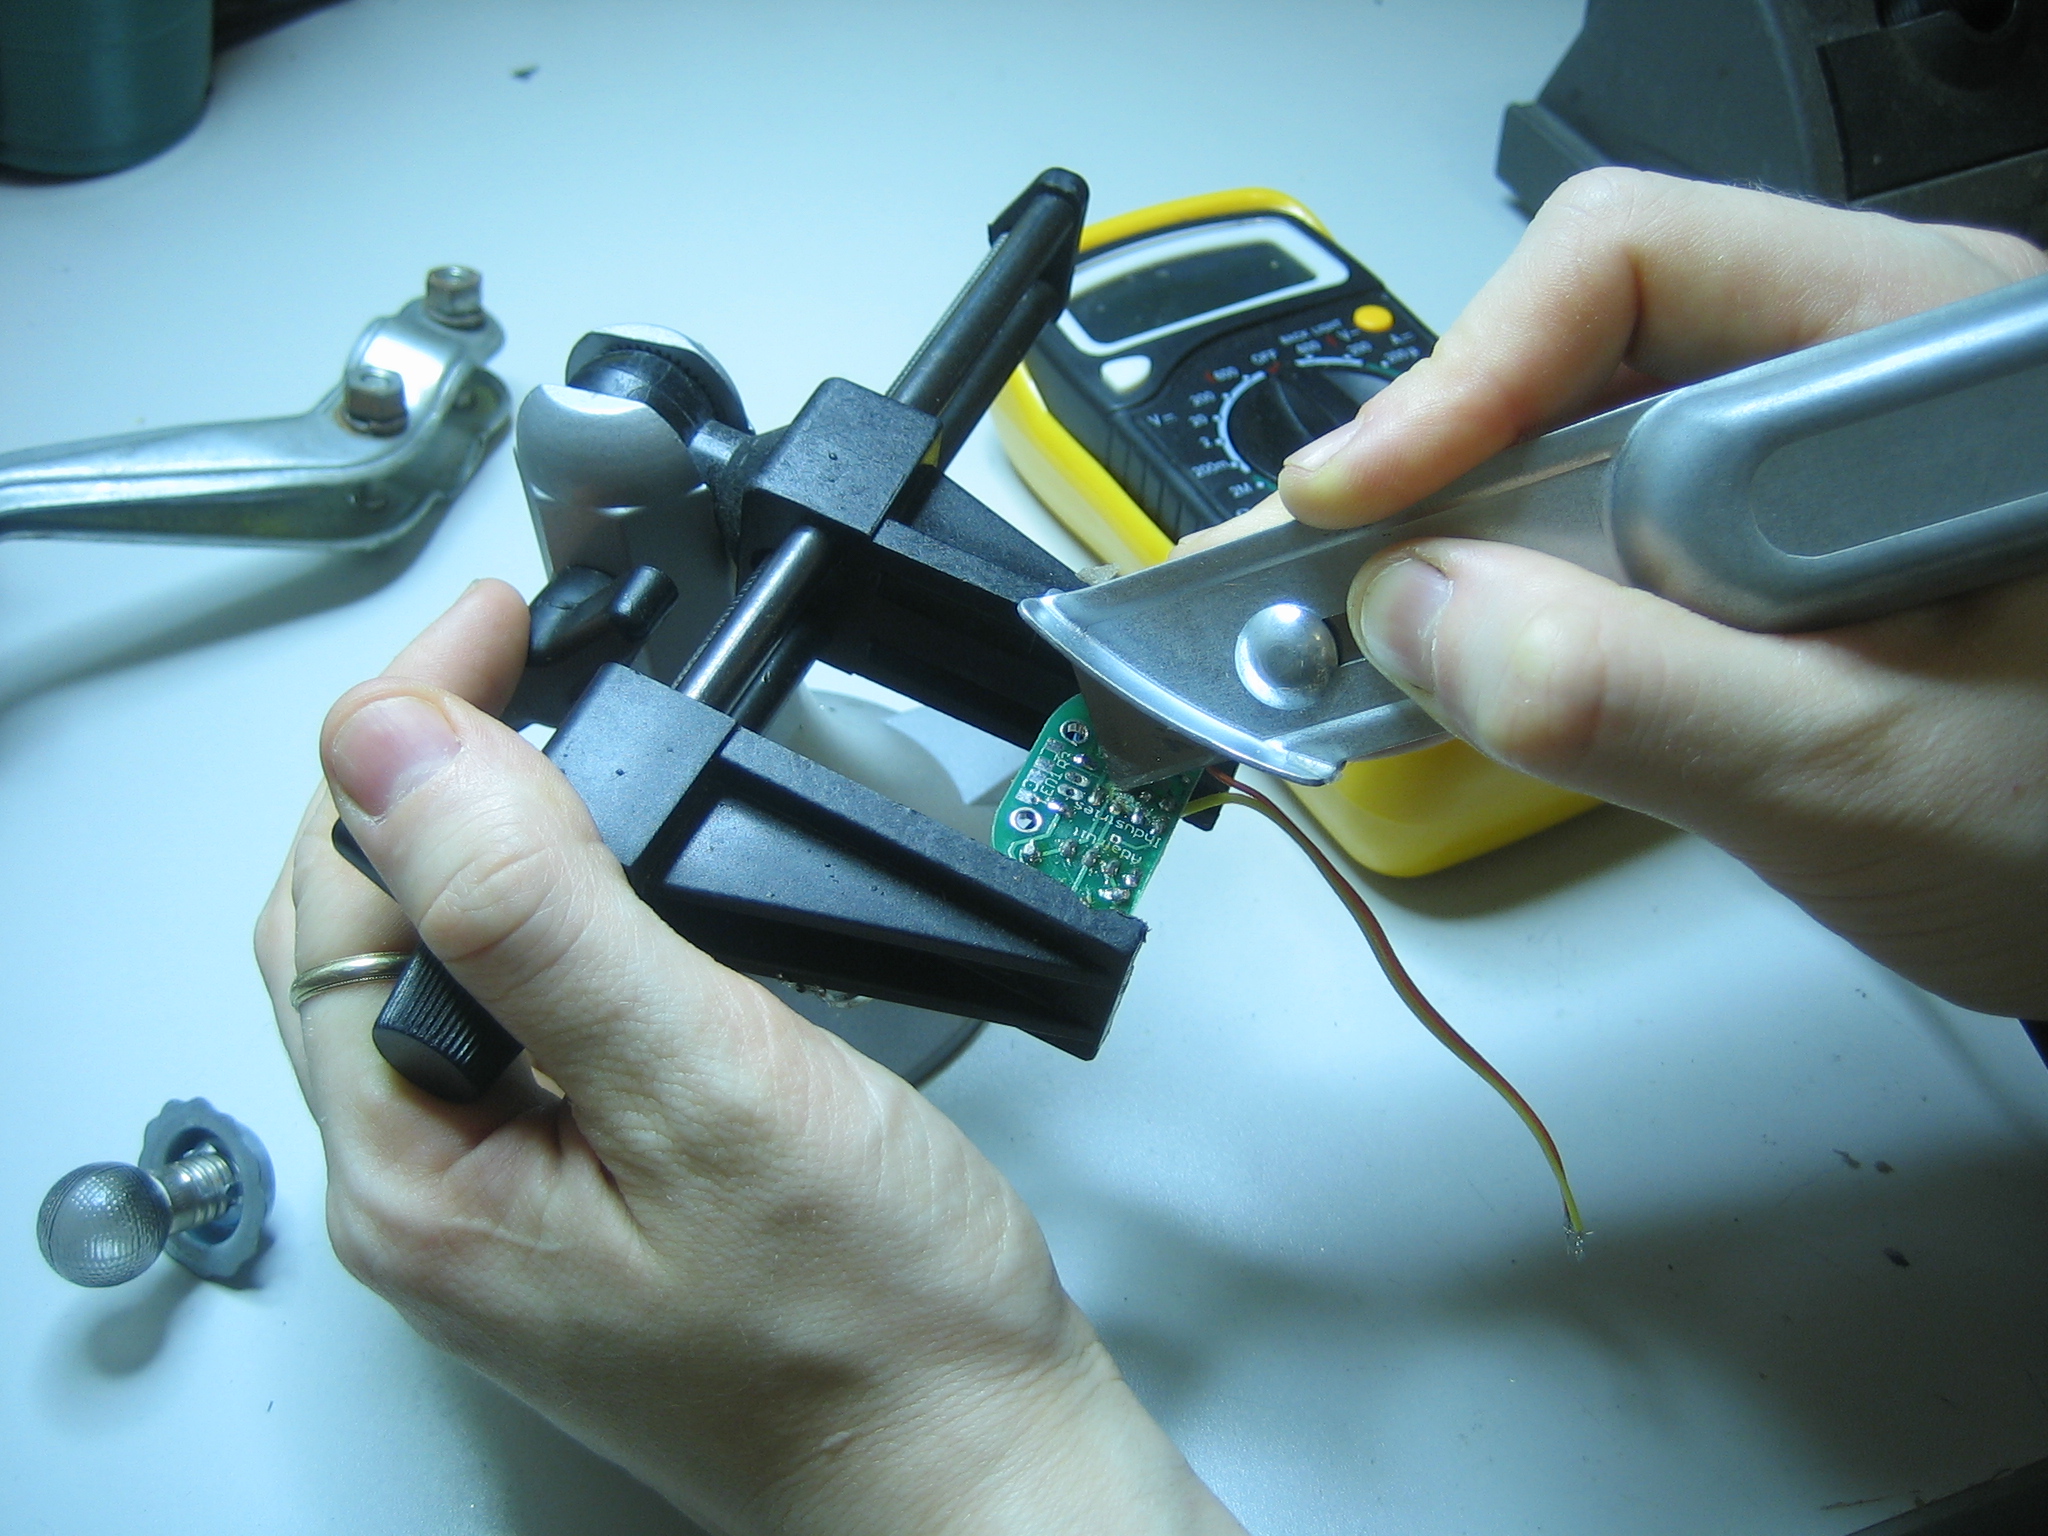
Rewire the two lines so that they 'jumper' over pin 2. Then tie pin 2 to battery +
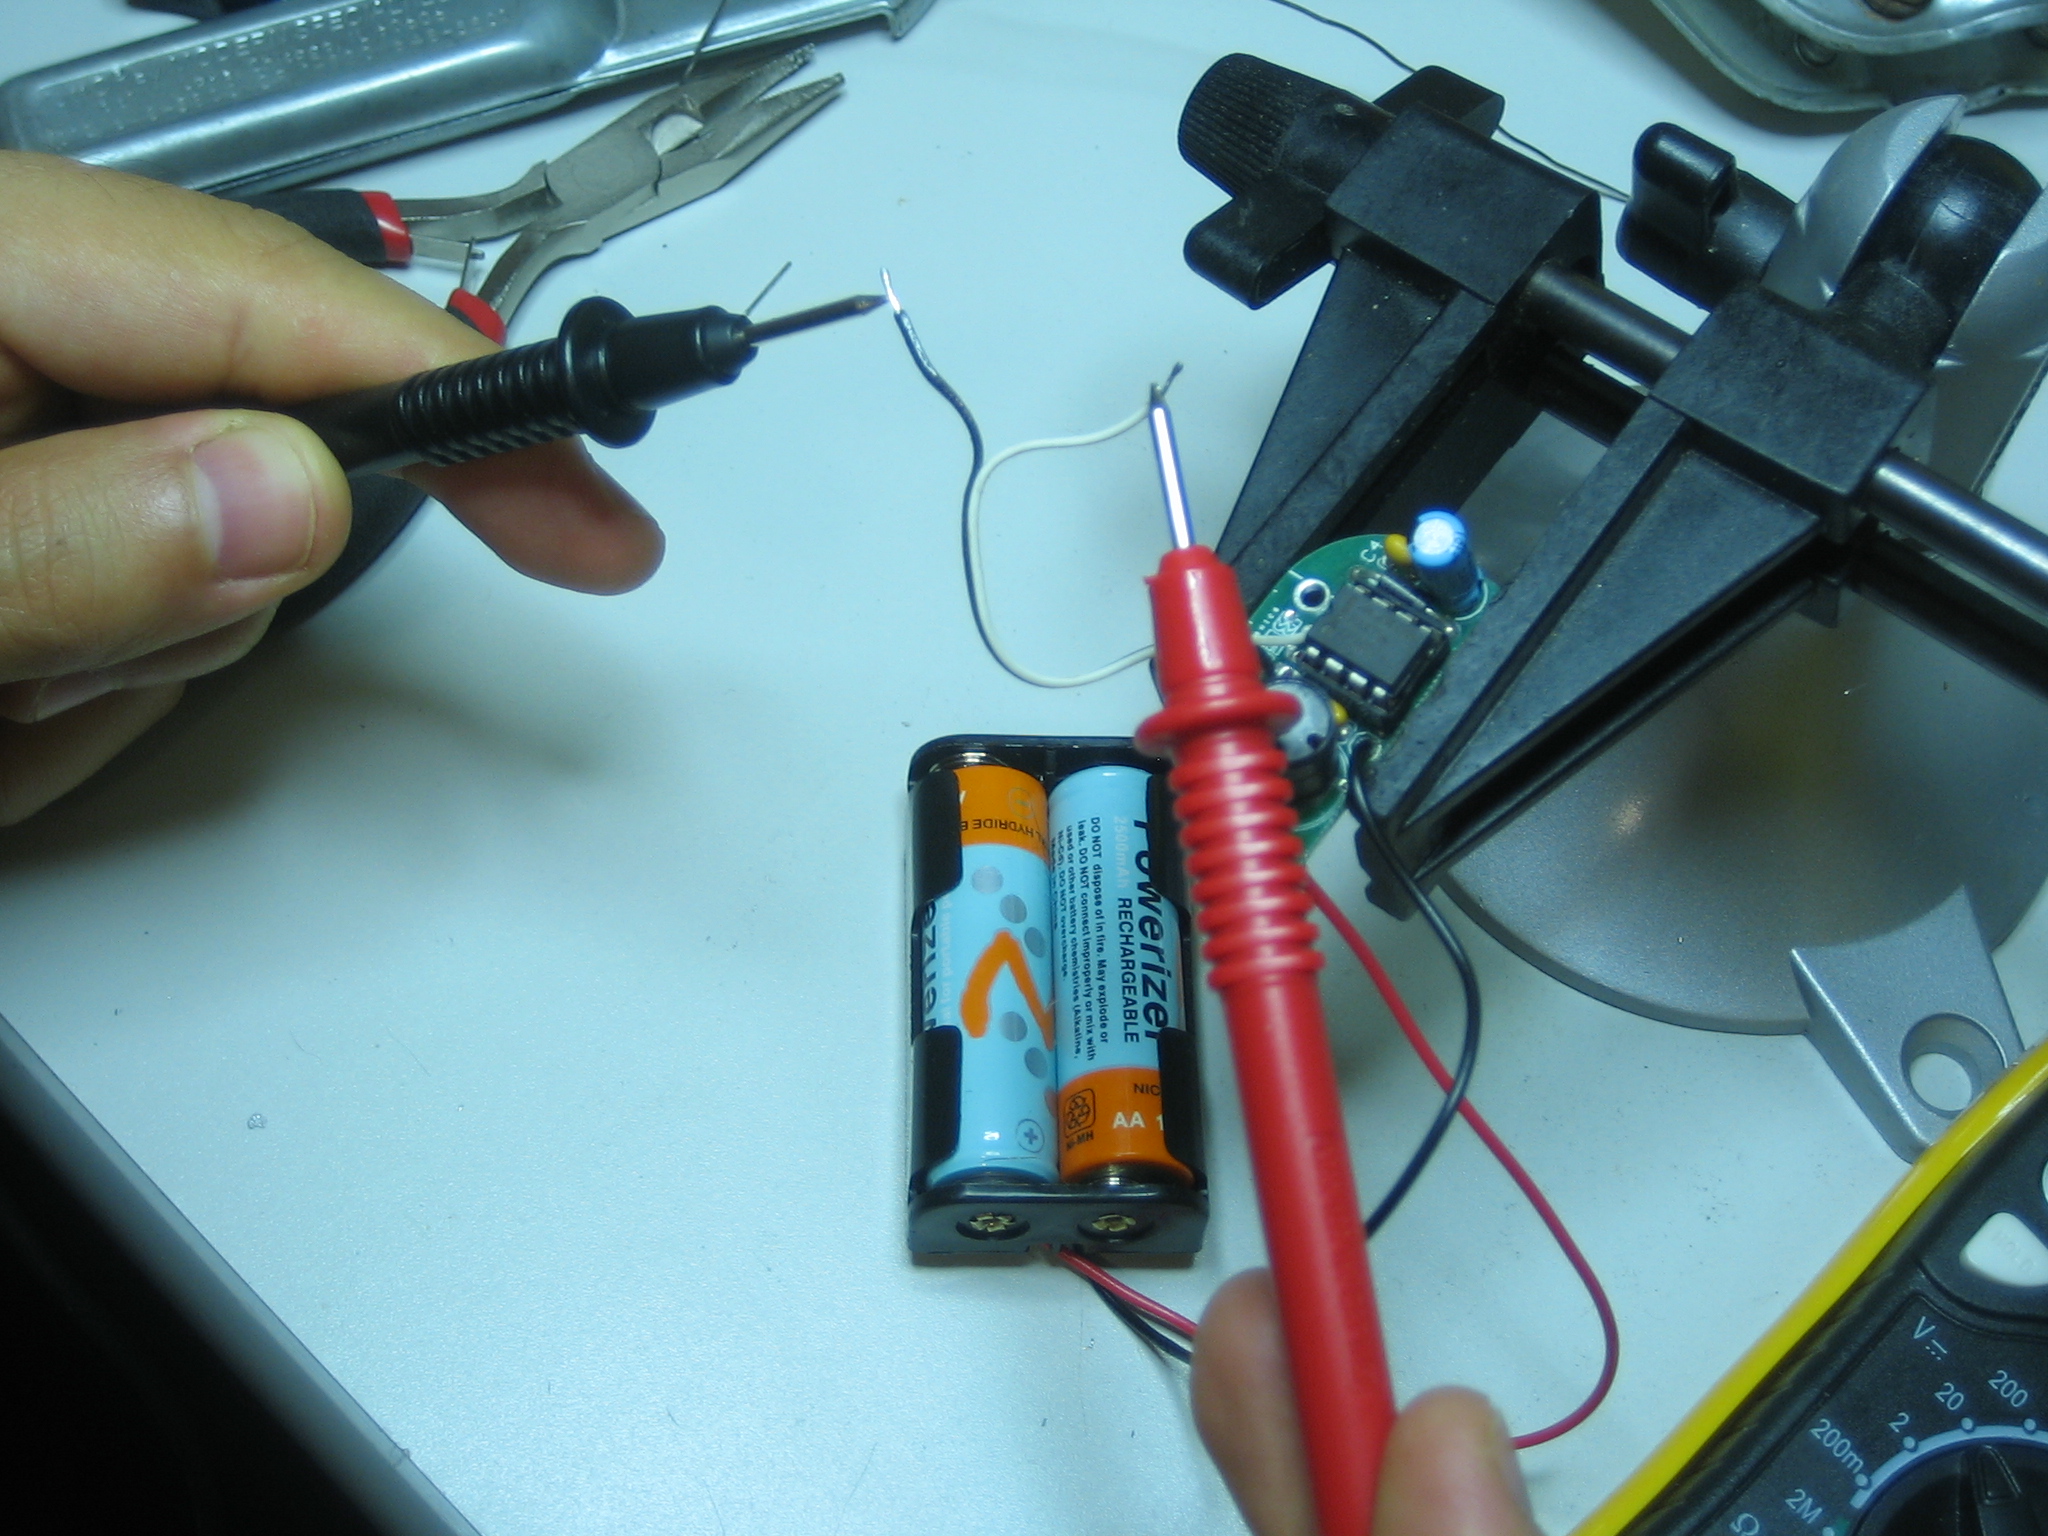
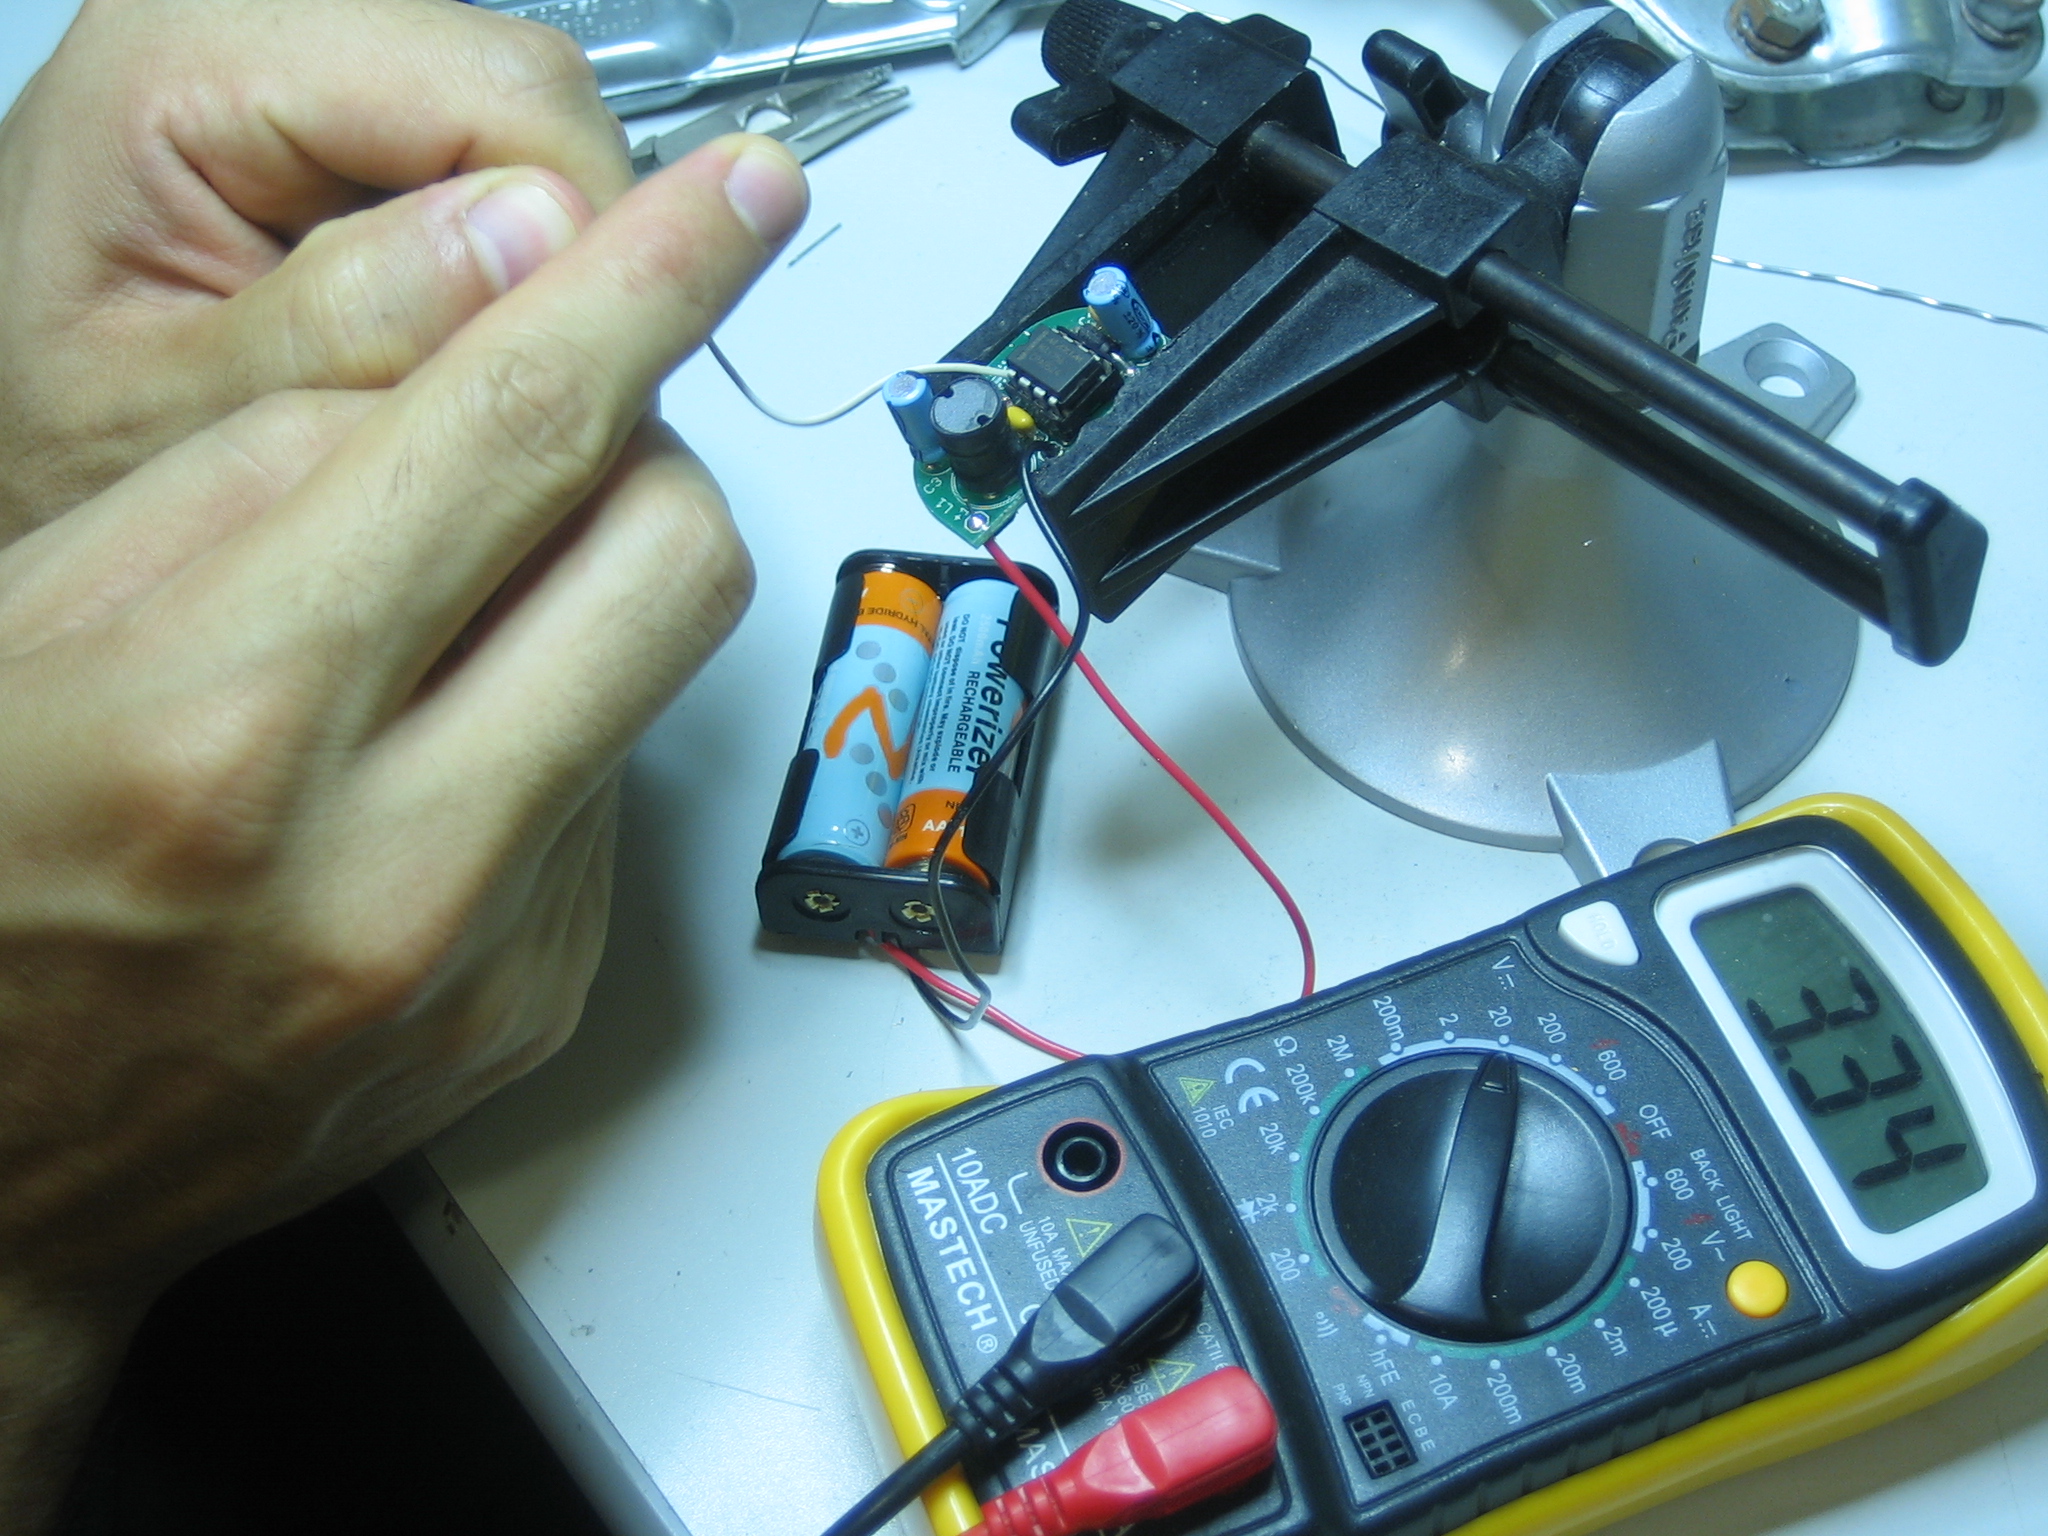
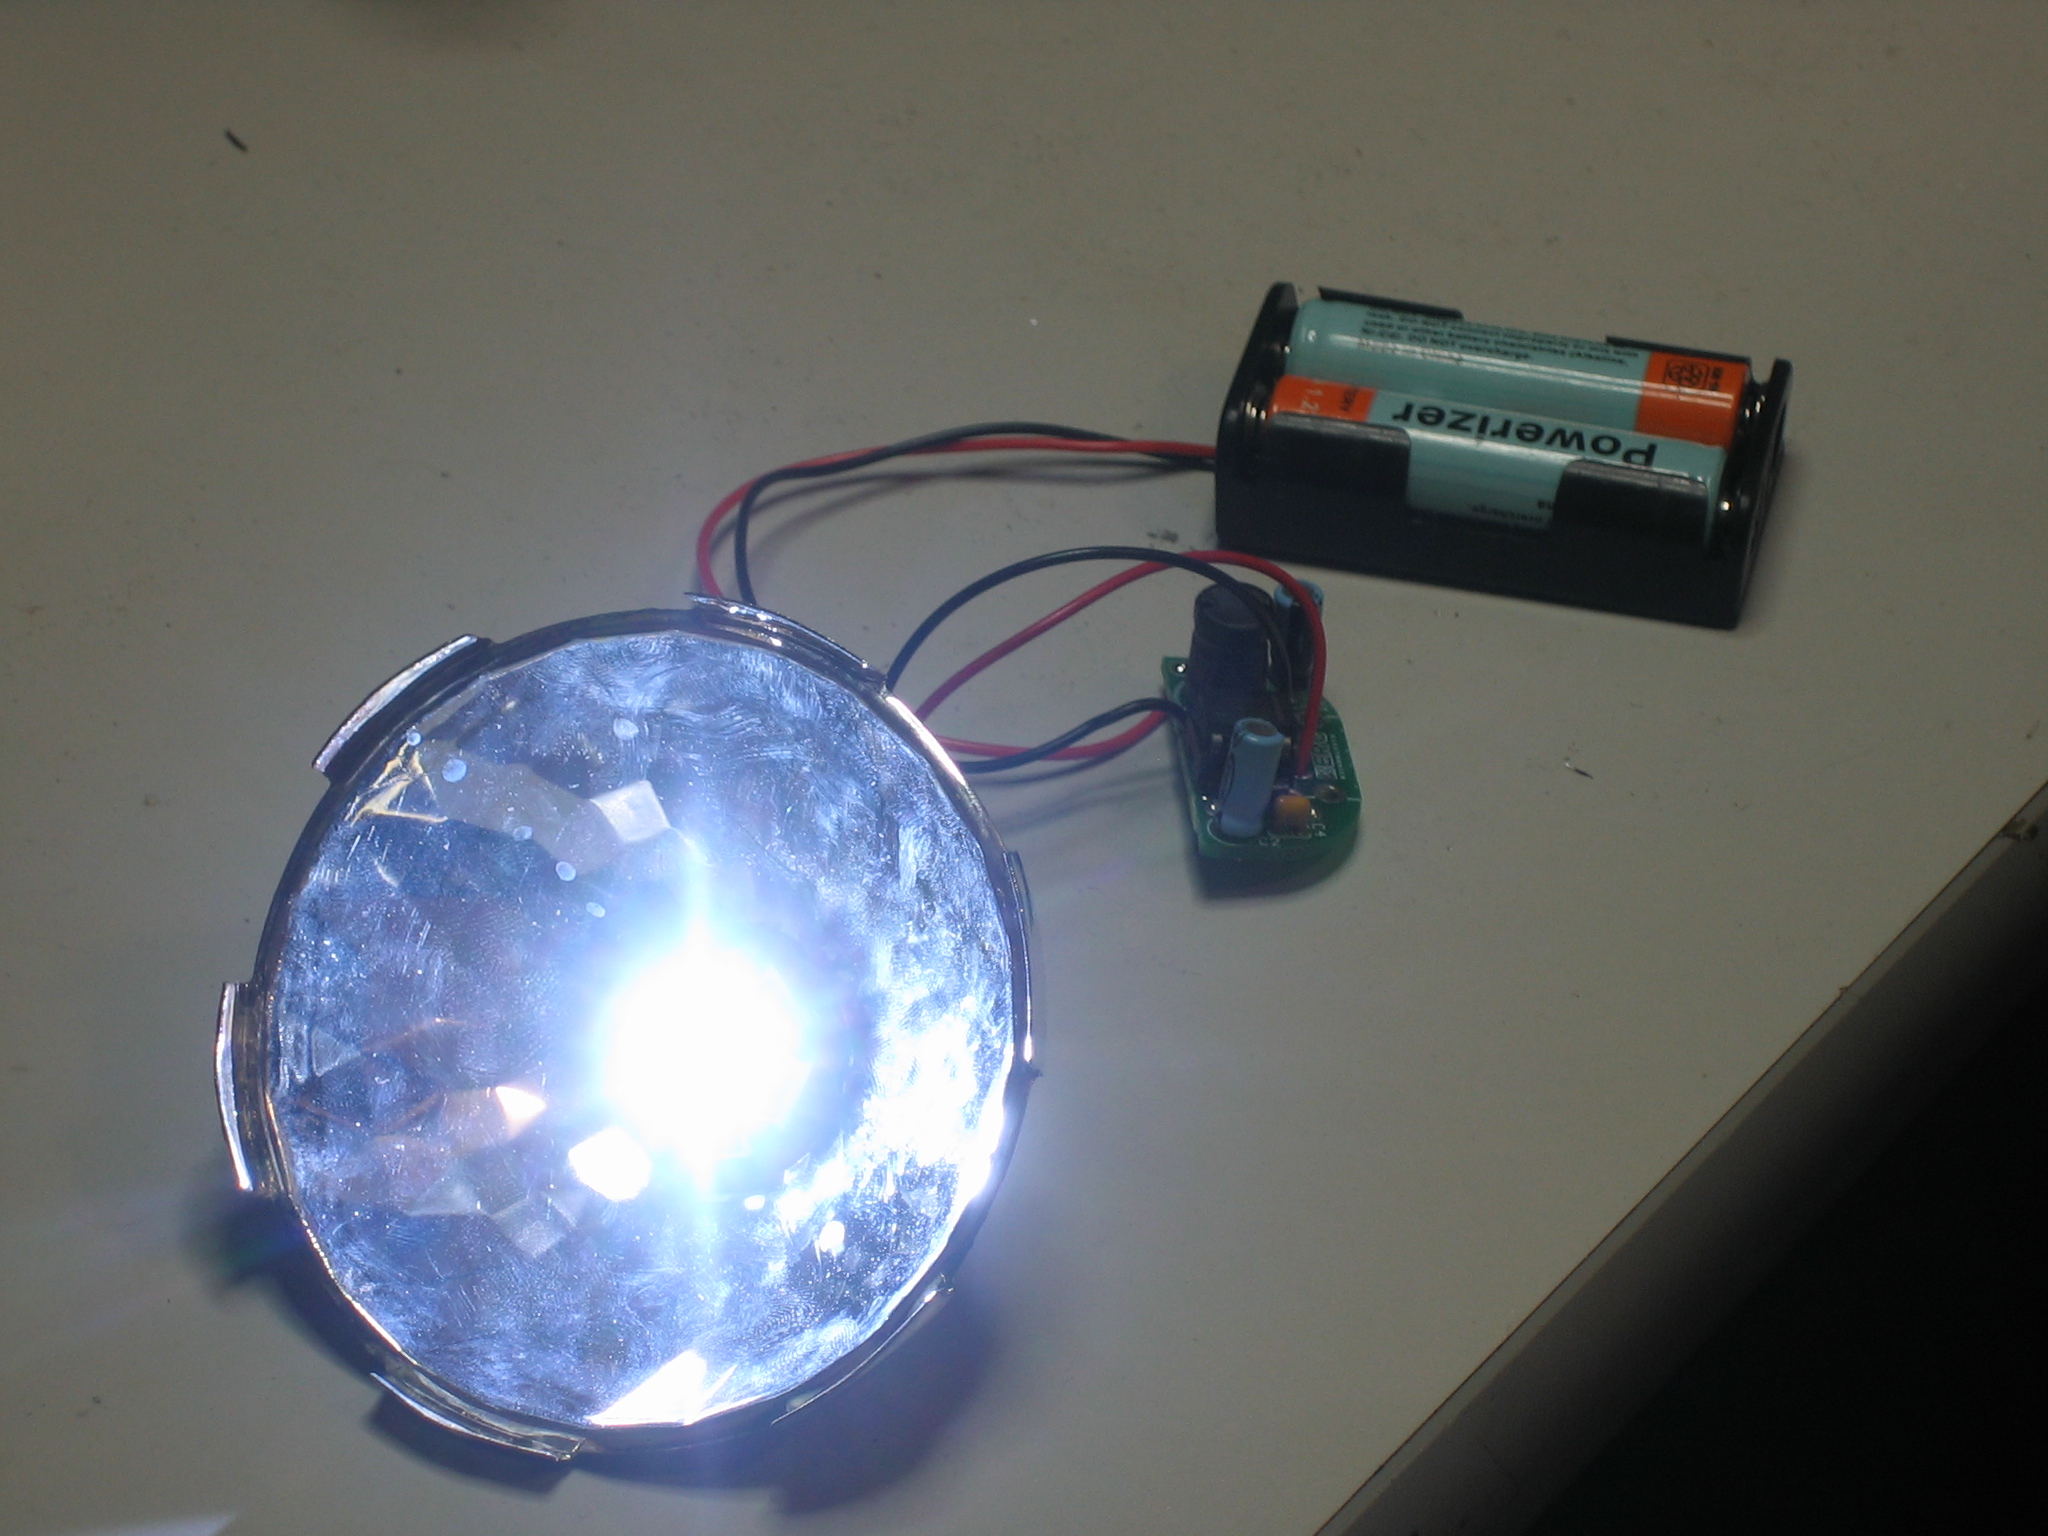
Connect up two batteries and measure the output, should be 3.3V!
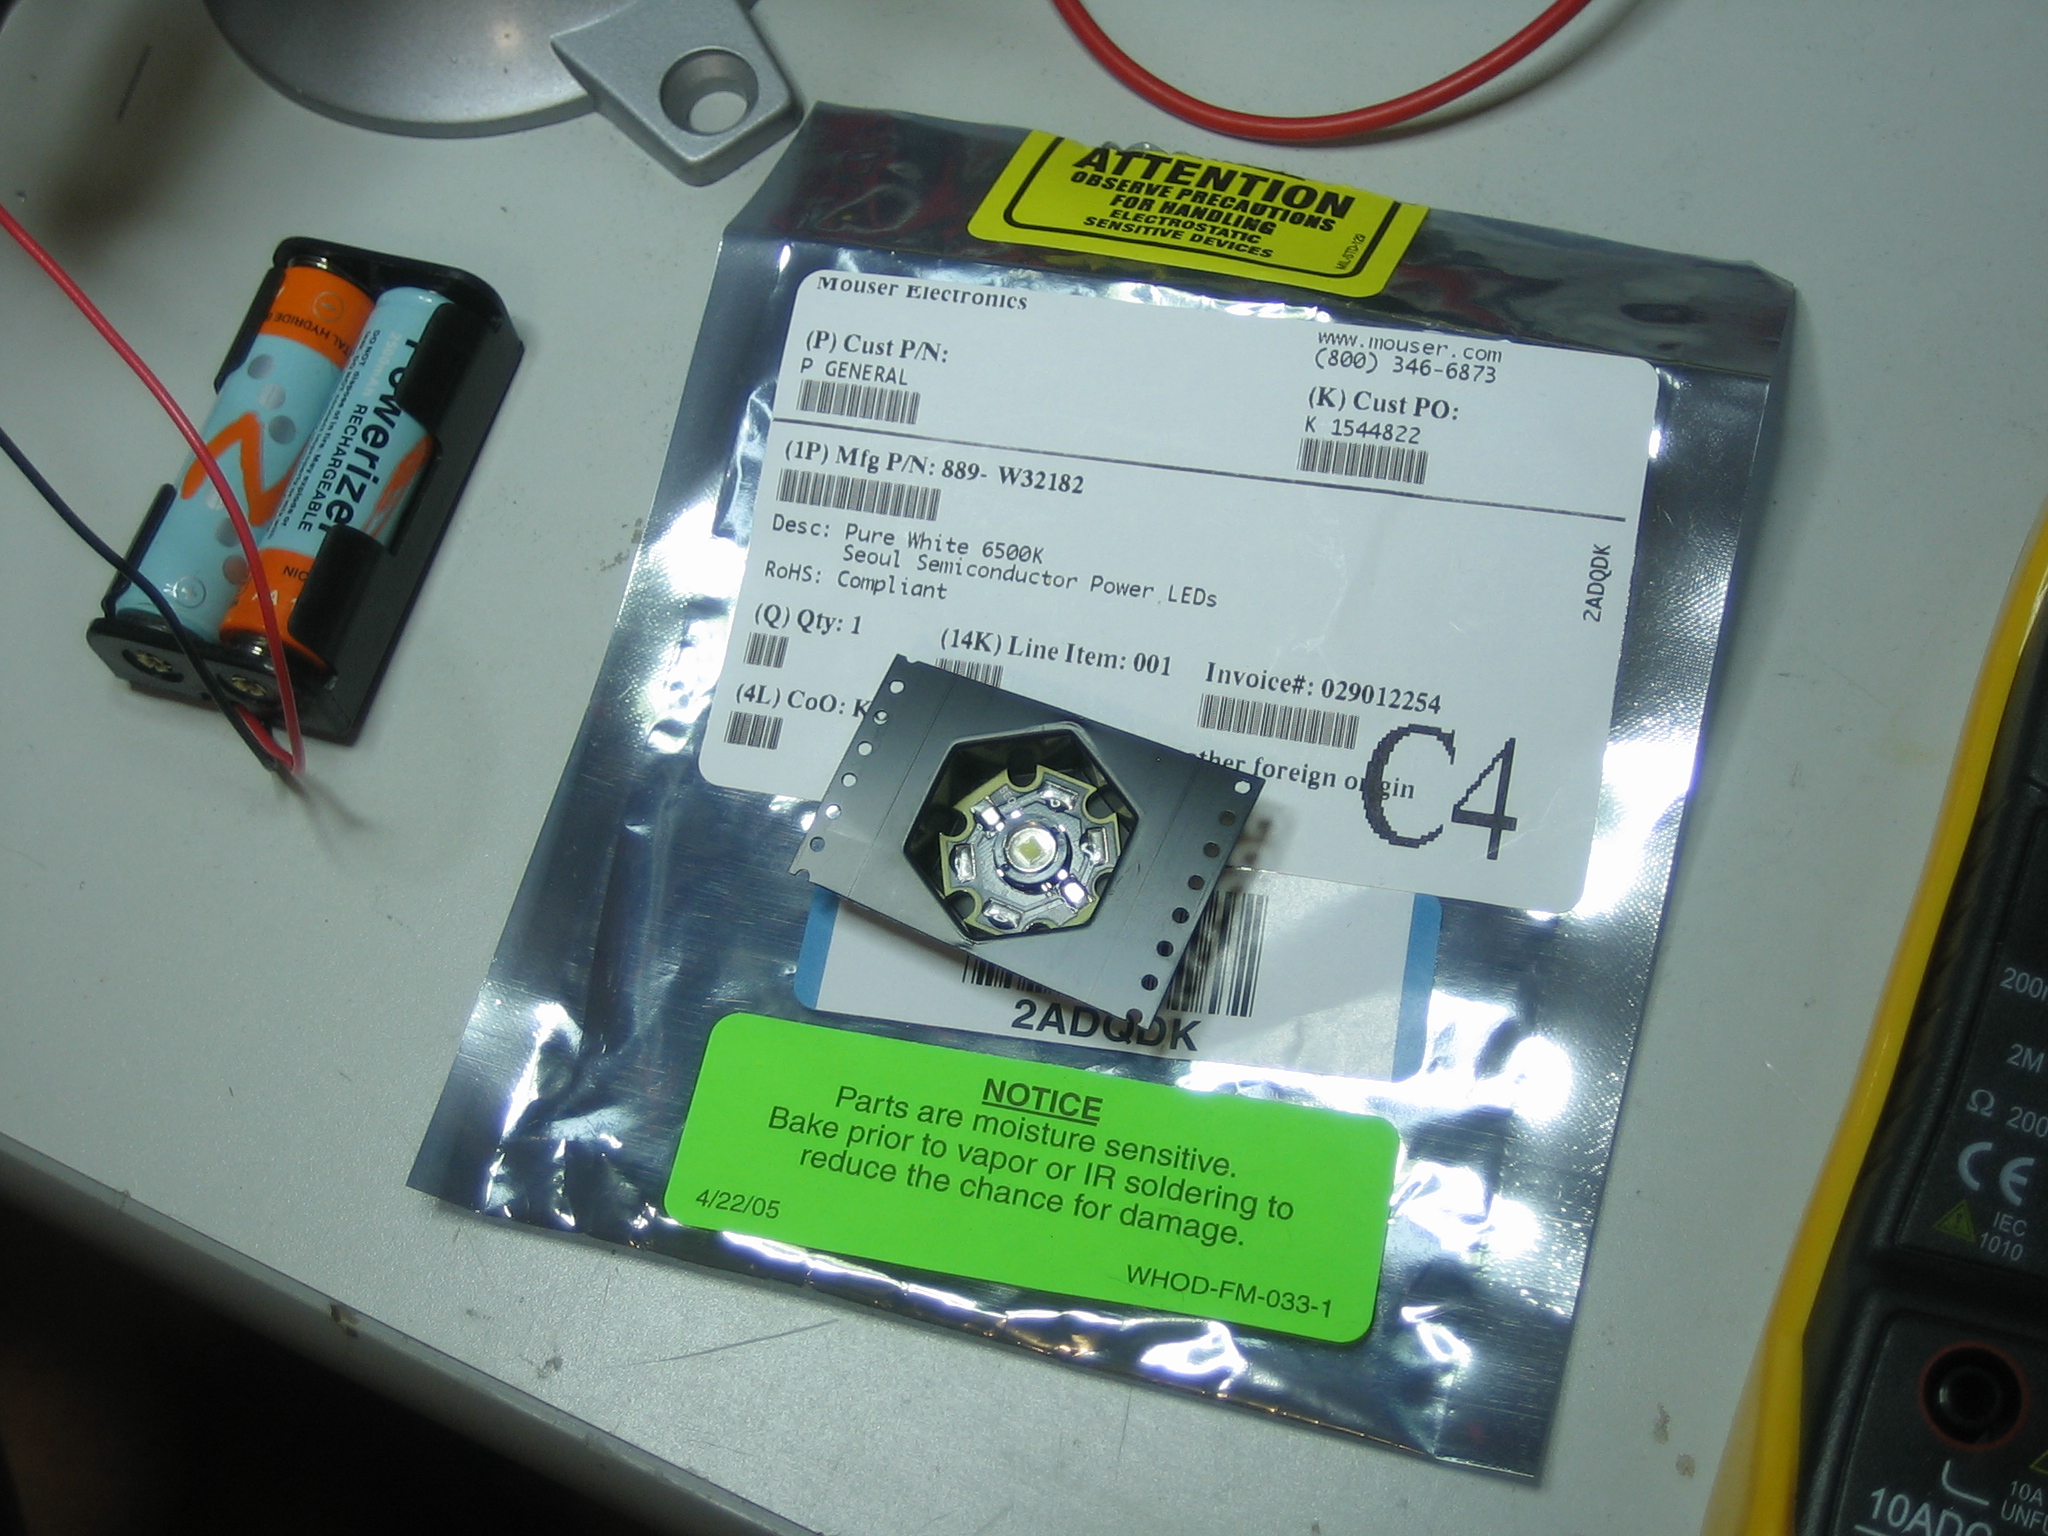
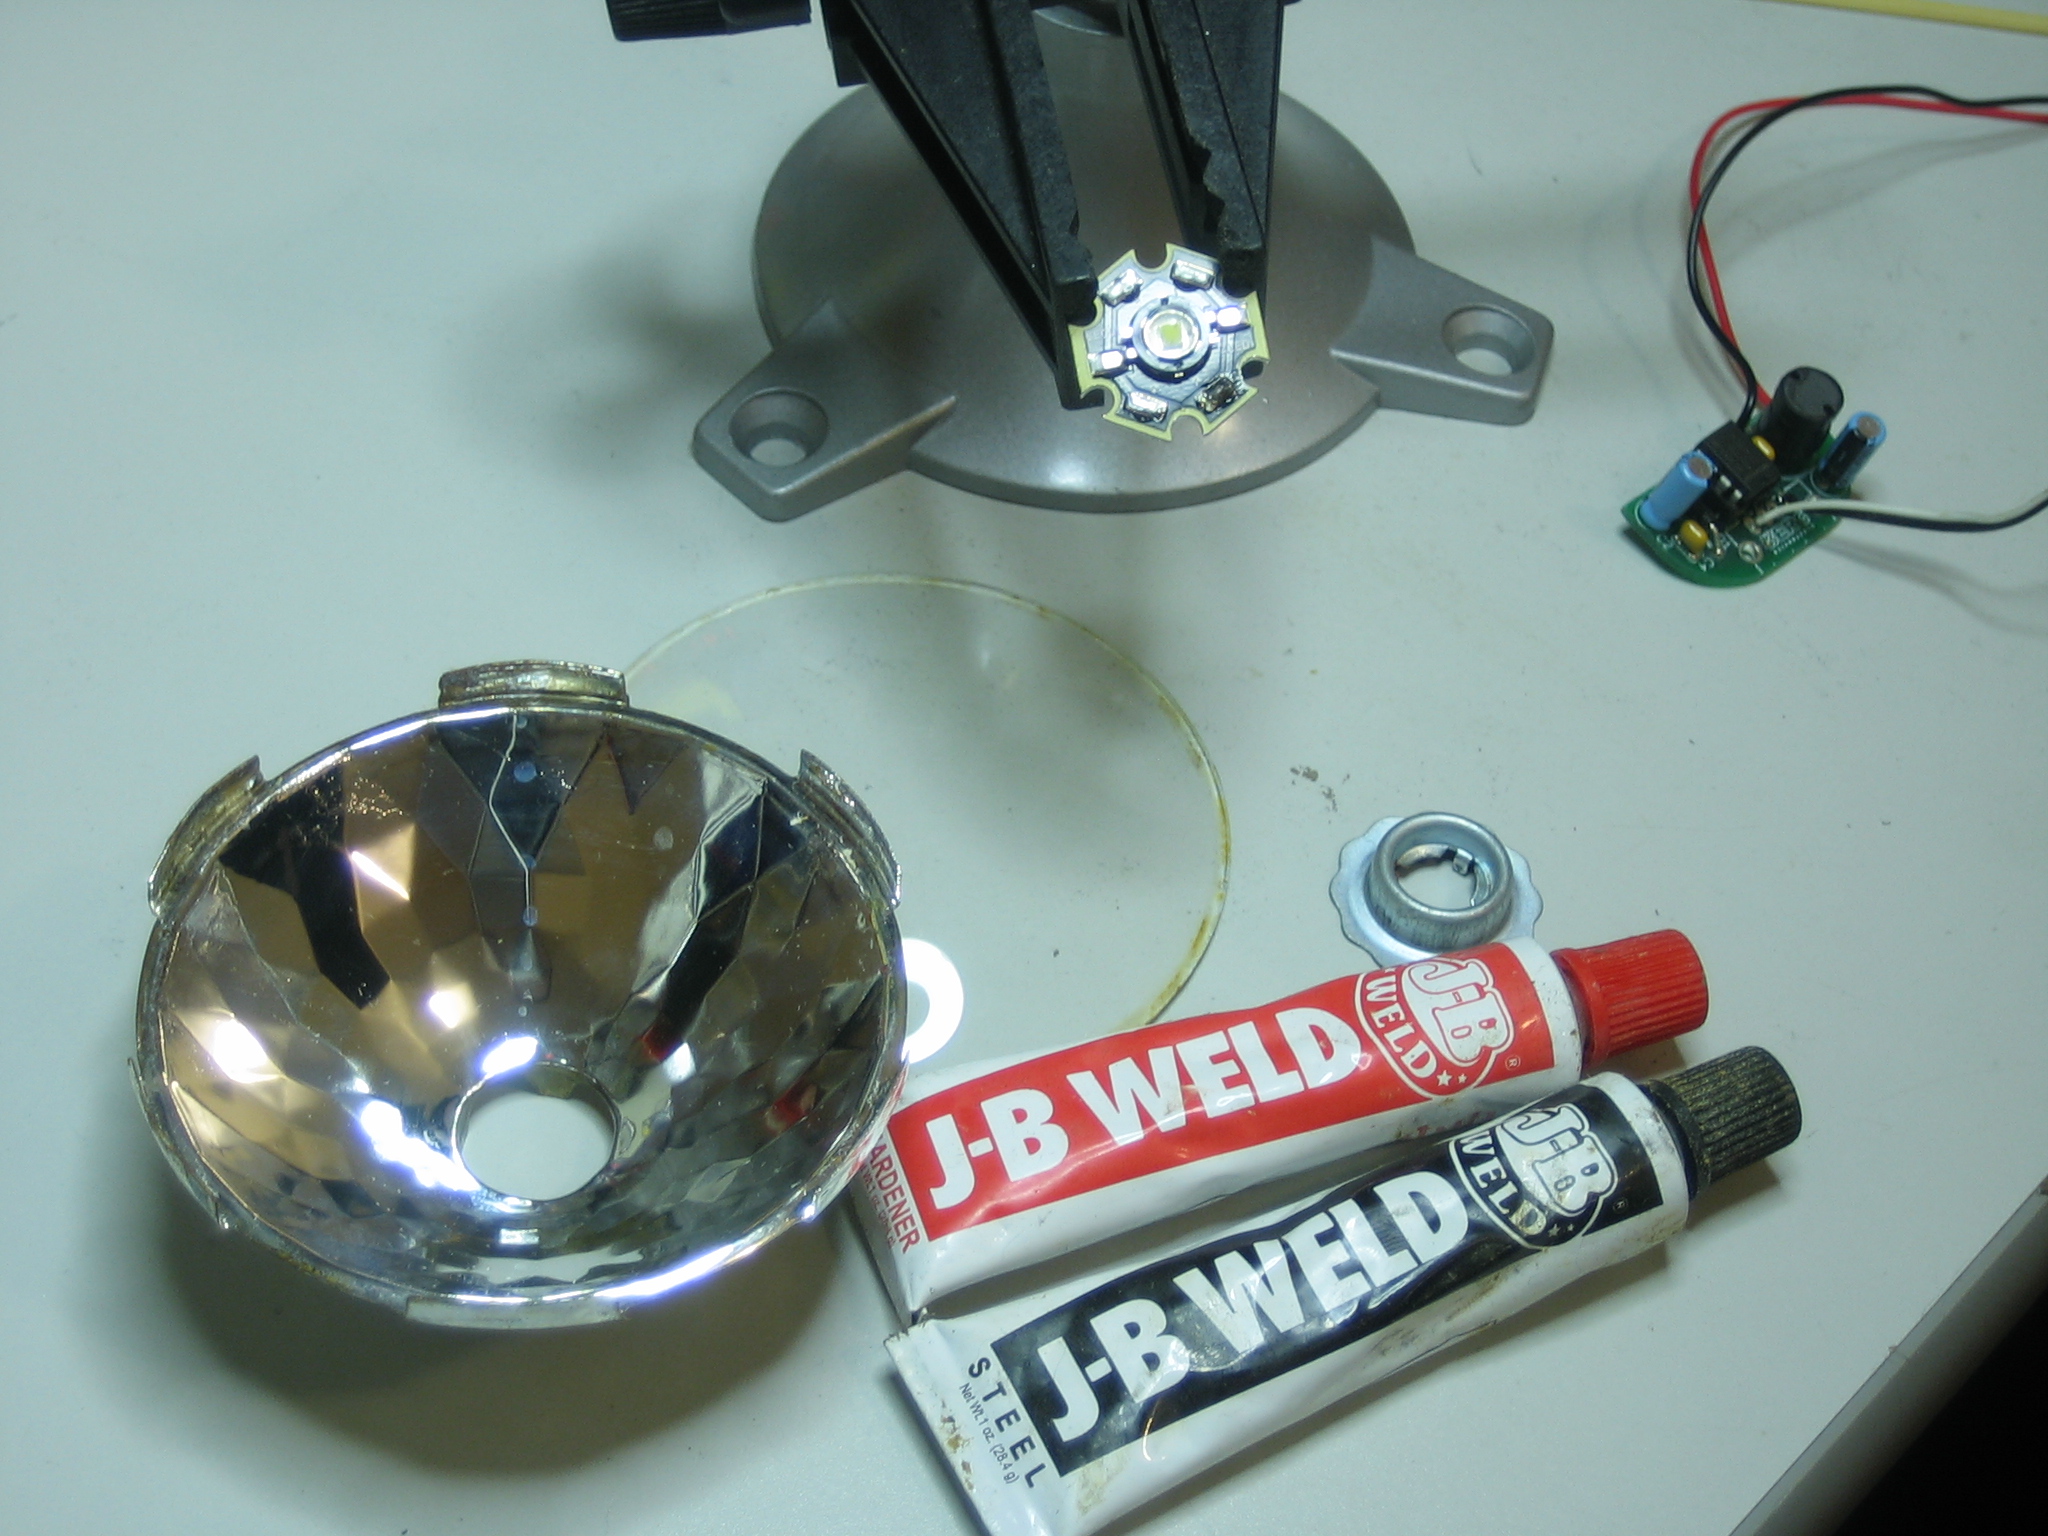
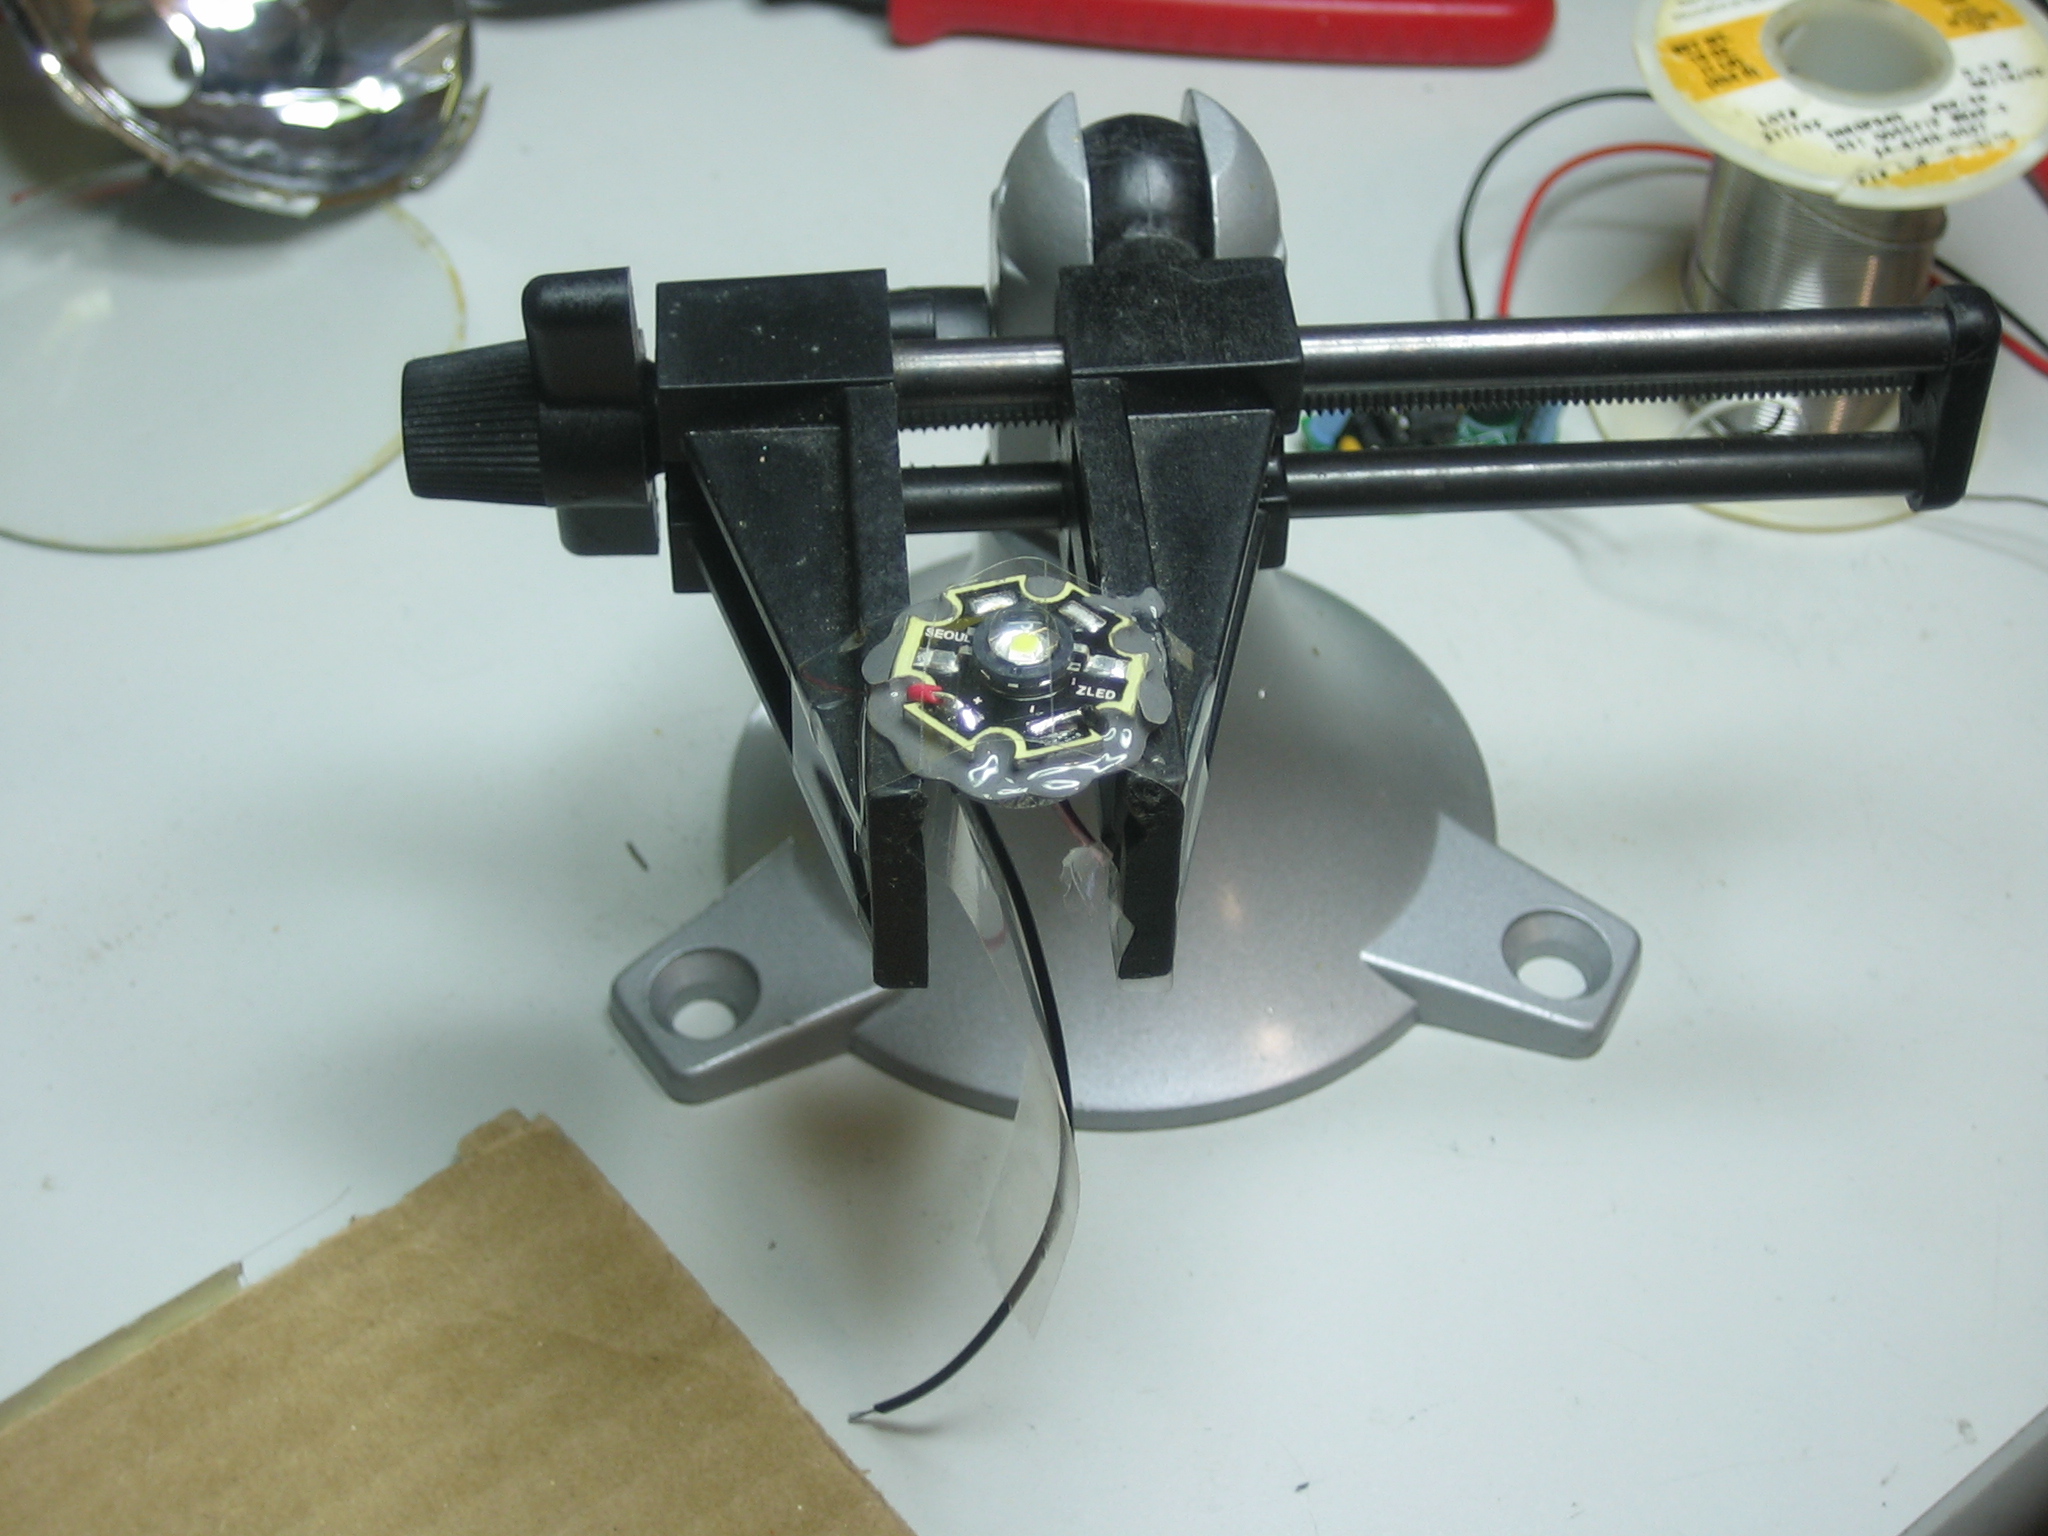
This LED is around $3 from mouser part #889-W32182 its a 'star' 1W cool white LED. Cool white LEDs are more efficient than warm white ones and make sure it comes in this package with the heatsinking aluminum substrate!
Turn on your power supply, dial it to 3.3V
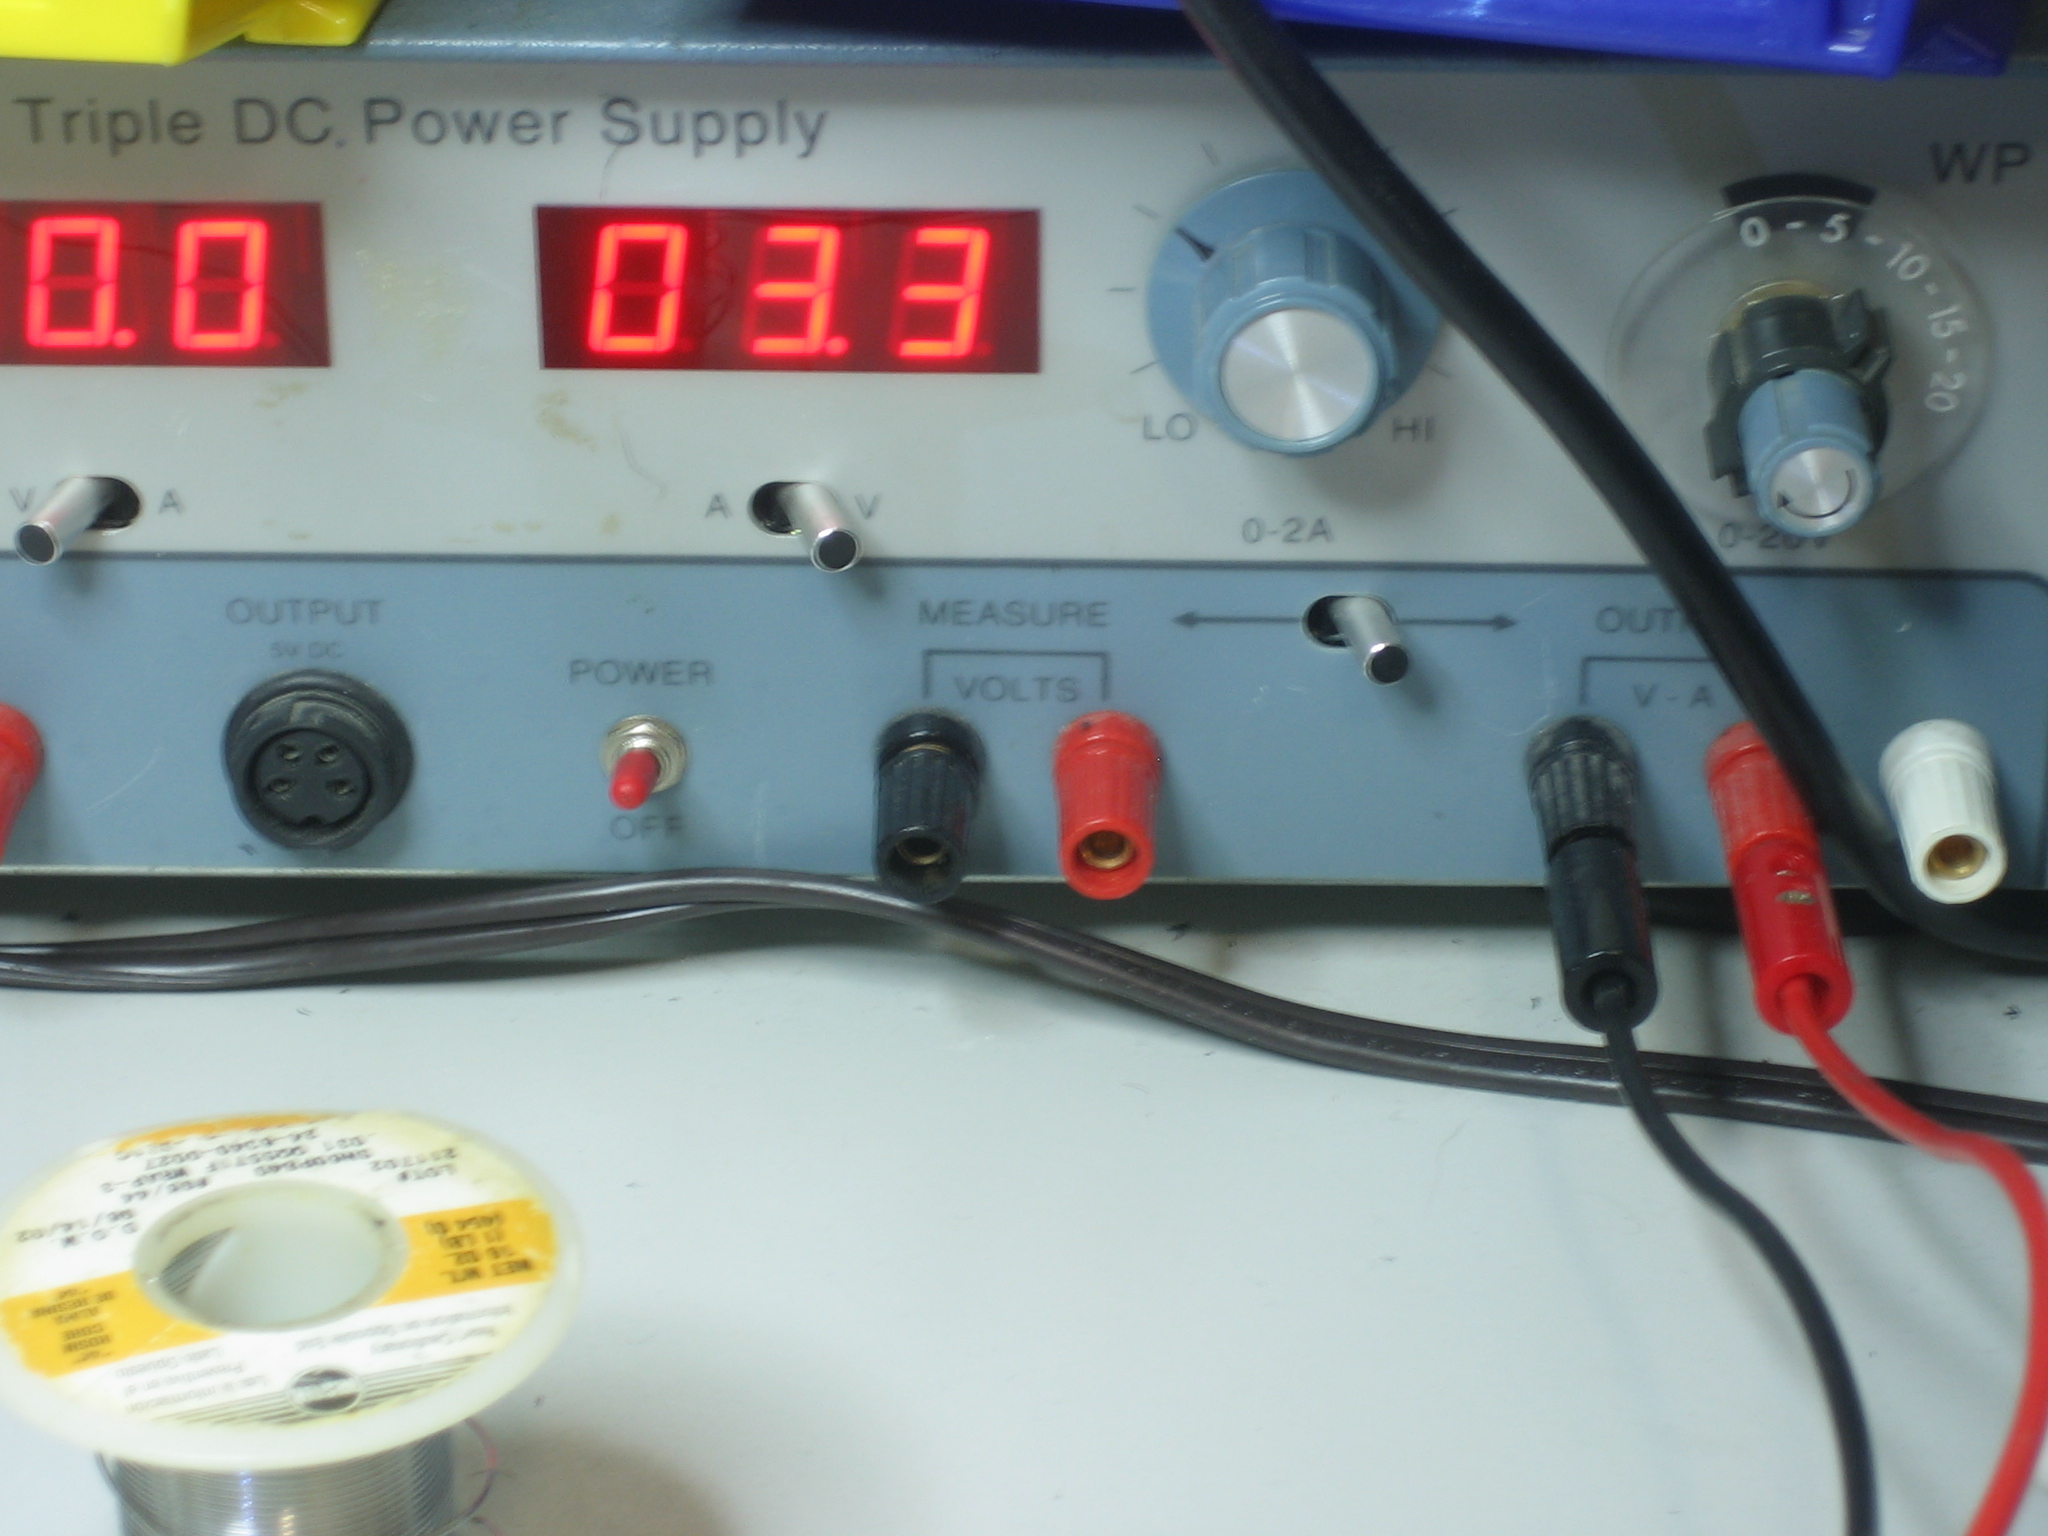
Touch positive and negative to the LED
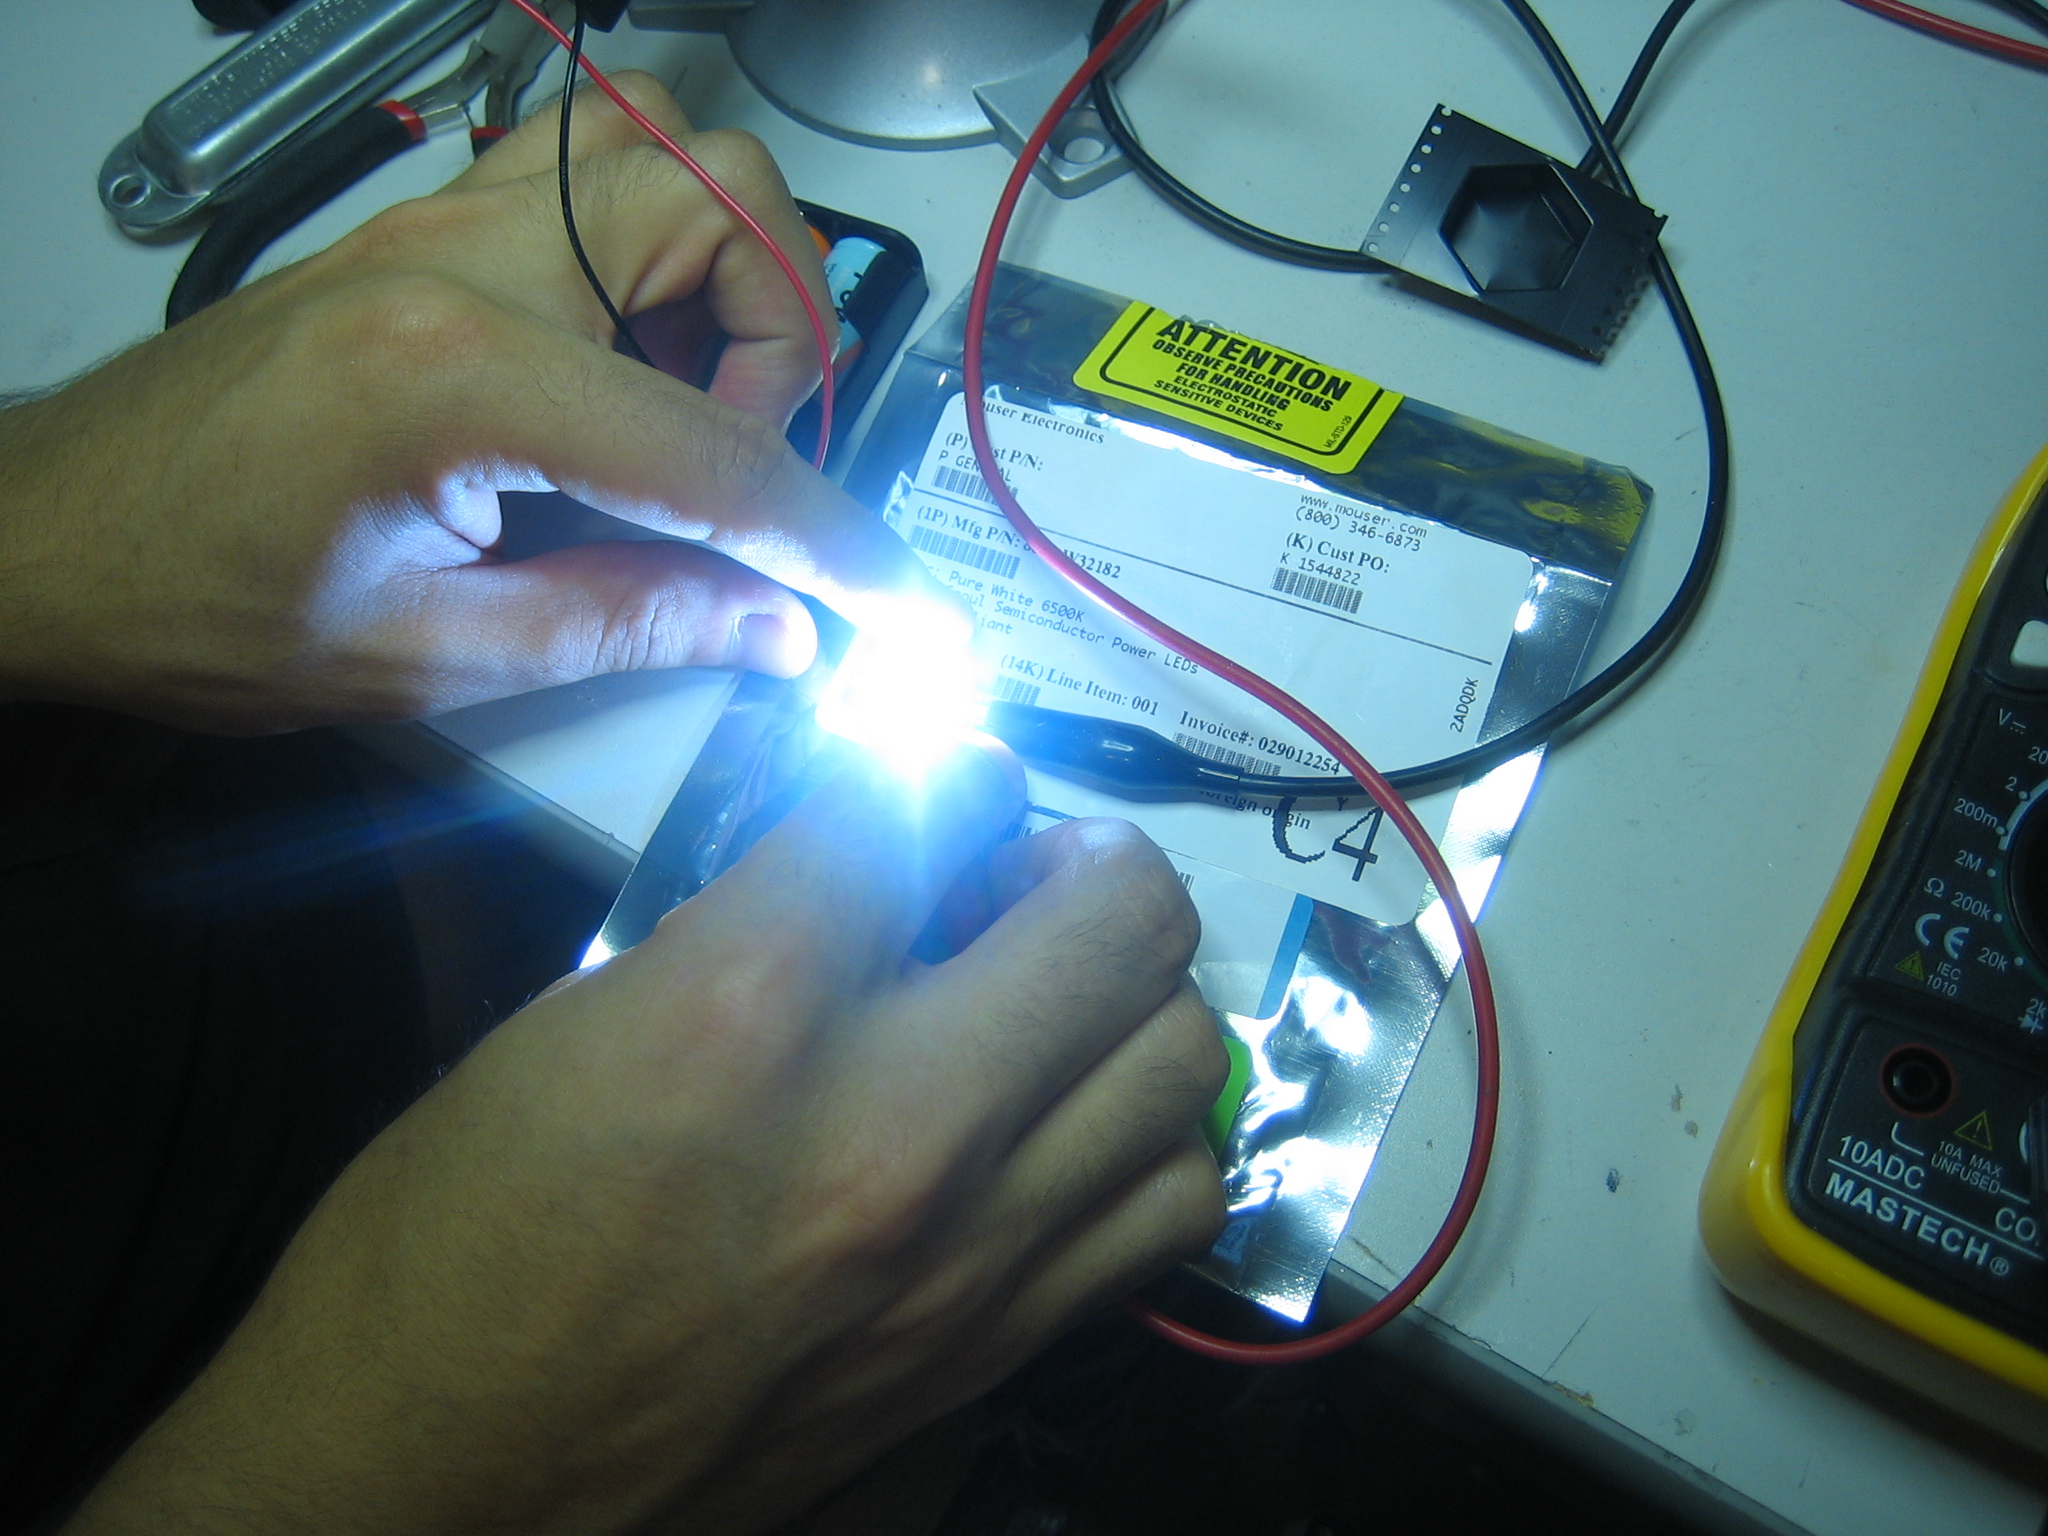
You can tweak the power voltage in to see the differences between 3.3V and 3.5V in
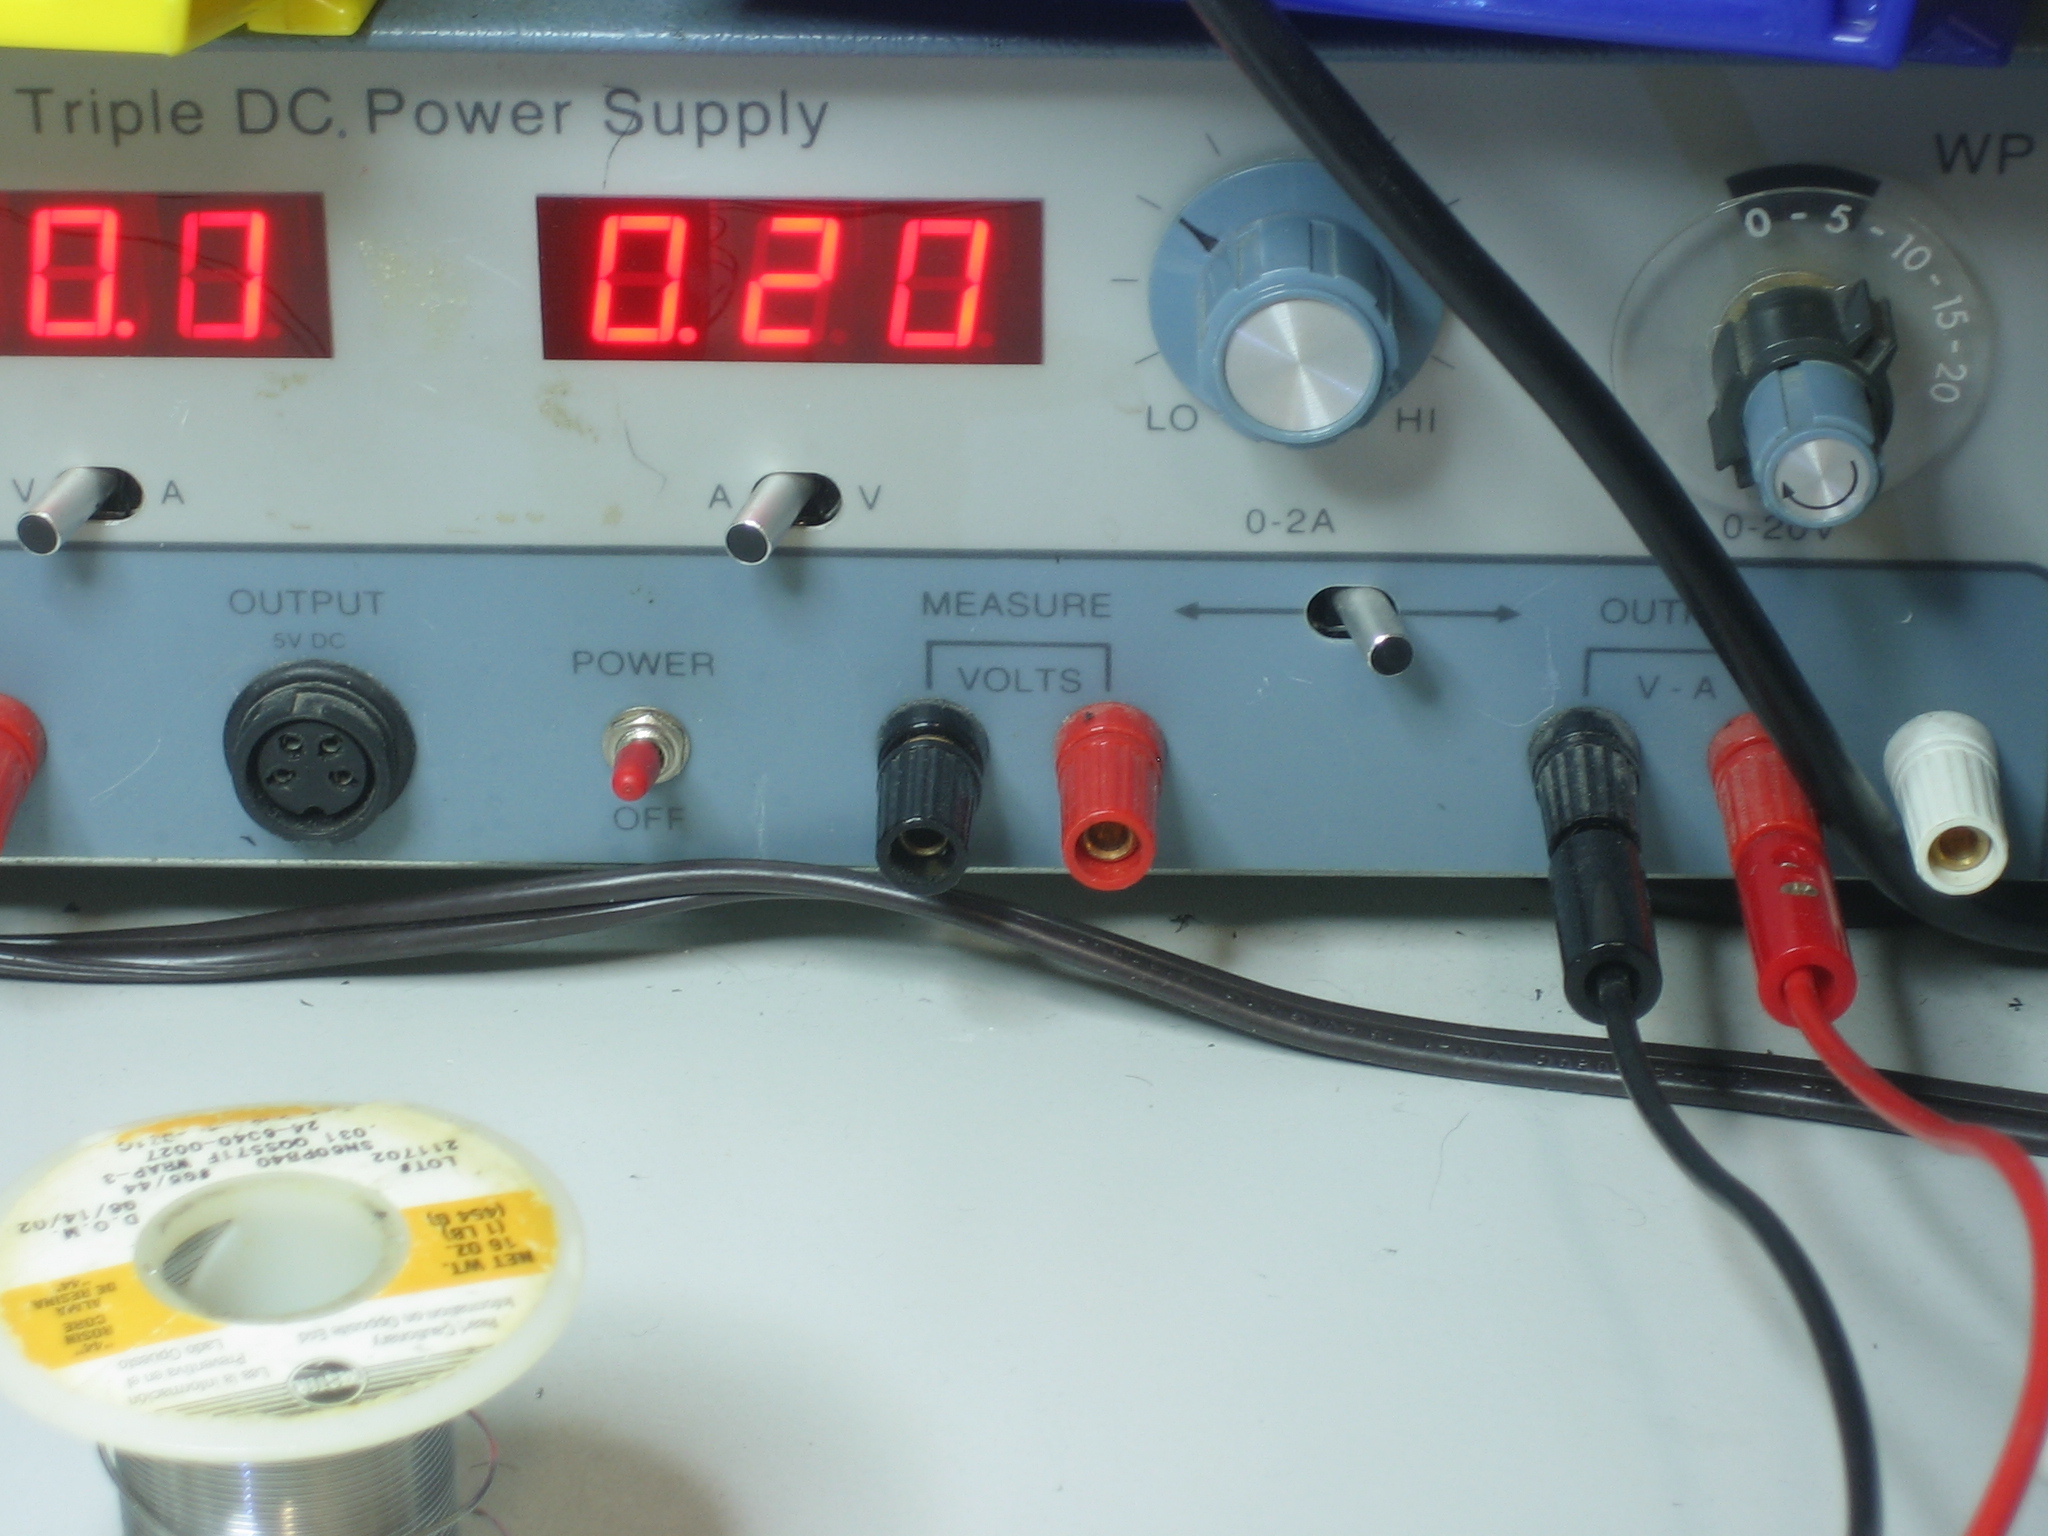
Drawing around 0.2 Amps, this is a .66W drive. Which is good enough for me, again a better driver could be used but then your batteries would drain faster too.
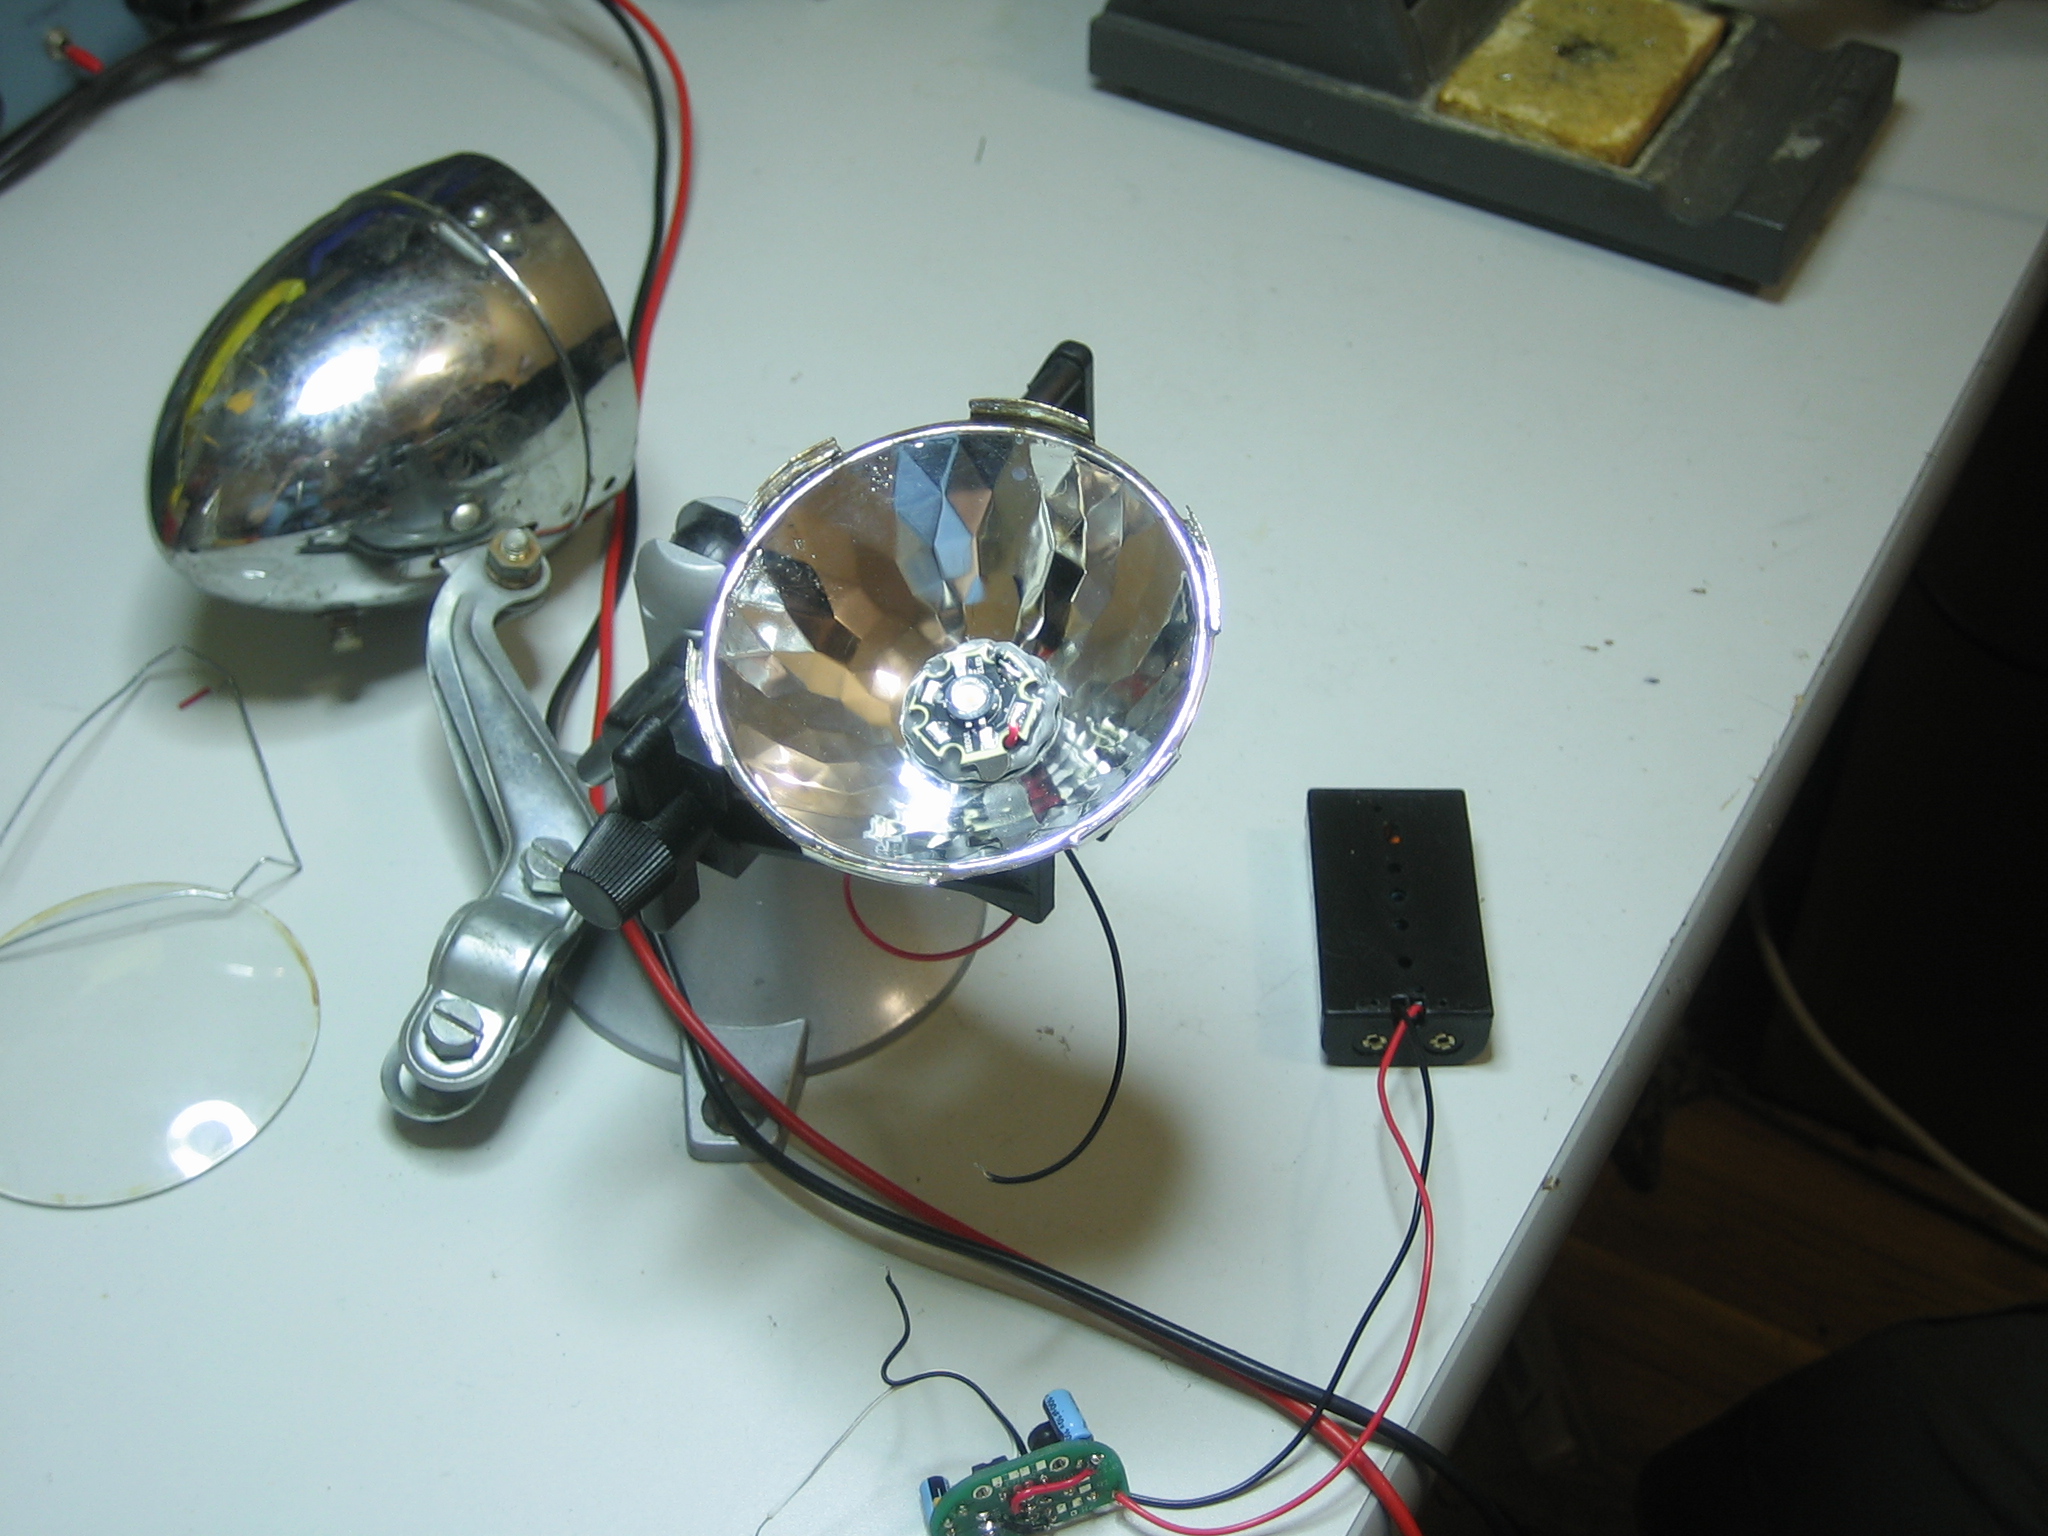
Next up, we use JB Weld to attach the LED onto the lightbulb mount, this keeps the LED from moving around and also gives it a nice big heat sink! The LED gets extremely warm otherwise and could be damaged.
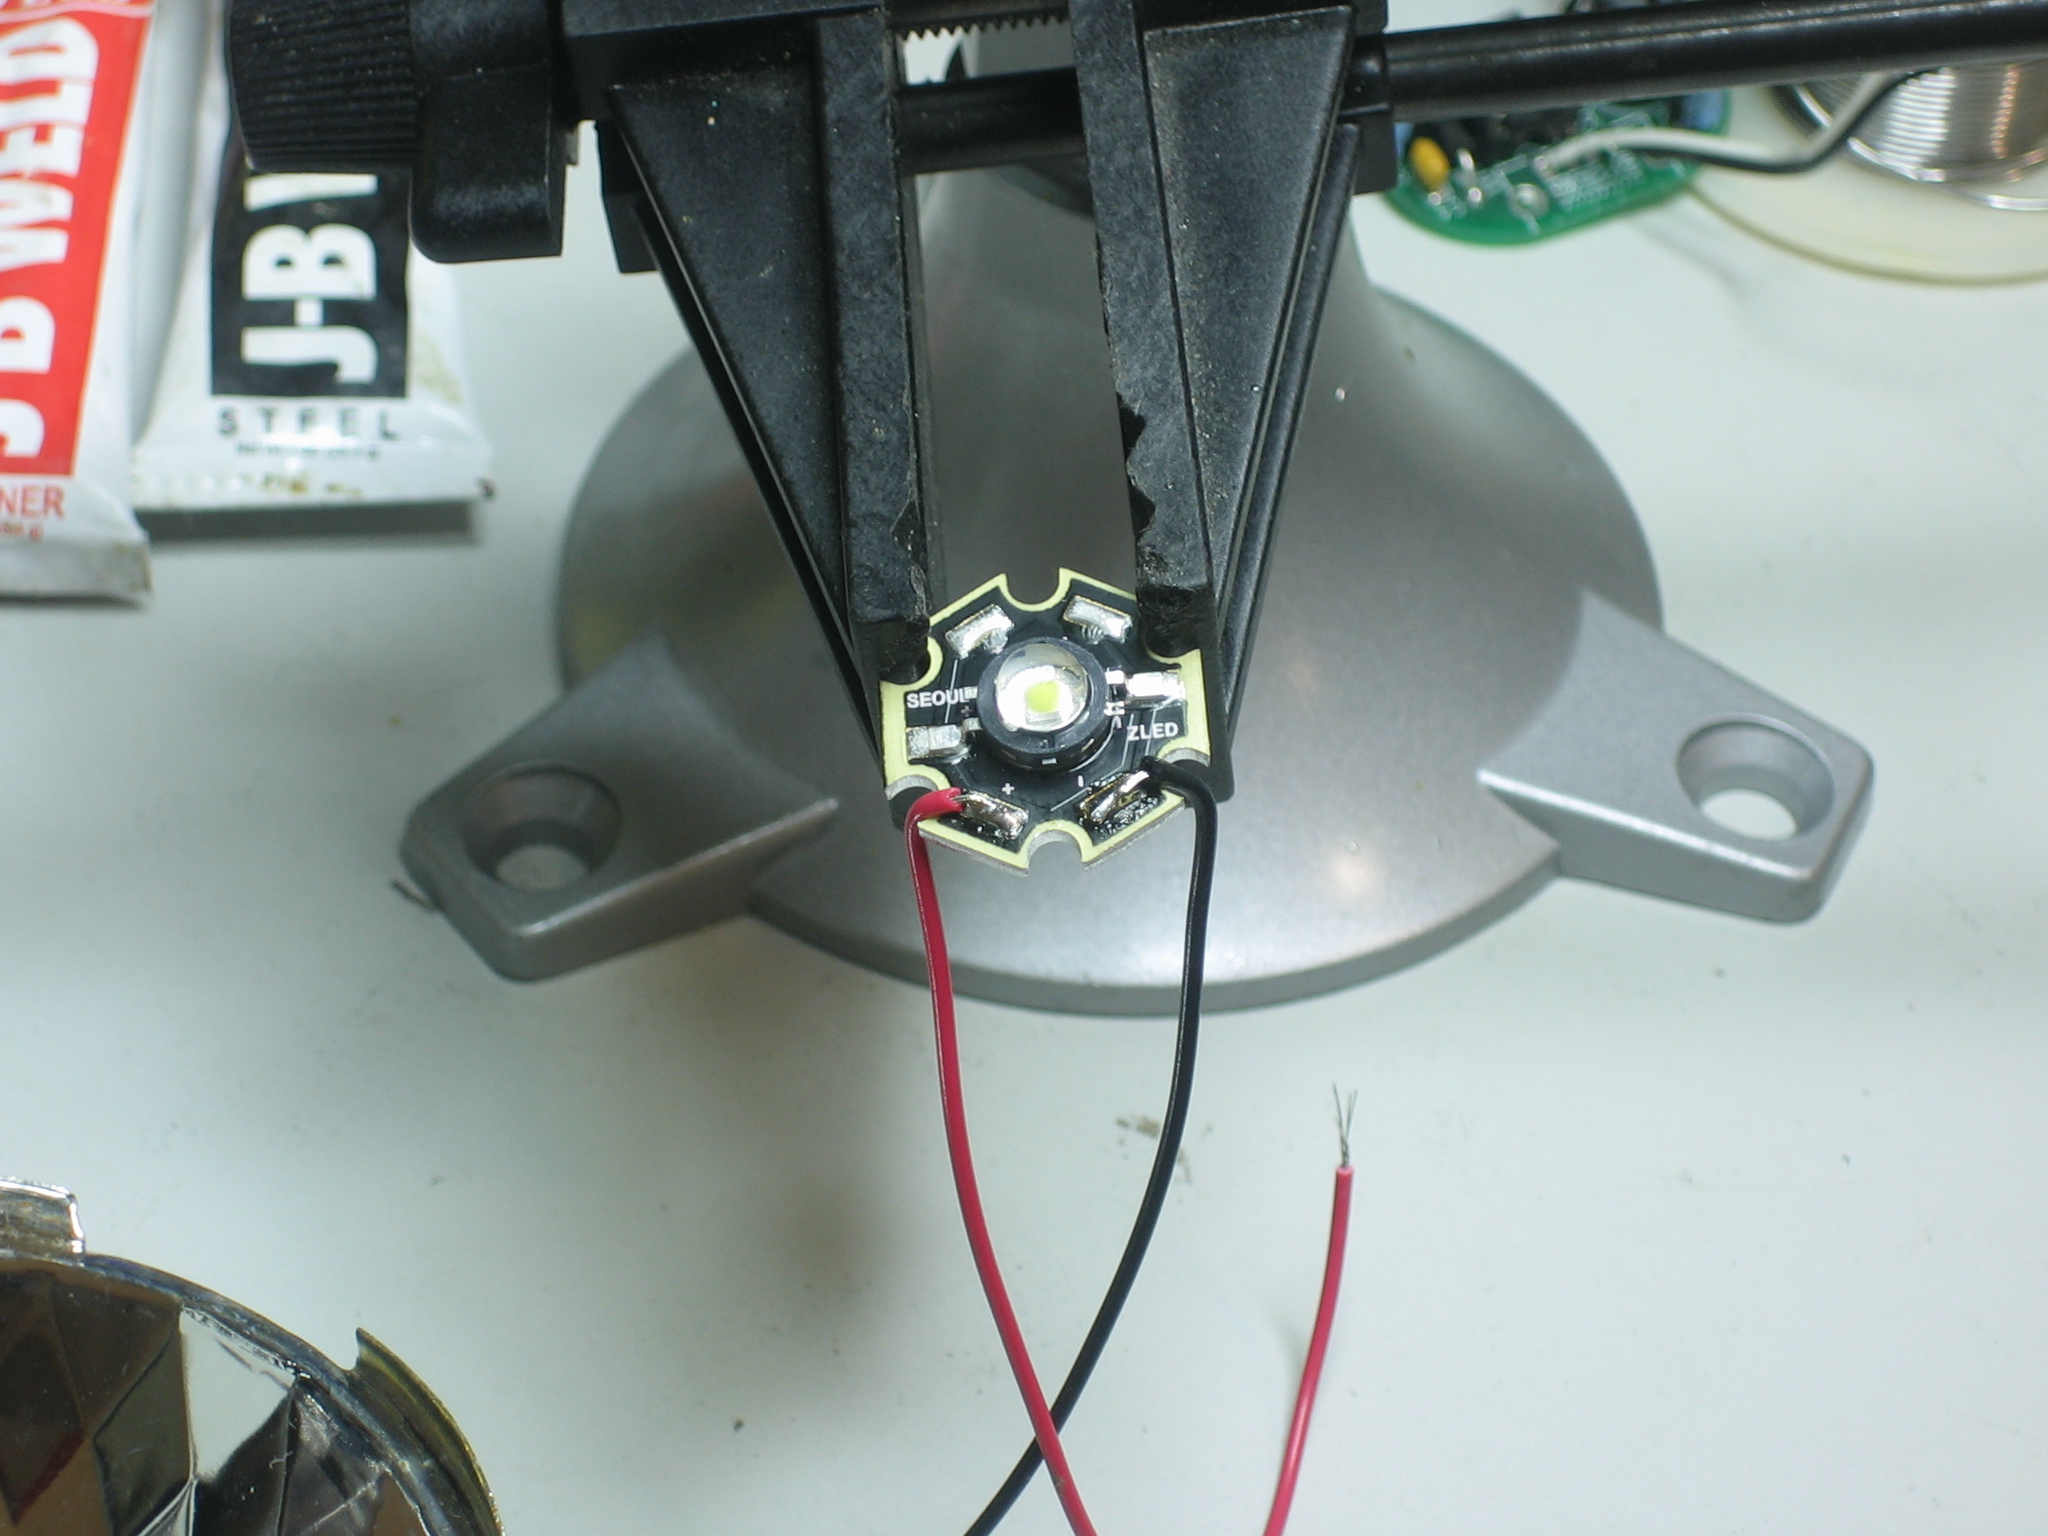
Solder two wires, red and black, as shown, make sure they bend around the little tabs and that the red wire doesn't short against the metal backing. Test the LED once its been soldered up.
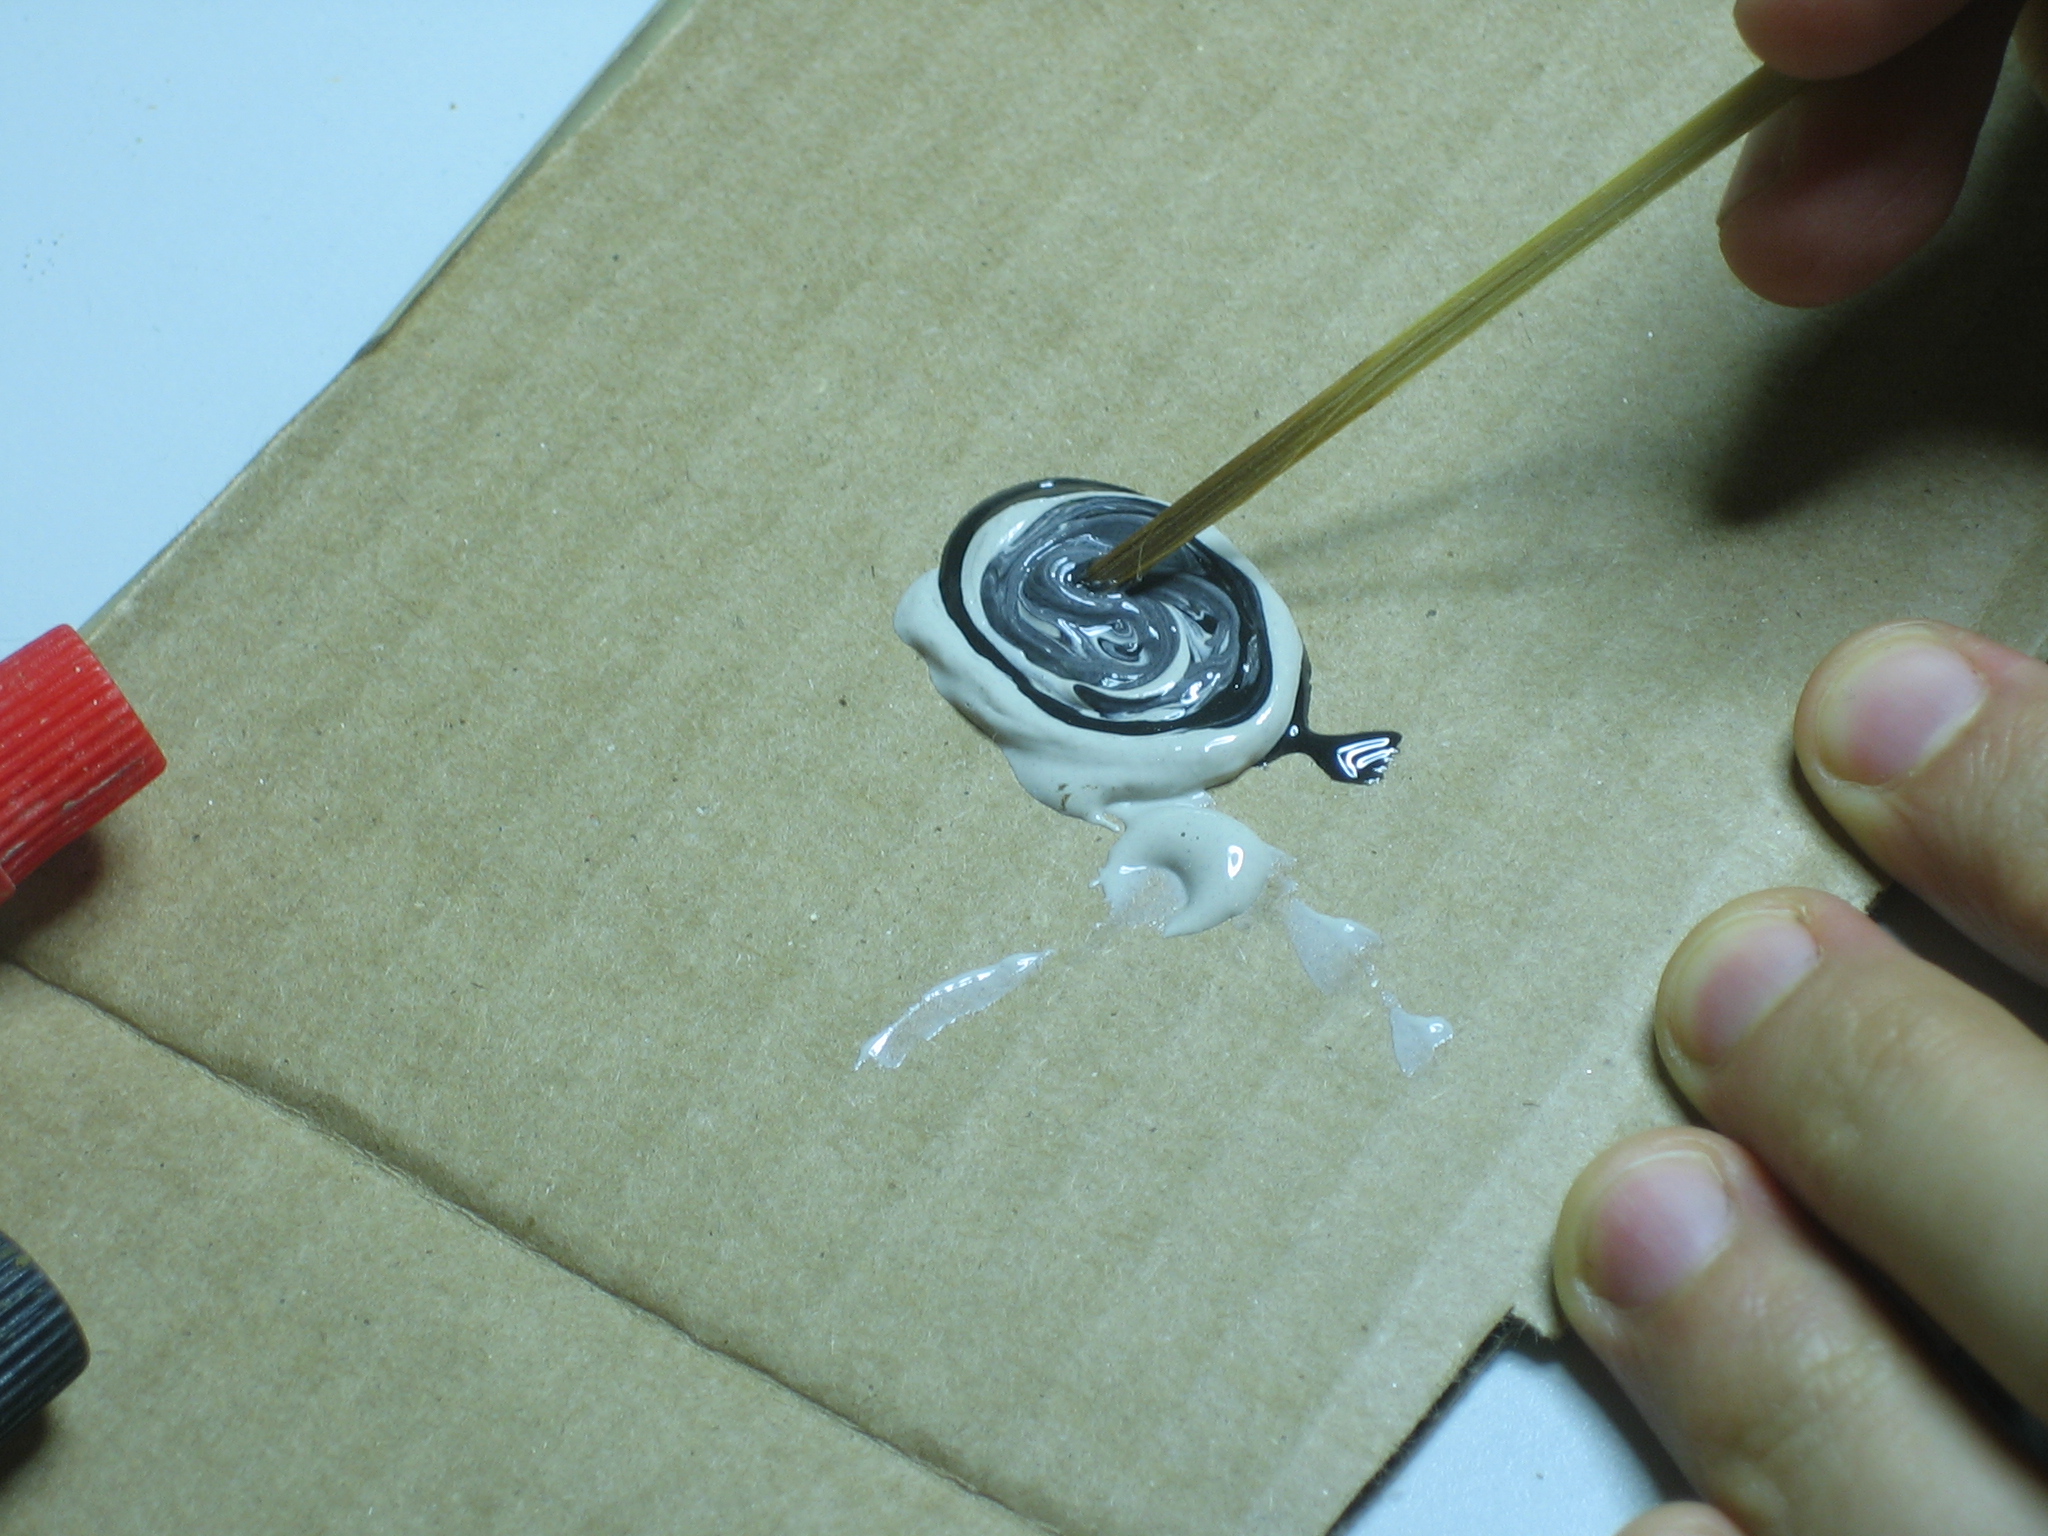
Mix up your JB Weld as instructed, 1/2 each part and stir with a stick.
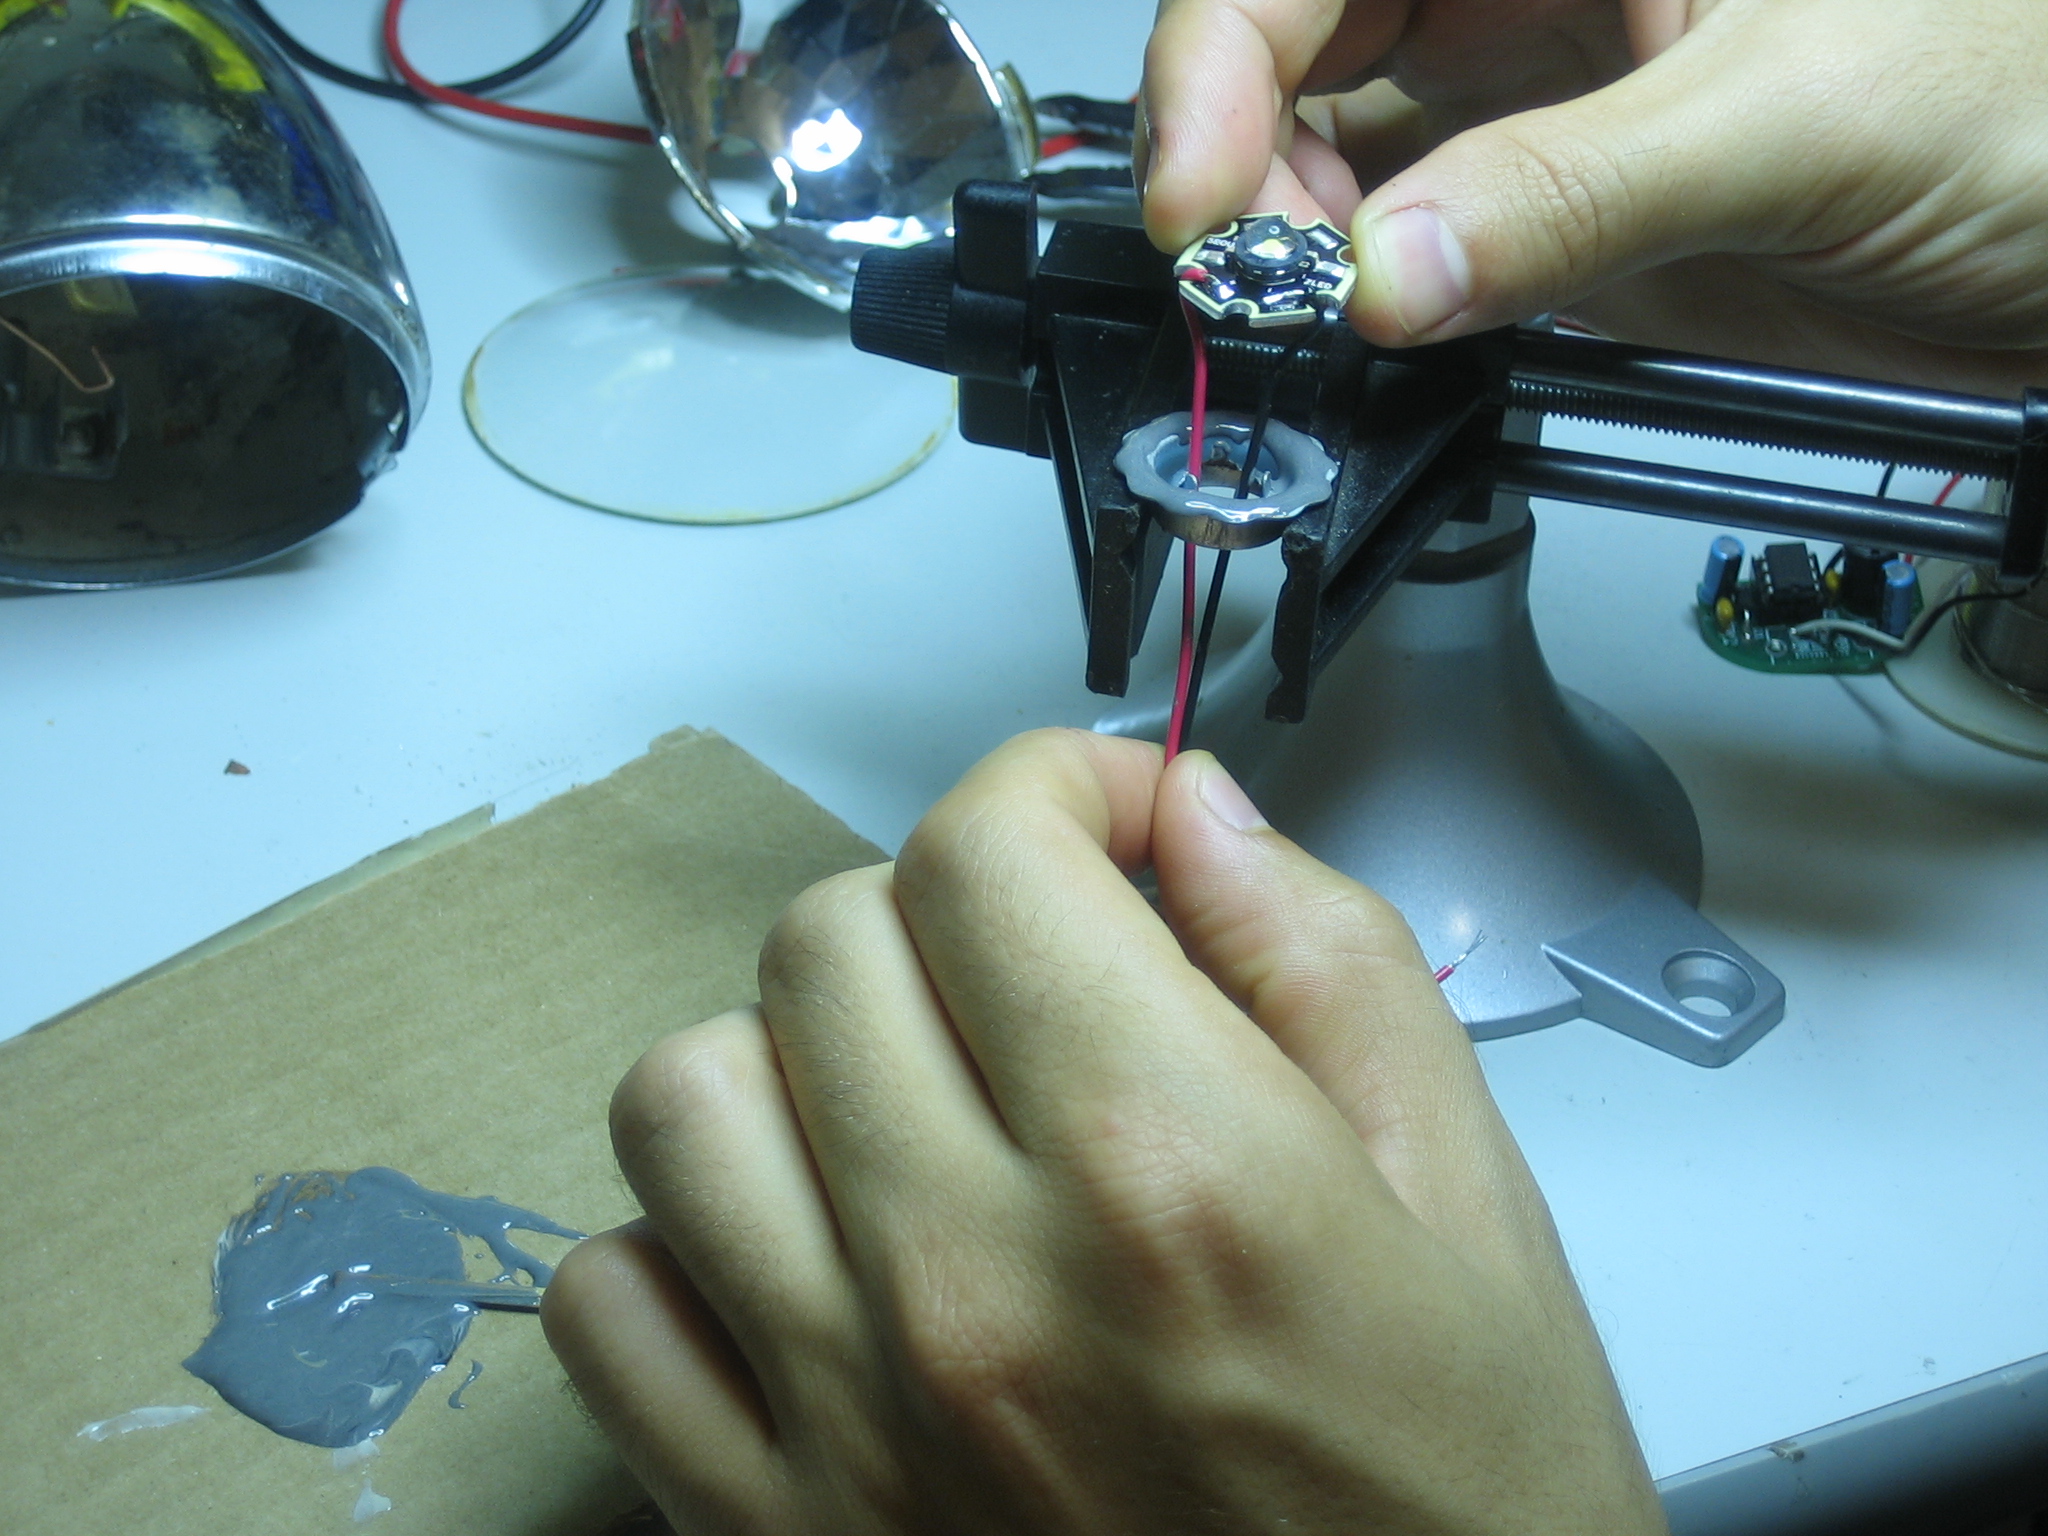
Dab it onto the holder and slide the LED assembly on.
Let it sit for 6 hours, at least. Overnight is best.
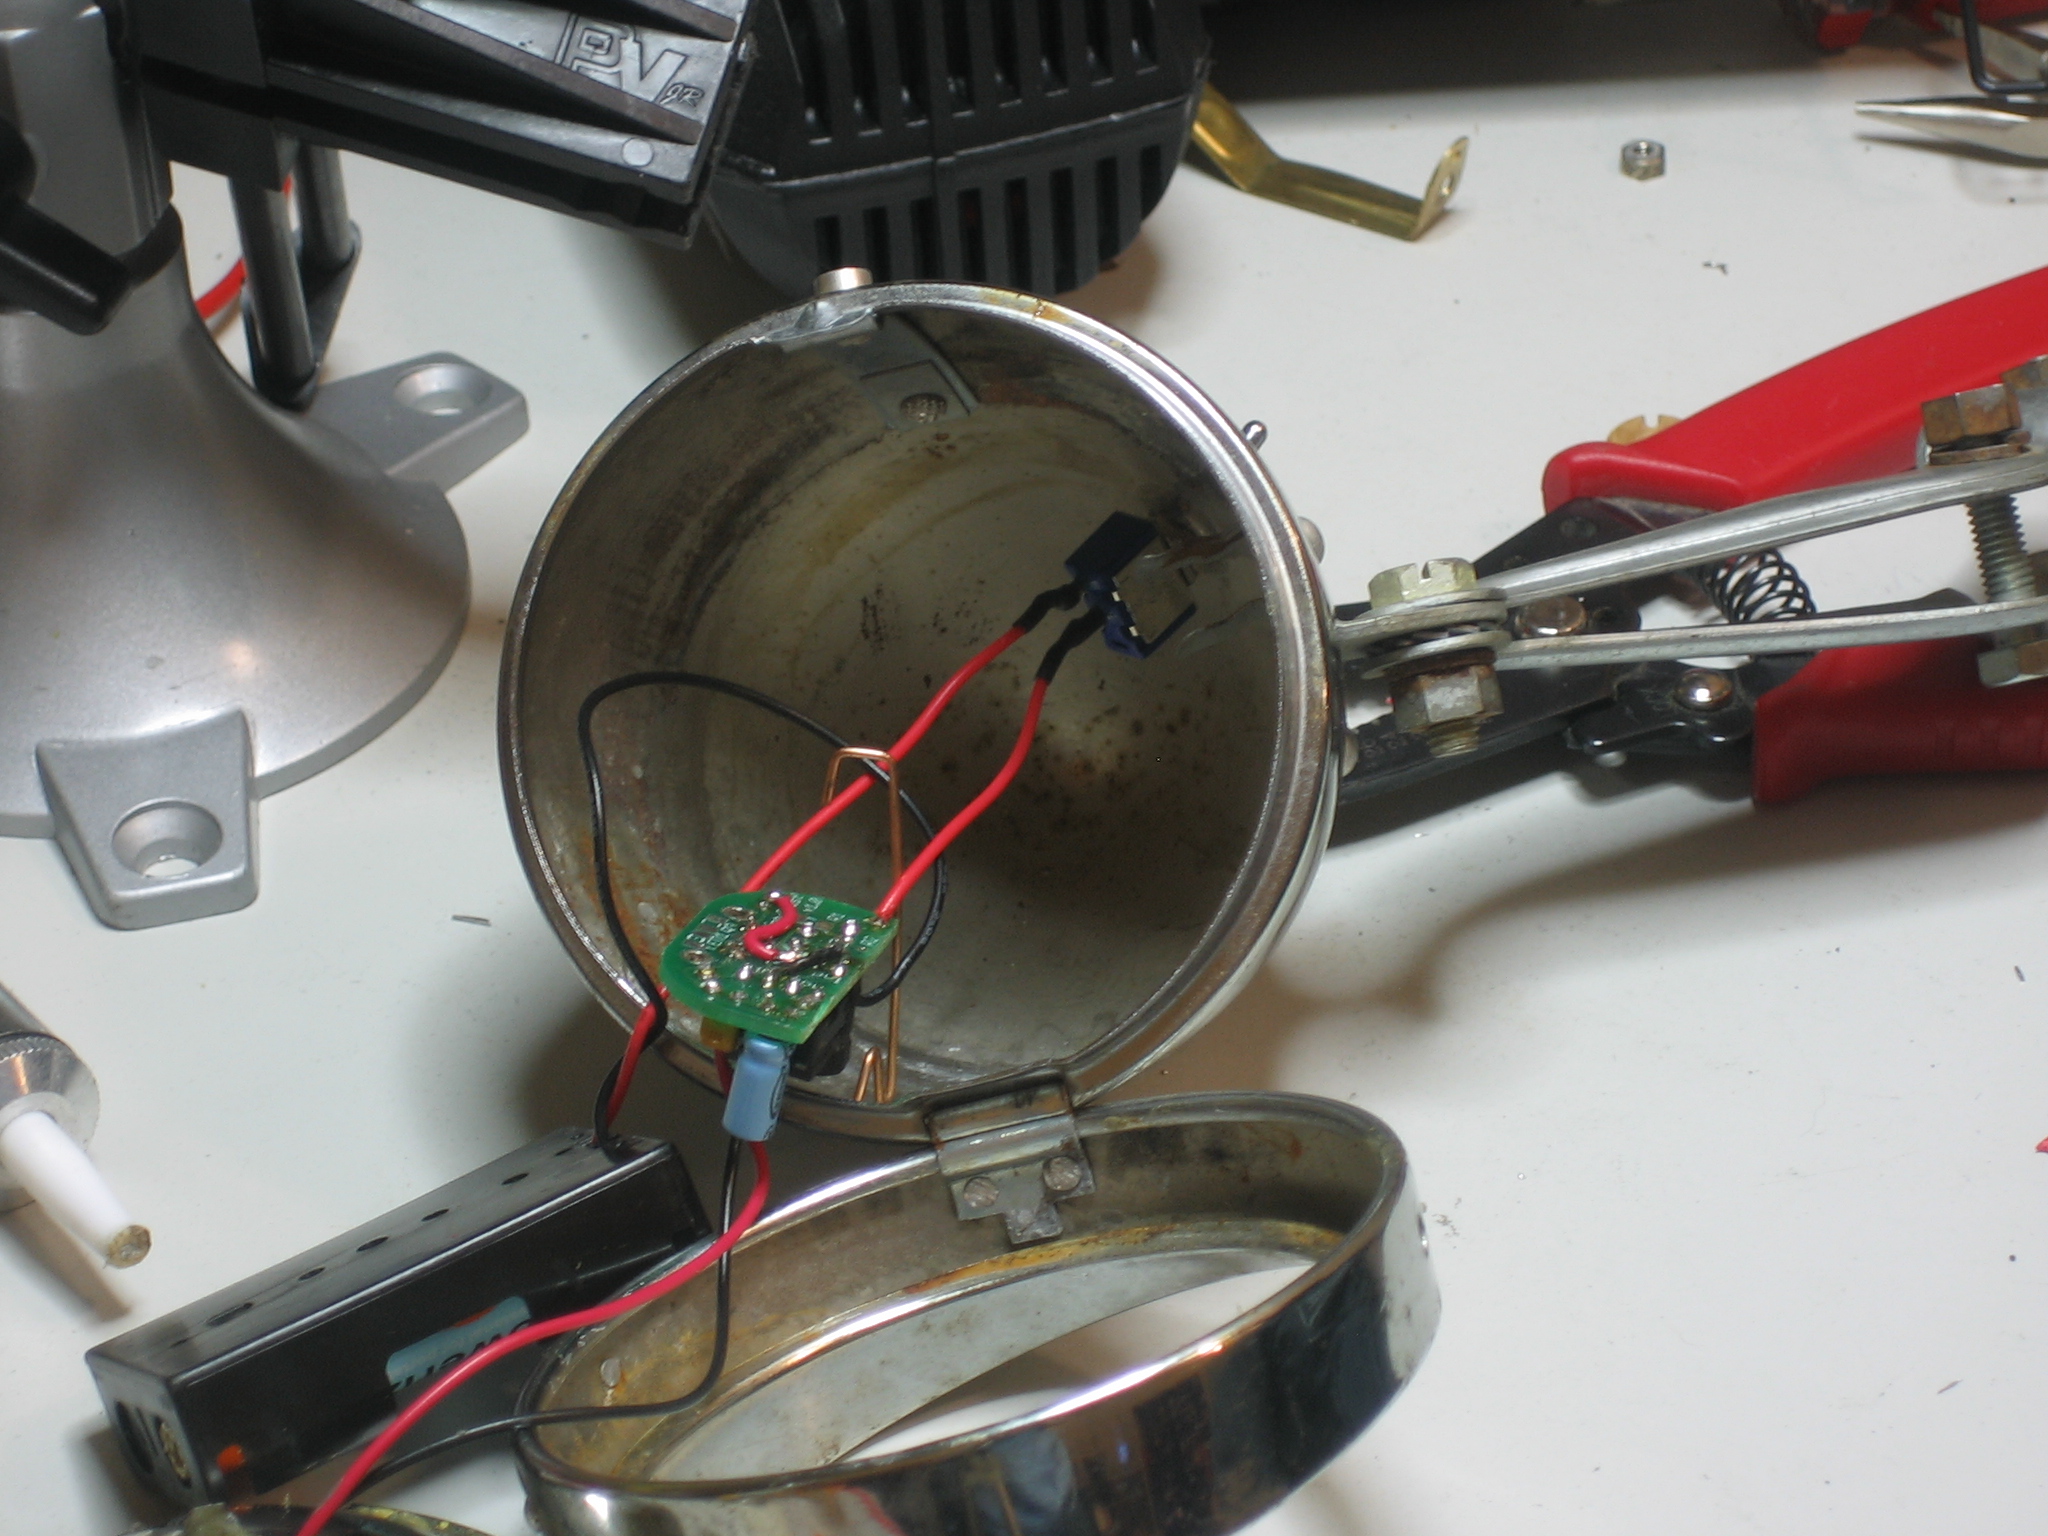
Now that the LED is dry, its time to start installing it. Thread the LED through the reflector and solder it to the mintyboost
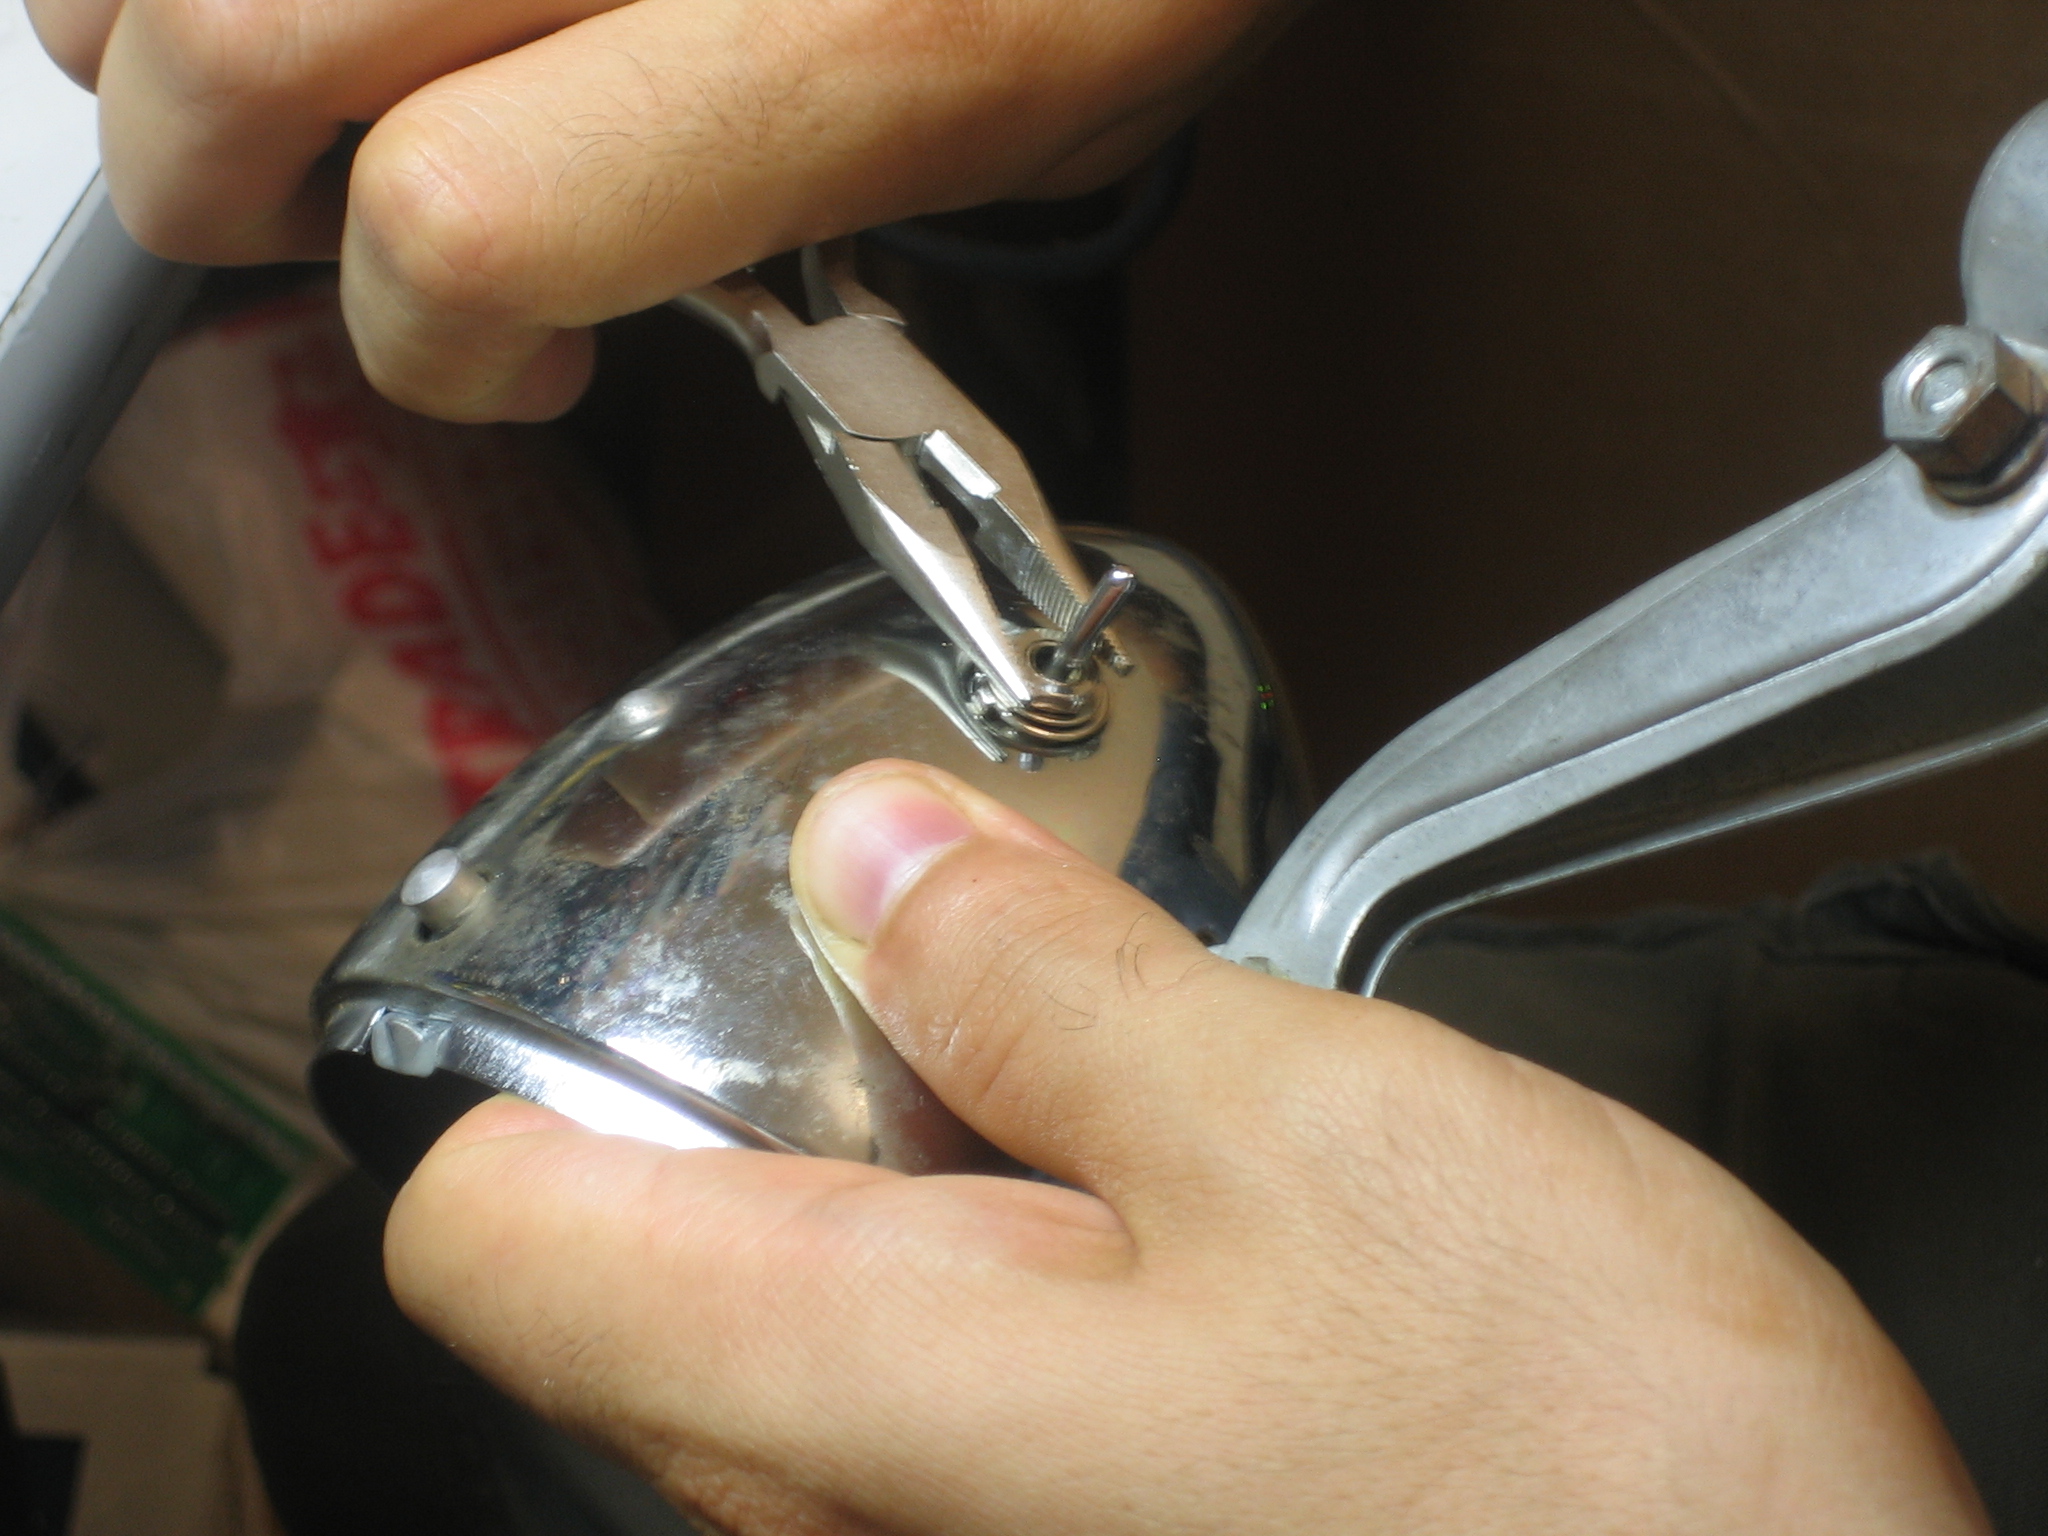
Next, find a toggle switch. Any 'mini toggle' will do. This one is perfect!
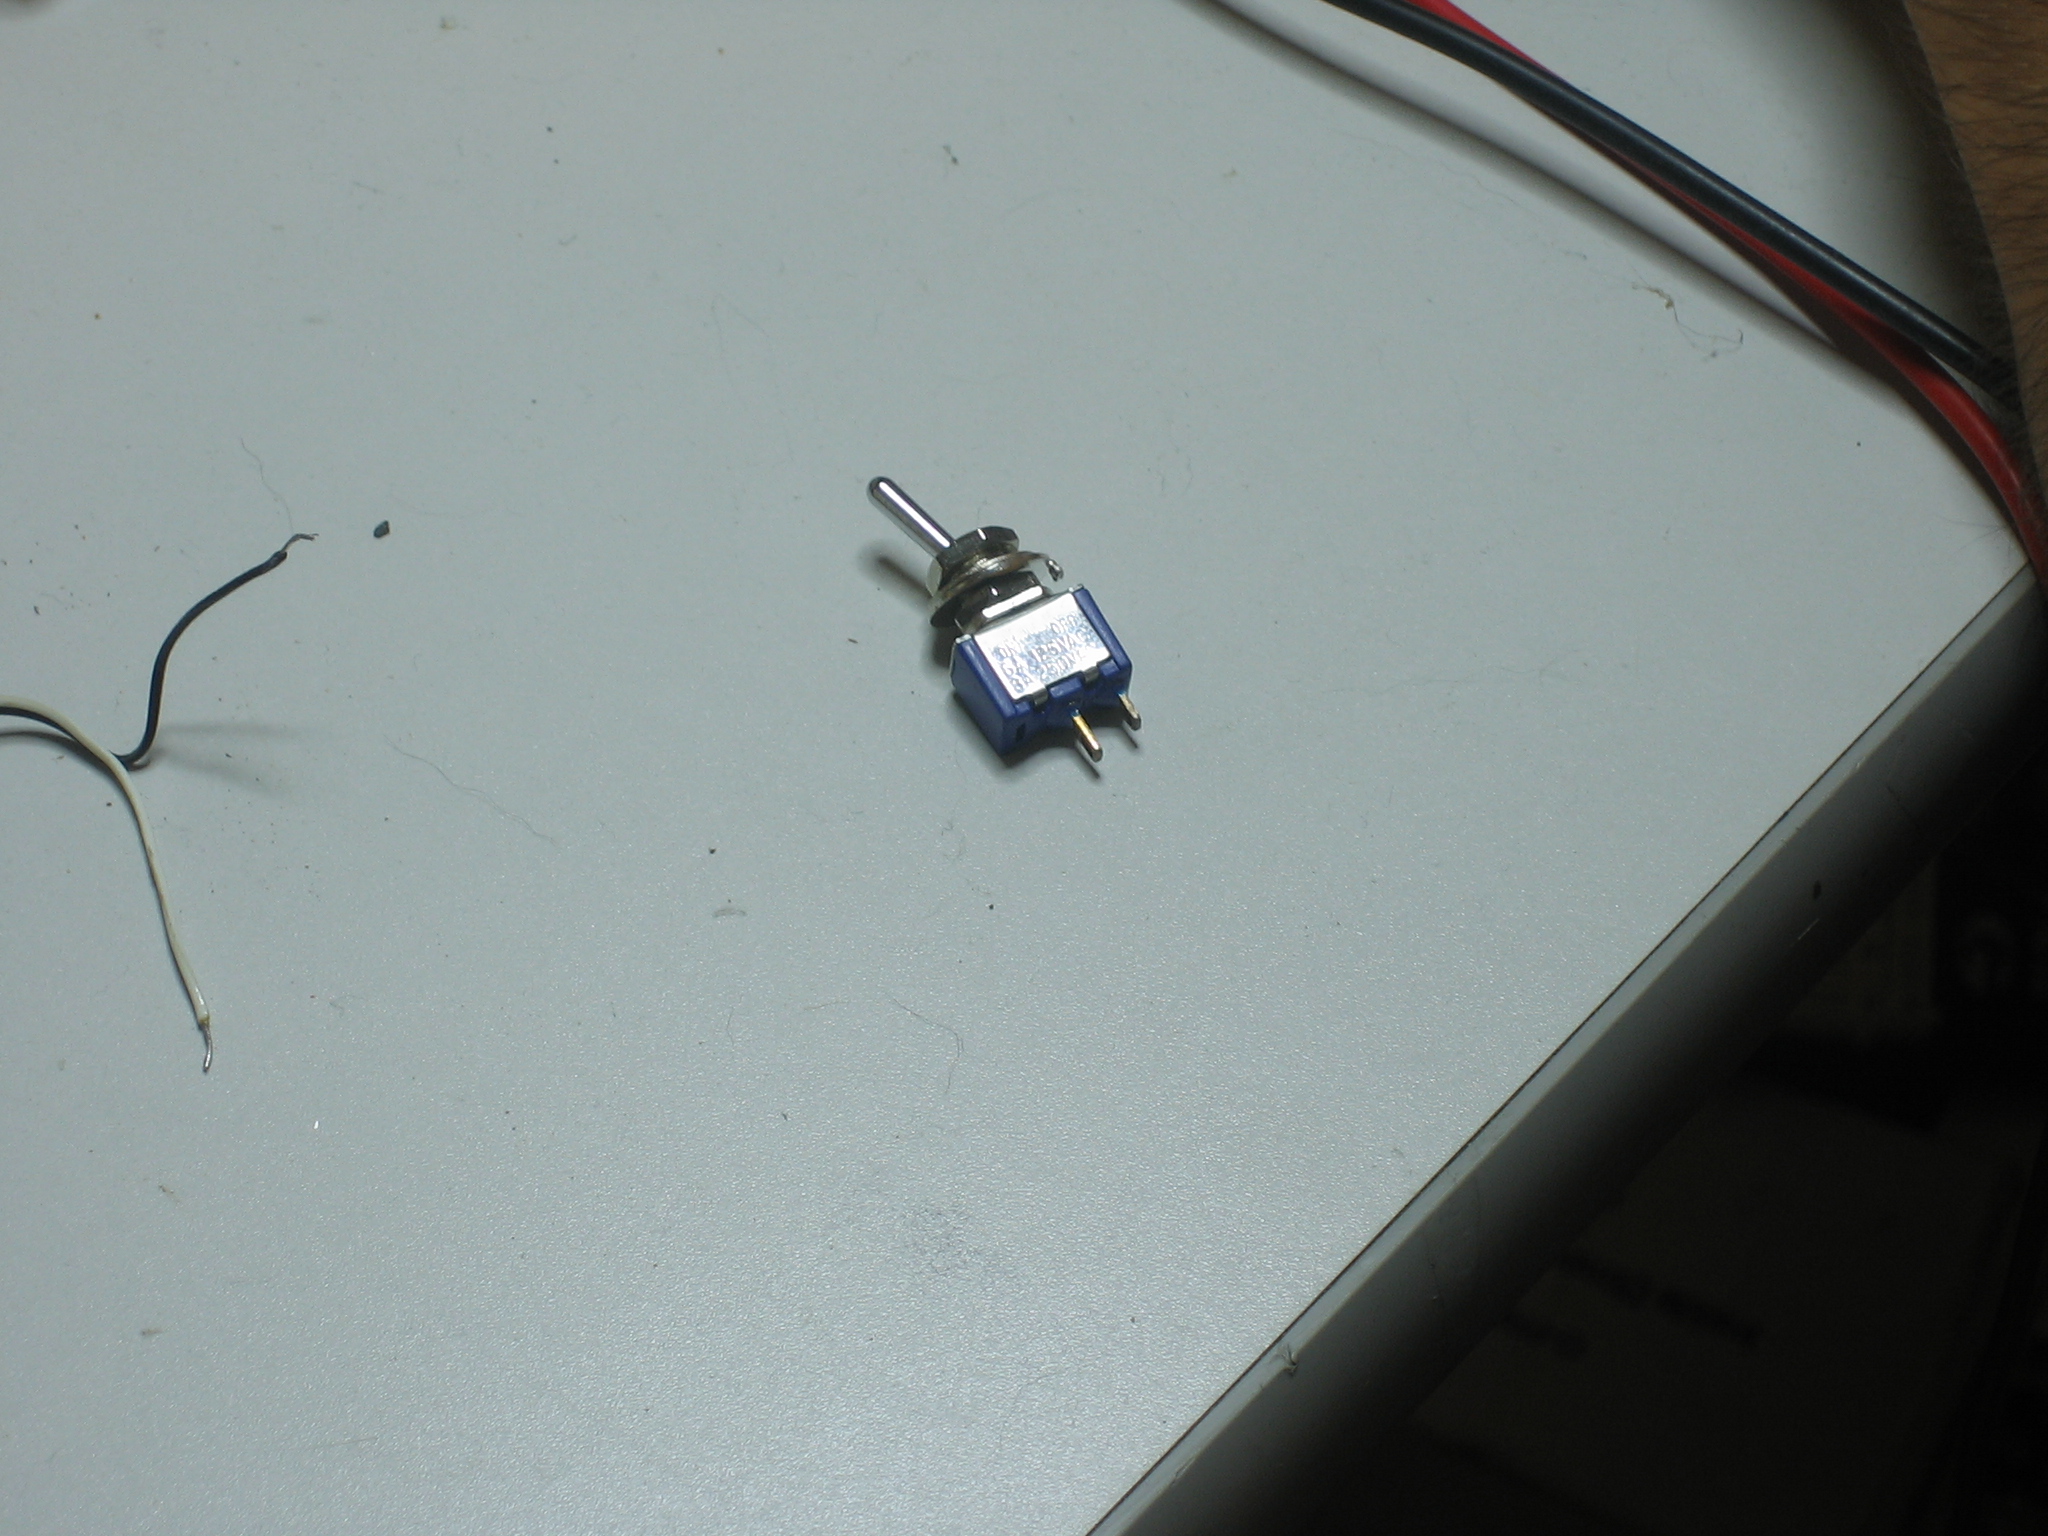
Remove the old switch and install the new one. It will go in easily.
Cut the positive battery pack wire and strip/tin the ends
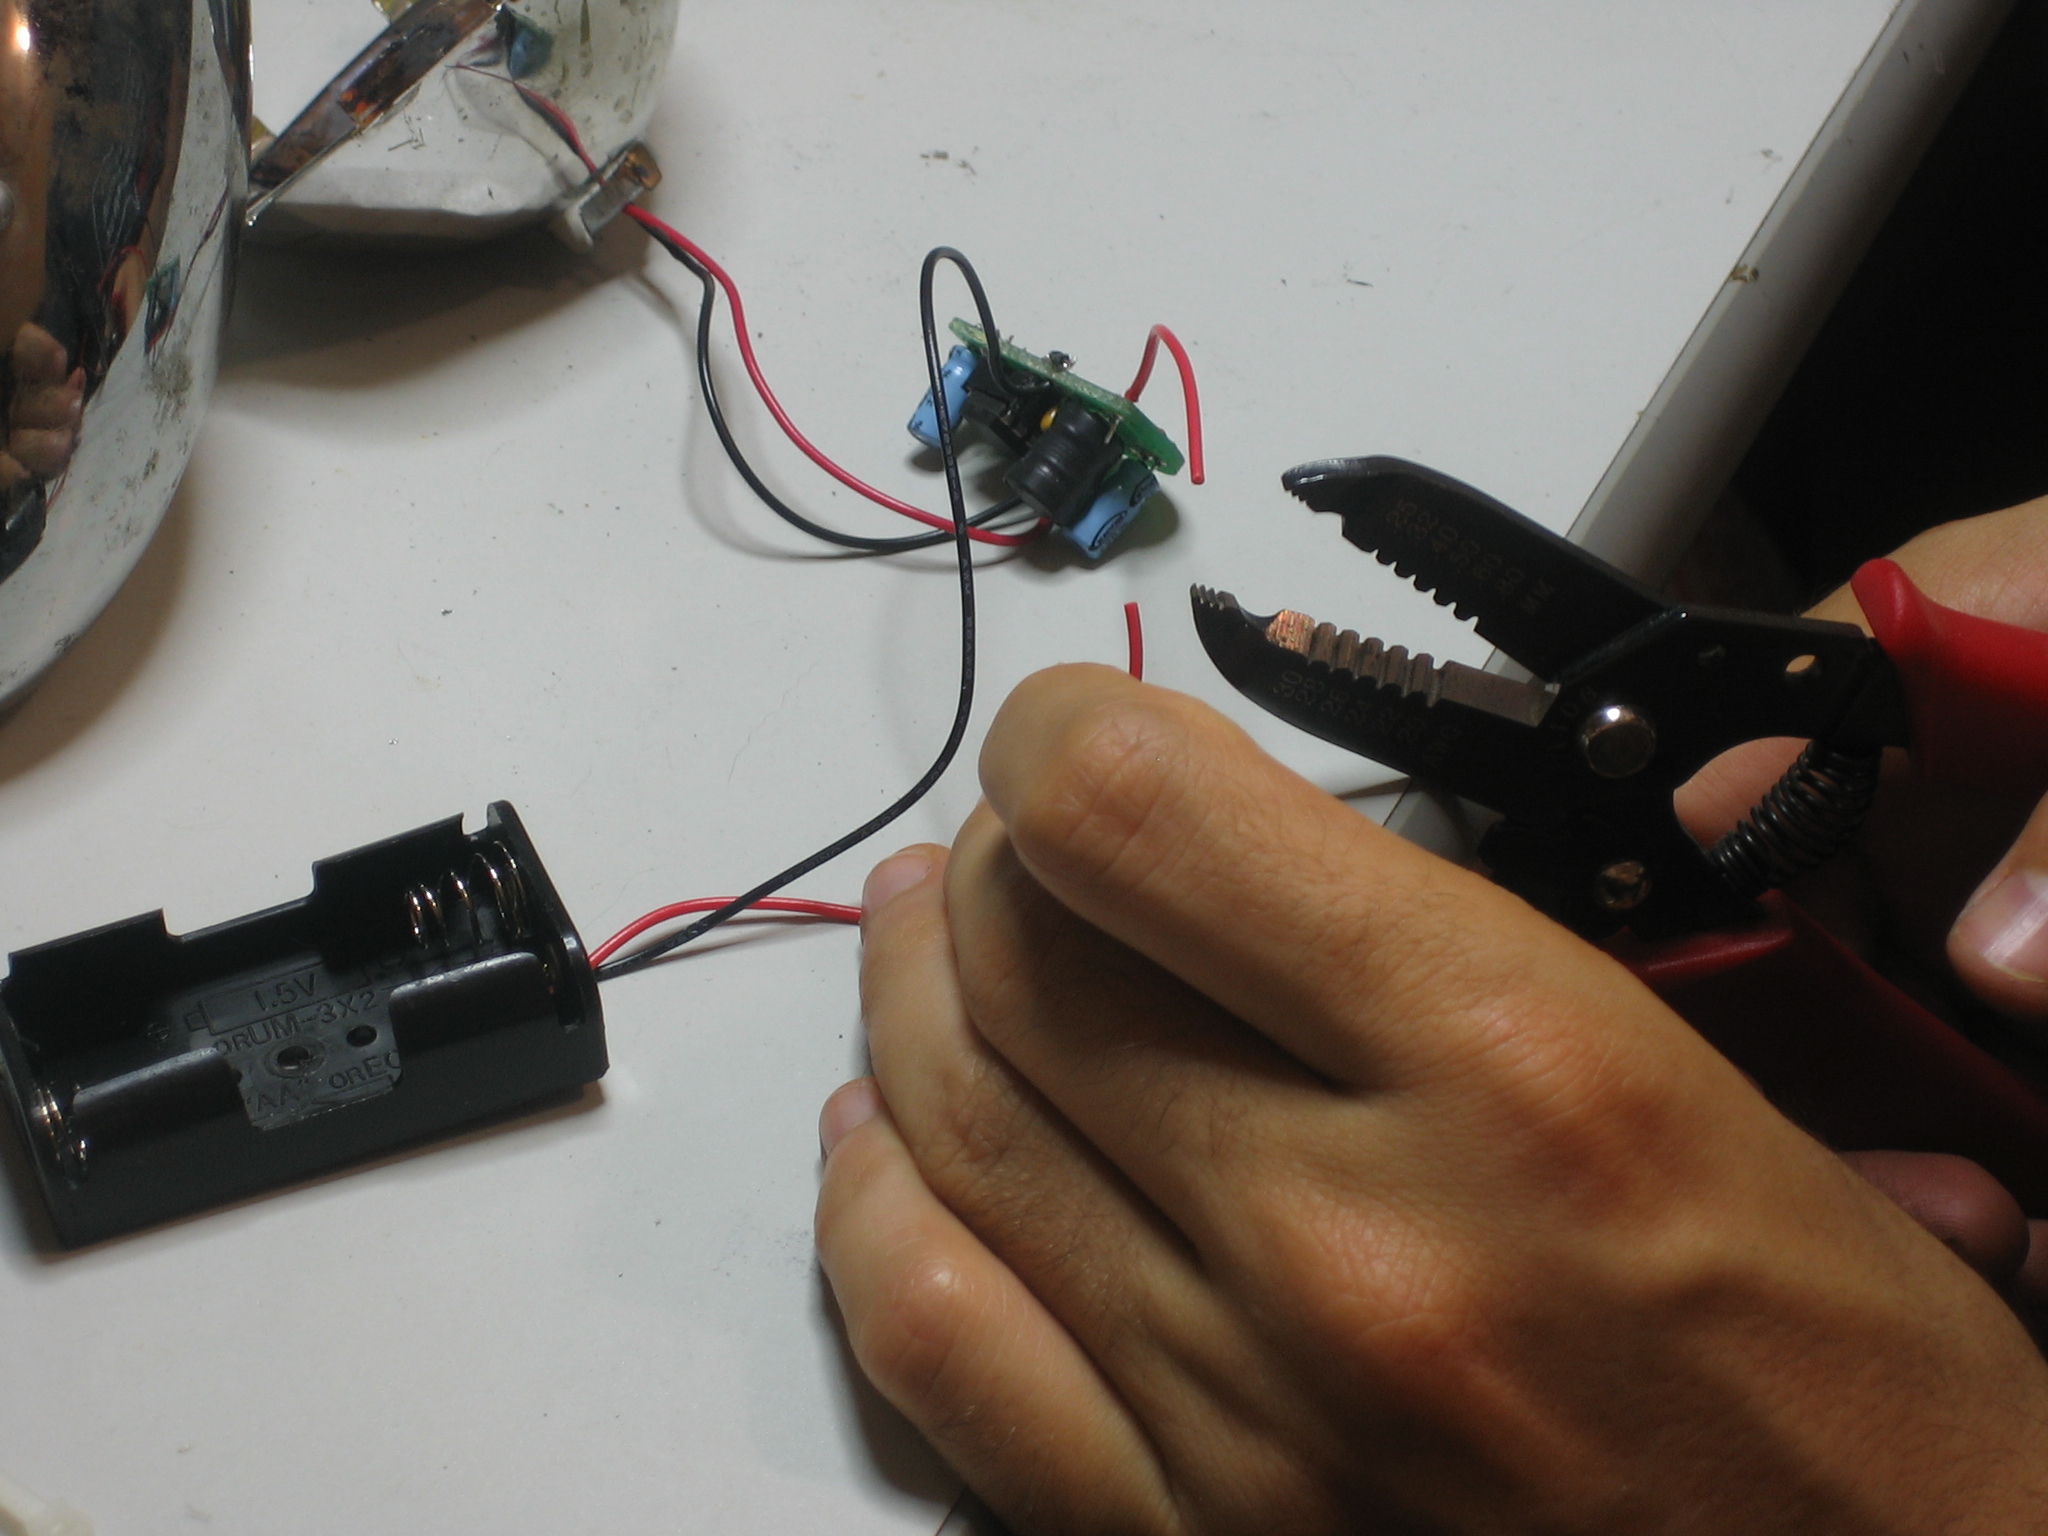
Solder the wires to the switch, use heatshrink if you've got it.
Finish the switch by adding all the other hardware and attaching the nut
Now its time to shove everything else in there!
Use zipties to provide strain relief to the switch/battery and LED wires.
Put foam tape on the bottom of the PCB to protect it and wrap it in electrical (or in this case packing) tape. Protect the ends of the battery pack too!
Close it up, and you're done!