
Here is a 'generic' step-by-step to getting an AVR development platform going on your computer using the free AVR toolchain (avr-gcc, avr-libc and avrdude) Pretty much every project uses this toolset so its a good way to get going.
Every Linux/Unix distribution is slightly different. This particular example is for Ubuntu but should be easily adaptable to your OS.
I use the photos from the old Mac OS X setup but dont let that confuse you.
You can also try this nifty python script, which does it all for you. However, I havent tried it and your mileage may vary.
Please note! This is a very generic tutorial which will work on any Unix type OS. Its long and tedious and will get you the bleeding-edge development environment for advanced hackers. If you have a modern PC with, say, Ubuntu, you can probably get ready made packages for all this stuff! Check your distribution's package library for avr-gcc and avrdude!
Comments? Suggestions? Post to the forum!
99% of Unix distros have /usr/local/bin in the default $PATH. But if it isn't then you can use this technique to add it.
Open up a Terminal or xterm program, you'll be using this to do most of this stuff. In Ubuntu its under "Applications"
In the new Terminal window, type in echo $SHELL and press return
If the output is /bin/bash then type the following command:
echo 'PATH=$PATH:/usr/local/bin' >> ~/.bash_profile
all on one line. Press return.
If the output is /bin/csh or /bin/tcsh then type the following command:
echo 'set path = ($path /usr/local/bin)' >> ~/.cshrc
all on one line. Press return.
Close any Terminal windows and open up a new one. This makes sure the .bash_profile or .cshrc is reloaded. Now type in echo $PATH (for bash) or echo $path (for t/csh) you should get something like the following:
The important thing is that somewhere in the line of text you see /usr/local/bin
These instructions are just a mirror of the ones here
Step 1. Download and install the developer tools
You'll need the following packages: flex, byacc, bison, gcc, libusb and libusb-dev (for USB avr programmers)
In Ubuntu, you can just use the package manager or use the command apt-get install flex byacc bison gcc libusb libusb-dev
gcc is probably already installed, but just in case, get the latest version. Libusb may be in a "universal" repository. If you're not using a usb programmer (such as a AVRISP mk ii or a usbtiny) then its ok if you dont have libusb installed. Otherwise you may have to modify your repository list to include the "universal" repositories. Check out your distro's documentation on how to do this.
For some unfathomable reason, Ubuntu does not include essential headers for libc development so also apt-get install libc6-dev
Step 2. Download & install binutils (an essential utility for the C compiler)
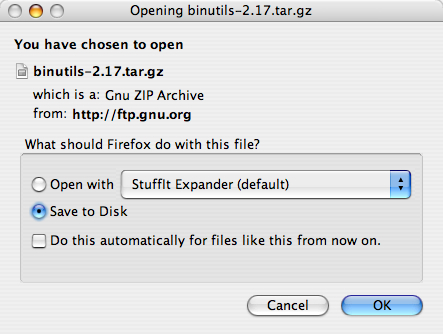
Download the current release of binutils from : http://www.gnu.org/software/binutils/ (you can also go straight to the download site here) For these examples, we'll be using binutils-2.17.tar.gz but you should use whatever is most recent. Save it into your home directory, not the desktop.
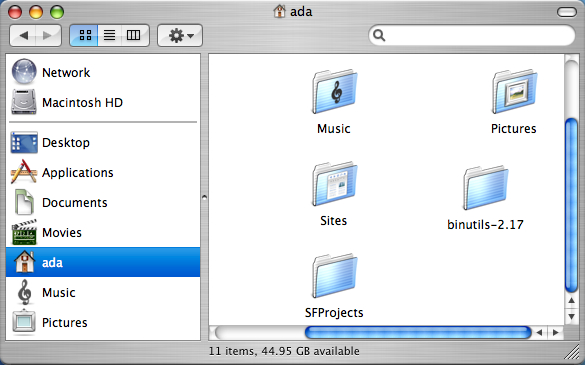
Decompress the downloaded file and double click on it to decompress it (Ubuntu has a decompressor built in). You should now have a folder called binutils-2.17 which you should drag into your Home directory (or Desktop)
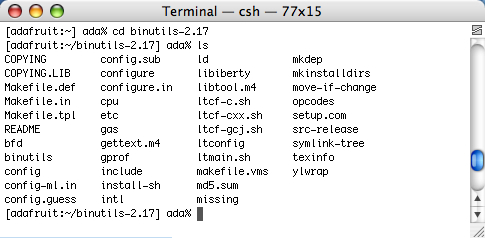
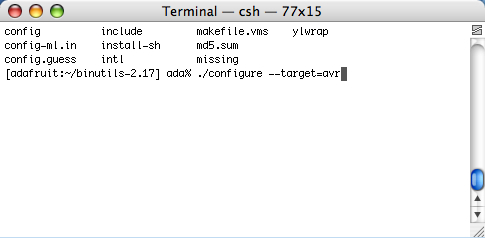
Open up a Terminal window and navigate to the binutils directory. Type: cd binutils-2.17 <return> (or whatever you downloaded) then type in ls to verify everythings there
Configure binutils for AVR. type: ./configure --target=avr --program-prefix="avr-" <return>
this will start a long process that will spit out a lot of text.
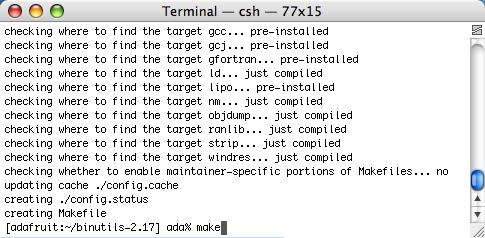
Once its done, compile binutils. type: make <return>
this will start an even longer compilation process
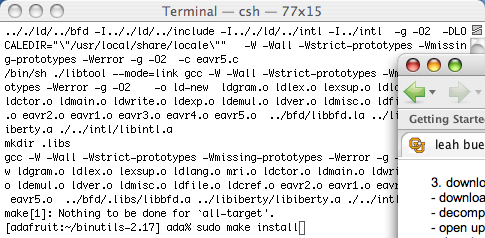
Once that's done, install binutils. type: sudo make install
You will be prompted to enter your password. Only administrators can install software thats why the password is necessary.
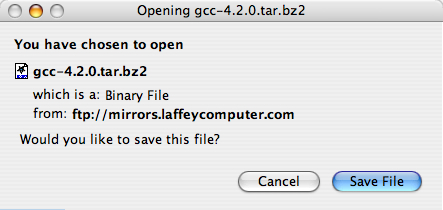
Step 3. Download & install gcc (the C compiler)
First, download the current release of gcc from: http://gcc.gnu.org/mirrors.html currently thats gcc 4.2.0 (some people argue for the 3.4.x versions that seem to optimize the code to be smaller and faster. But really, whichever you want, just make it recent)
Decompress the downloaded file and put the decompressed folder in your home directory. Open up a new Terminal window in your home directory, type cd gcc-4.2.0 and then ls to verify its all in there.
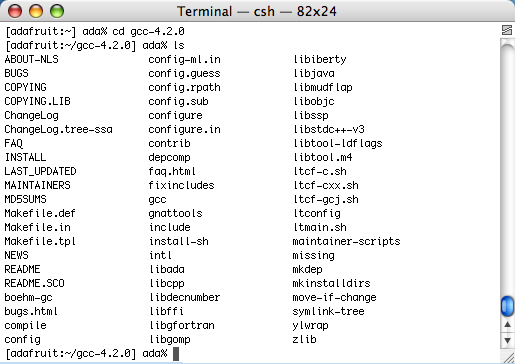
Next, c reate another directory to install gcc into.
type: cd .. <return> to go back into the home directory, then
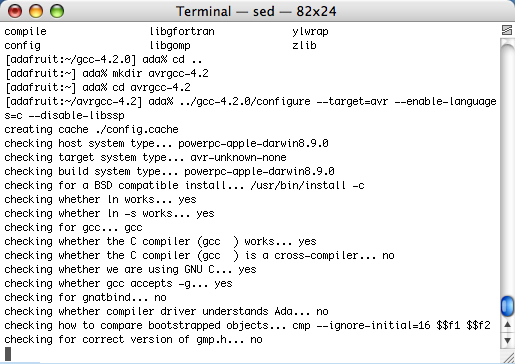
type: mkdir avrgcc-4.2 <return> (substituting your gcc version for the 4.2)
Navigate to the folder you created.
type: cd avrgcc-4.2 <return> (or whatever you named your folder)
Configure gcc for AVR.
Type: ../gcc-4.2.0/configure --target=avr --enable-languages=c --disable-libssp
(substituting the name of the folder you decompressed for the gcc-4.2.0)
**thanks to Seth Raphael for the --disable-libssp tip
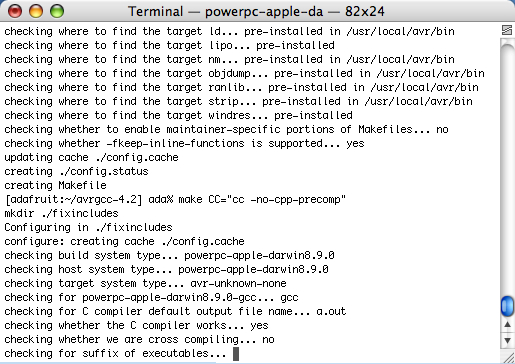
Once the configuration is done, compile gcc.
type: make CC="cc --no-cpp-precomp" <return>
Note: It seems like the --no-cpp-precomp may not be a good idea, if you are having problems maybe leave it off?
This will take a long time so go have a sandwich
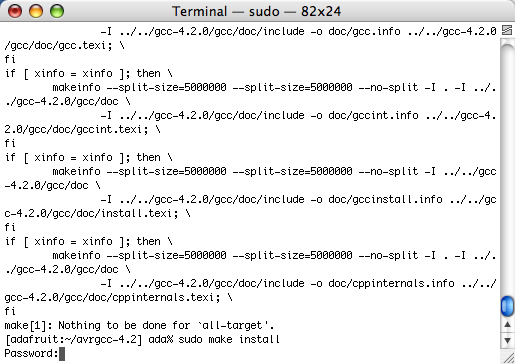
When its done and you've washed your plate and silverware, install gcc. type: sudo make install <return>
and enter your password when prompted
Step 4. Download and install avr-libc (an essential C library for AVR chips)
Download the current release of avr-libc from : http://savannah.nongnu.org/projects/avr-libc/
Decompress the downloaded file and put the decompressed folder in your home directory
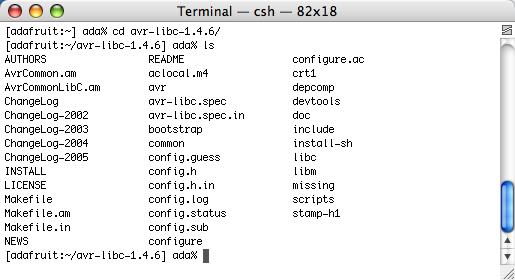
In a new Terminal window, navigagte to the avr-libc directory. from your home directory
type: cd avr-libc-1.4.6 <return> (or whatever you downloaded)
Configure avr-libc. type: ./configure --host=avr <return>
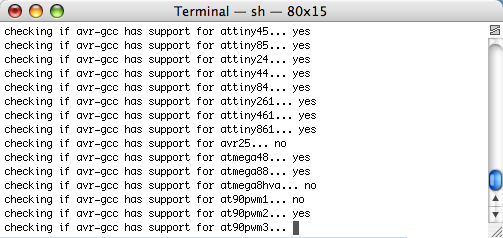
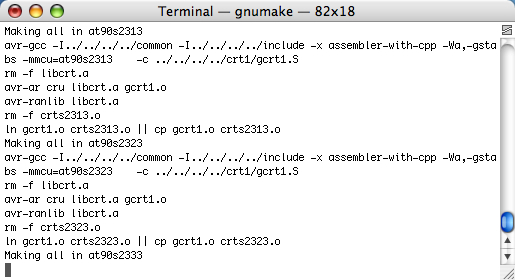
Compile avr-libc. type: make
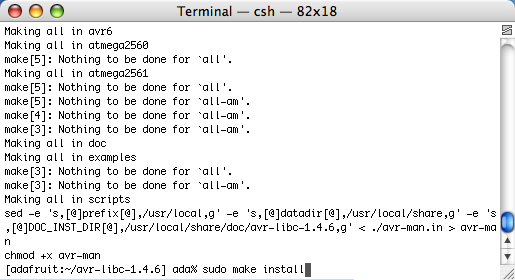
Install avr-libc. type: sudo make install
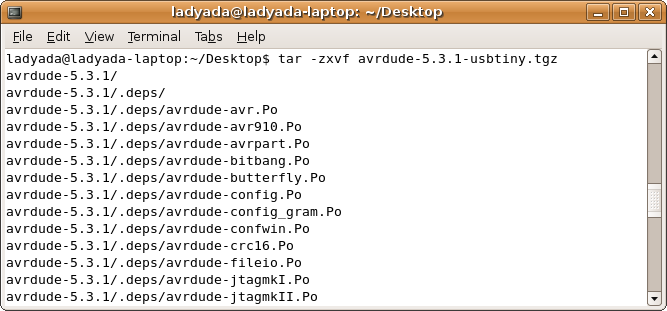
Step 5. Download and install avrdude (the software that loads programs from your machine onto the chips)
Download the current release of avrdude from (v5.5 or higher): http://download.savannah.gnu.org/releases/avrdude/
Uncompress the sources (this screenshot says "usbtiny" but just ignore that)
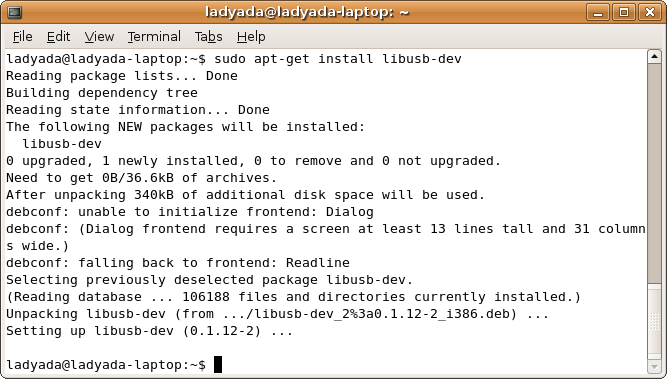
Make sure you have libusb and libusb-dev installed! Type in sudo apt-get install libusb libusb-dev
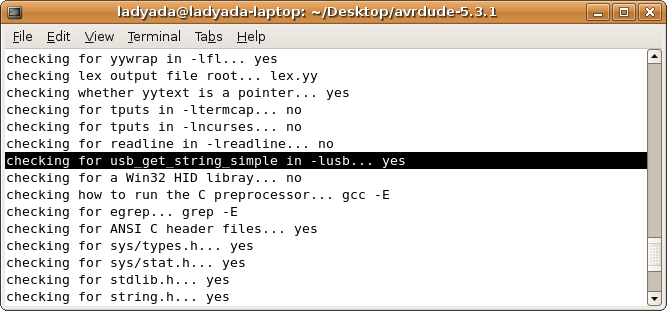
Type in ./configure

Look for this in the output checking for usb_get_string_simple in -lusb... yes if you don't see that (or it says no) check again, make sure libusb and libusb-dev are installed!
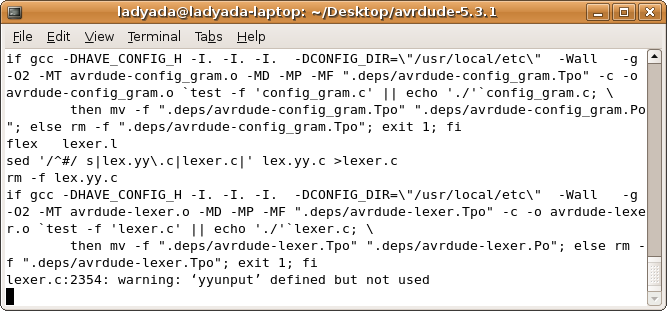
OK now type in make
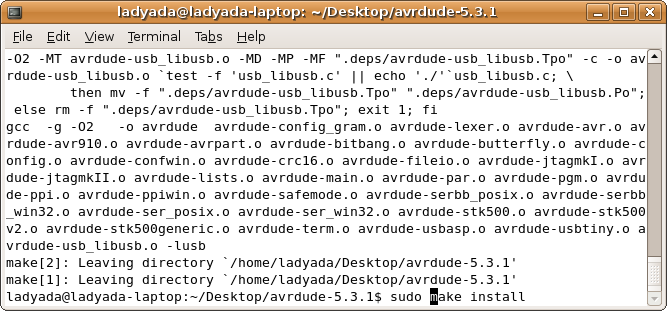
Next, its time to install, type in sudo make install
For some unknown reason, to talk to the USB devices, you must be sudo'd. Here is me testing a USB programmer (usbtinyisp) with it attached to a attiny2313 target board.
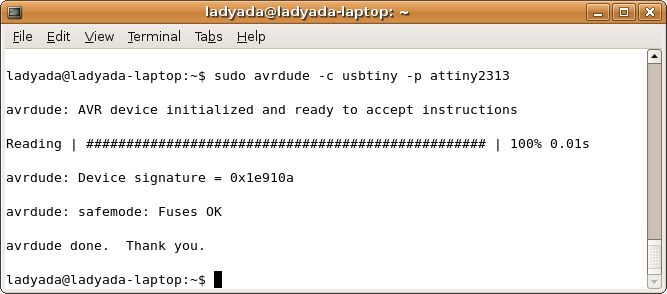
If you don't have a target attached you'll get Initialization failed: rc = -1 which means that the programmer is working but it could not find a chip to program!
Yay all the software is installed!
Can't get it working? Dont worry, help is available in the forums!