Download PonyProg2000 and install it on your computer.
The first time you run it you'll have to perform a Calibration. (its under the Setup menu)
Pretty easy, just follow the instructions
Next, run "Interface setup...", its under the Setup menu
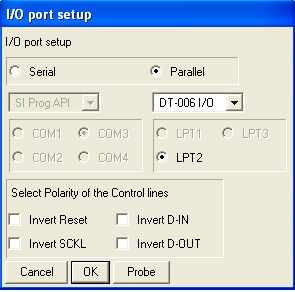
If you're using a parallel port interface as described in the PPI instructions, or if you are using a simple July 18, 2007 2:09
Next, select the AVR Micro and Auto Detect from the menubar:

Now, connect the digg button to the computer's parallel port and make sure the battery is inserted. Now click on the Read Device button (its the one all the way to the left) or go to the Command menu and select Read All
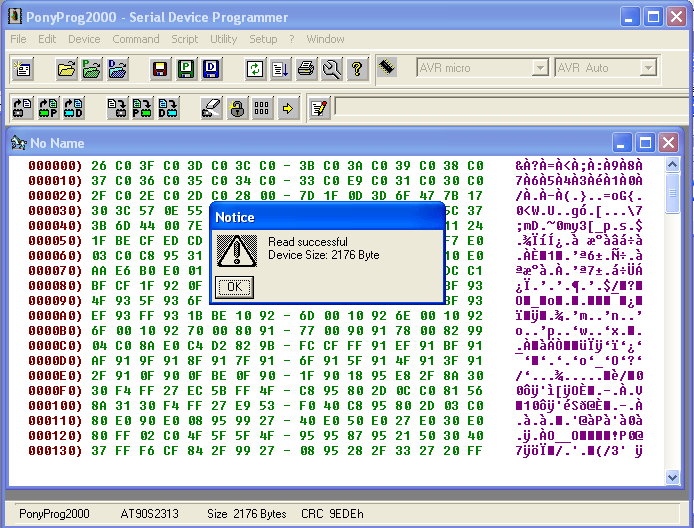
You should get an OK
Now you can look at the internal memory of the chip, which contains both a program and its data. First thing we might notice is the following:
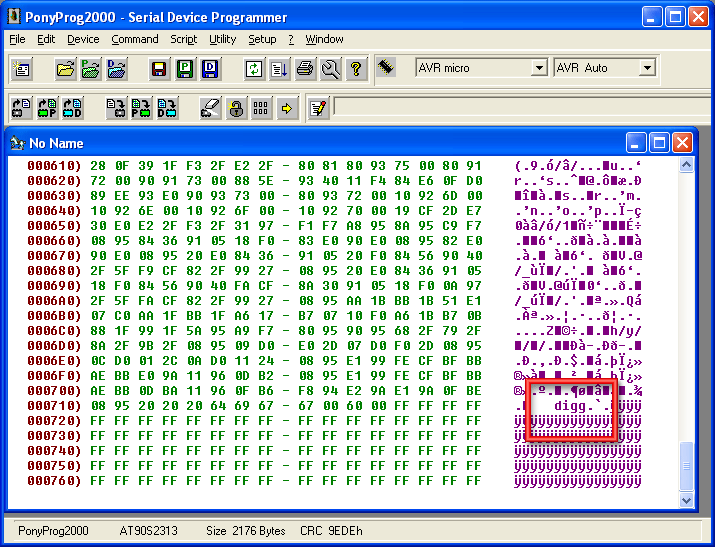
That's the string of characters that scrolls around when you do the "Scrolling text" mod
Next, go all the way to the end, you'll notice the data is in a different color now, thats because its the EEPROM data, not Flash data. EEPROM data is sort of like the 'disk drive storage' of the chip where as Flash is where the program (in software we'd say "application") is stored. The 0xFF (Hexidecimal for 255) are blank space.
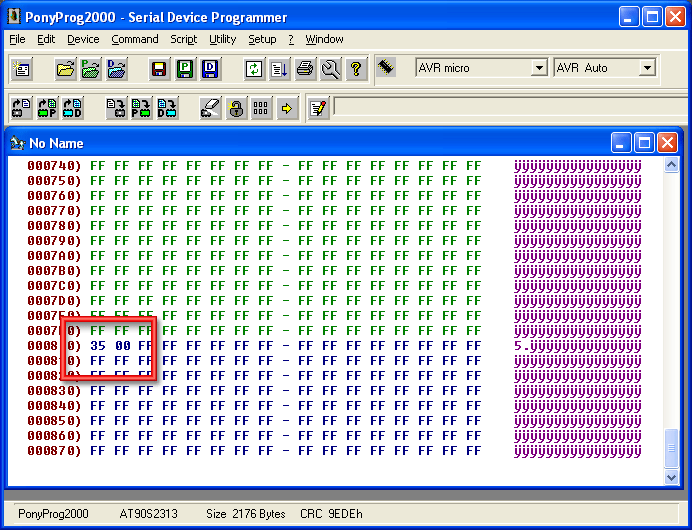
There's one spot in the very beginning thats not just 0xFF. Thats where the button stores the current number of Diggs. (Of course it will likely be a different number depending on how many Diggs you have stored) The 35 is in hexadecimal (base 16). You can use windows calculator or a hexadecimal calculator to convert it to decimal.
In this case 0x35 is 53 in decimal.
Now its time to edit the buffer, select Edit Buffer enabled from the Edit menu, so that its checked:
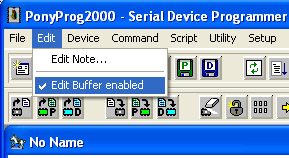
Now click on the EEPROM number, so that the Edit Buffer dialog comes up. It'll show the value in Hex, Decimal and Character.
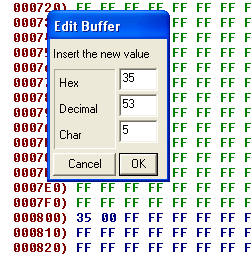
Now change the decimal to 200
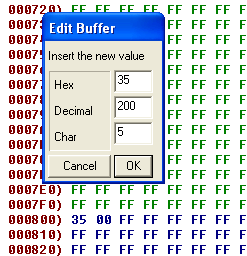
And click OK. The buffer should now display 0xC8 which is hex for 200.
Next, its time to write our changes back to the chip. Select Write Data (EEPROM) from the Command menu
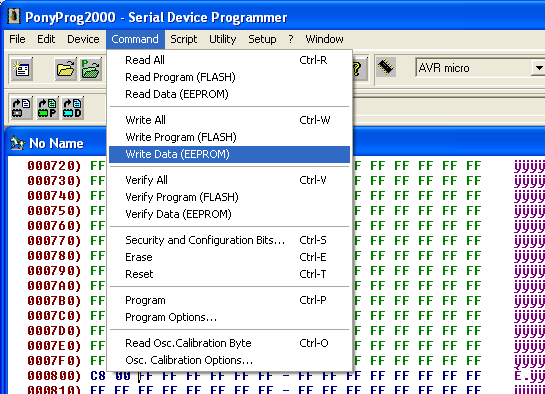
And click "OK" when it asks if you're sure.
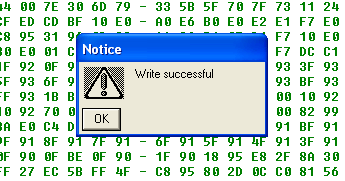
Now when you turn on the Digg button, it will have 200 diggs! Congrats, you've hacked your first hardware.
Next is hacking the flash program. We'll do a simple one to start. Go back to where you saw the "digg" text in the flash (it may be in a different address location as shown here because the software you have may be newer
Click on the first "d" of "digg" in the right hand column to bring up the string editor dialog
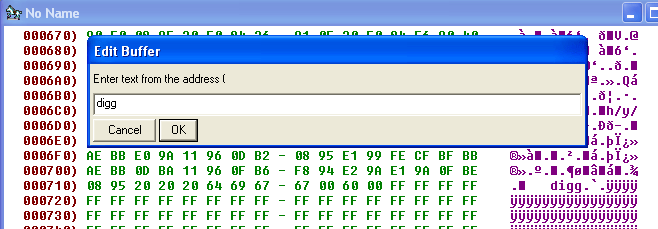
Now change the text, make sure you make it a four letter word because there's some data after it (0x60 0x00) and its not clear what that was
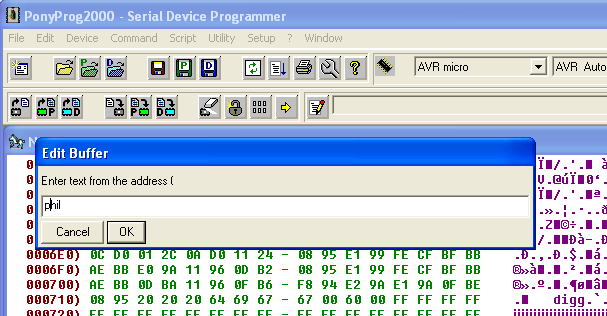
Ok now select Write Program (FLASH) from the Command menu
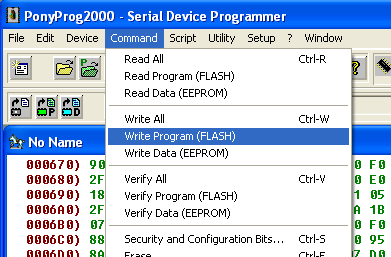
Your digg button will now display the new message when you perform the "scrolling message" mod
