OK finally we get to the part thats interesting, where you can log GPS data (and possibly other sensor data as well) to a memory card.
We've updated our code to make it easier for people with modern arduinos (Atmega328 and higher) to use the shield with the latest IDE.
Just what it says, this tutorial now only supports using the Atmega328. Its been a few years so upgrade if you still have a '168!
You'll need a SD card formatted in FAT16 or FAT32, most SD cards are formatted correctly 'out of the box'. You can see the formatting tutorial over at the Wave Shield page
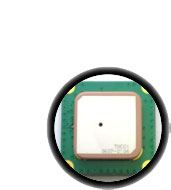
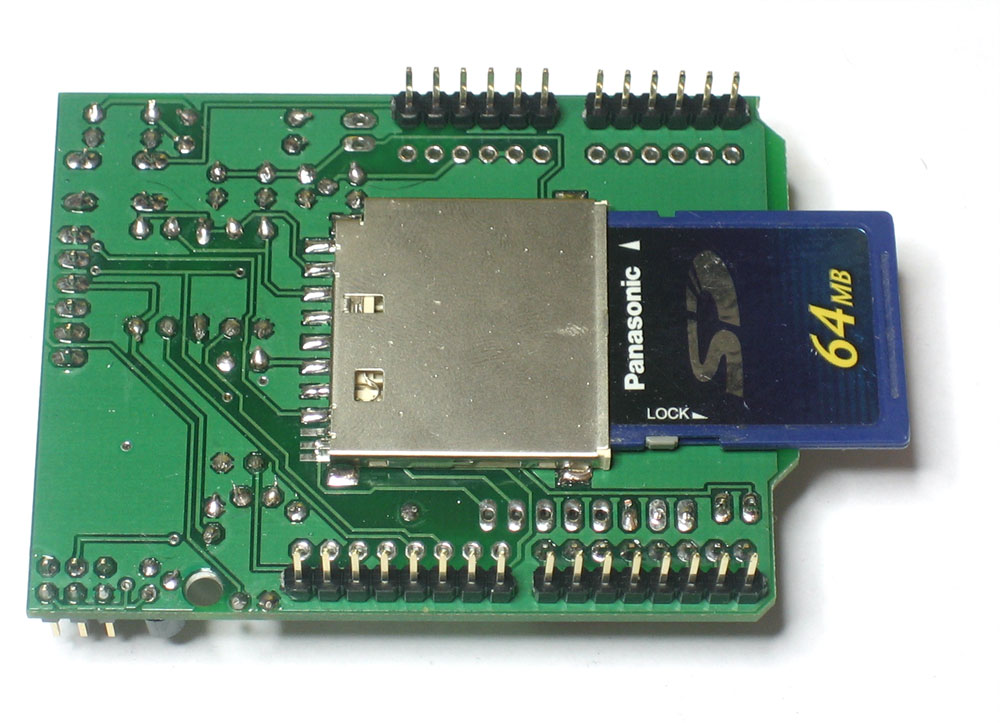
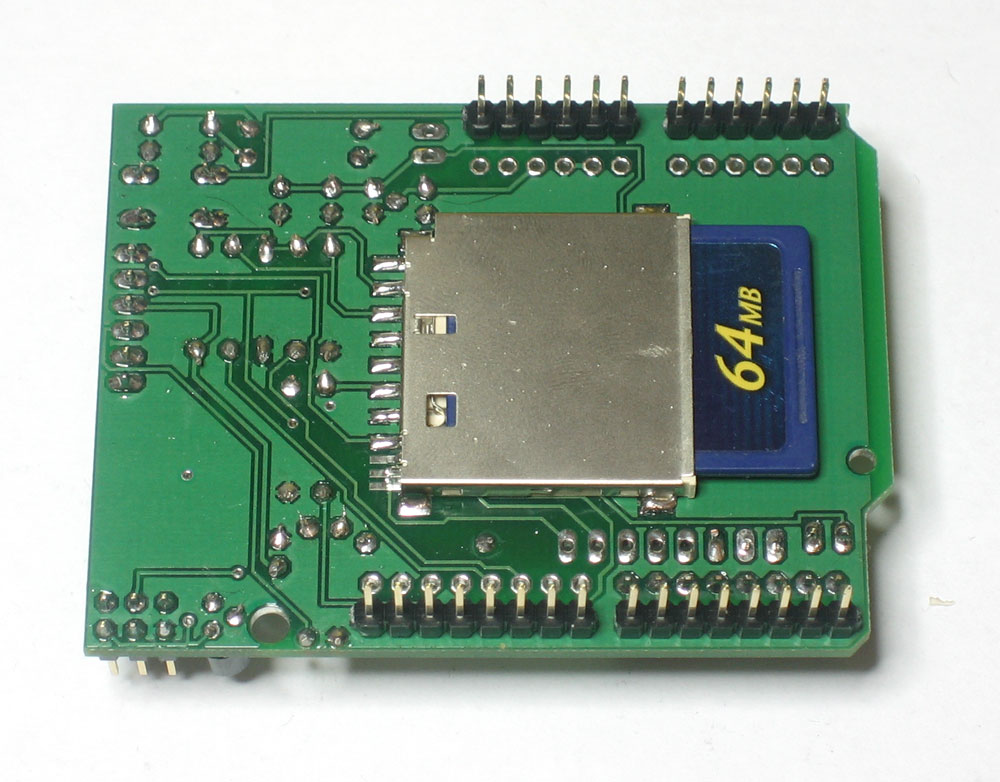
Unplug the Arduino, remove the GPS module (for now) and insert the SD card into the holder on the underside of the shield.
If you are using a Mega (1280 or 2560) you will have to tweak the SD card library to allow to use the same pins as the Uno. To do this, open up the Sd2Card.h file in the ArduinoIDE/libraries/SD/utility folder (you'll have to explore the Arduino IDE directory/App to find it) and then change the #define MEGA_SOFT_SPI 0 to 1

Plug the shield into the Mega using the same pin numbers you would use on the Uno, starting at A5 on one side and D0 on the other side.
Move the GPS Rx and Tx line jumpers on the shield from pins 2 and 3 directly to pins 50 and 51 respectively on the Mega. Change the sketch to match these numbers.
We will be using the SD library, in the latest Arduino IDE. If you have v21 or higher, it will be built in already! (nice!)
Next download the GPSLogger sketch. If your GPS module talks at something other than 4800, change the sketch with the new baud rate. Upload it to the Arduino and open up the Serial Monitor at 9600 baud.
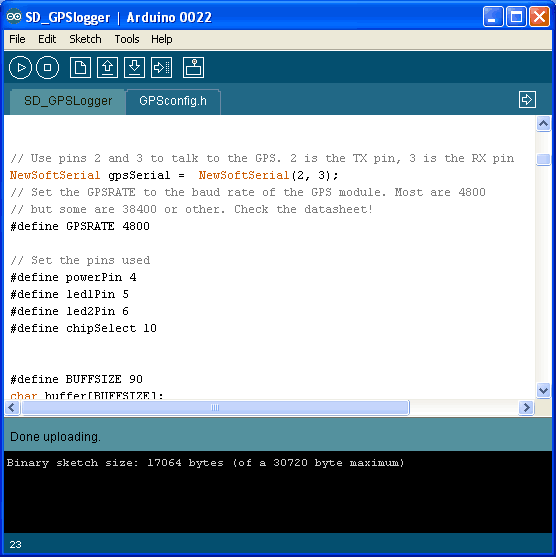

You should see the above. The logger starts up, initializes the SD card and creates a new file called GPSLOG00.TXT. That file will be empty because there is no GPS data, so dont worry about that. The next time it starts the file will be called GPSLOG01.TXT, etc. If the SD card doesnt initialize, check that it is formatted FAT16/32, try another card, etc.
Once you have the SD card working, unplug the Arduino.
We need to updating the wiring for the LEDs. Keep TX connected to pin 2, RX to pin 3 and PWR to pin 4. Then connect the LED1 and LED2 to pin 5 and 6 ( you can change these later)

Connect up the Arduino again and watch the Serial Monitor. This time you will see notification that GPS strings were received and properly written to the card You will need to have a lock from the GPS to get proper location data so stick the Arduino+GPS outside for a bit.

You'll see GPRMC and similar NMEA strings, Then we see a # right afterwards. This is feedback from the Arduino saying that a NMEA string was received, passed the checksum and properly written.
Here are all the characters the logger will print as feedback:
- # - NMEA string received, checksummed and written
- * - NMEA string received, but there was no checksum
- ~ - NMEA string received with checksum, but the checksum didnt match
- ! - NMEA string received but the data was too big for our buffer
- _ - NMEA string received, but the Arduino is programmed to only save data when there is an active fix so it was ignored.
The LEDs will also give indication to whats going on. If the green LED (LED1) is lit, that means that we have a location fix. If the red LED (LED2) is lit, that means data is being written to the SD card.
Once you see the multitudes of LEDs blinking away for a bit and you feel like its time to stop, here is the safest way to turn off the Arduino. Just like you wouldnt want to turn off your computer while its in the middle of writing a document, you shouldnt cut the power to the logger while its writing to the SD card as there is a risk of data corruption. Simply remove the TX jumper when you want to stop logging. Wait till the red LED is not lit and then you can safely remove power.
Now that you have turned off the logger and removed the SD card, place it in your computer's SD card reader and open it with a text file reader (such as WordPad or TextEdit). You will see those familiar NMEA sentences staring back at you!
You can now import this data into programs like Google Earth. Some programs require special formatted data (which is quite annoying) and since this is such a problem, there is a website devoted just to solving this problem calle GPSvisualizer. Lets go thru how to convert NMEA data to Google Earth since thats very popular. (You can also convert to other formats.)
The defaults are pretty good. I like uncompressed kml data but it doesnt really matter.
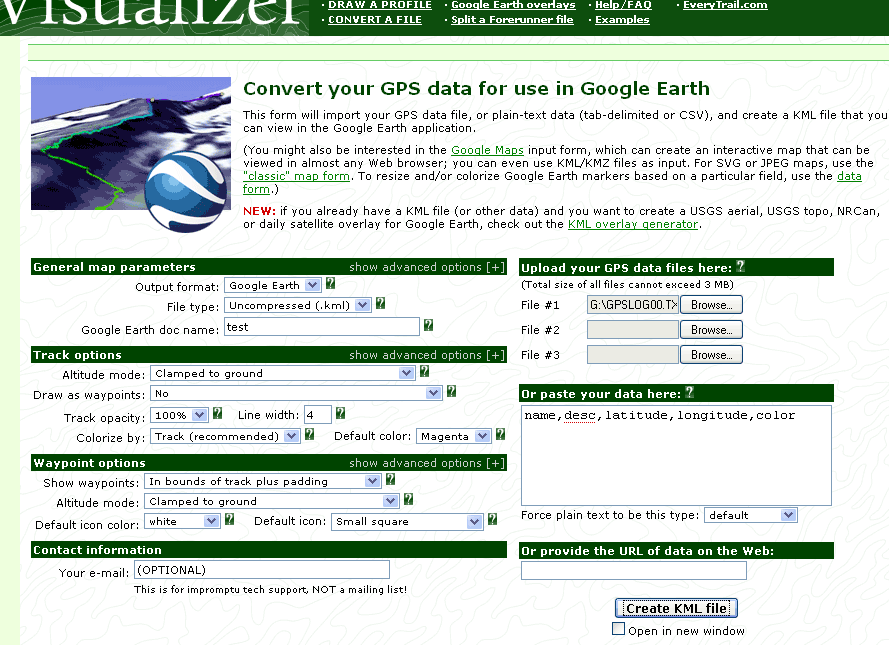
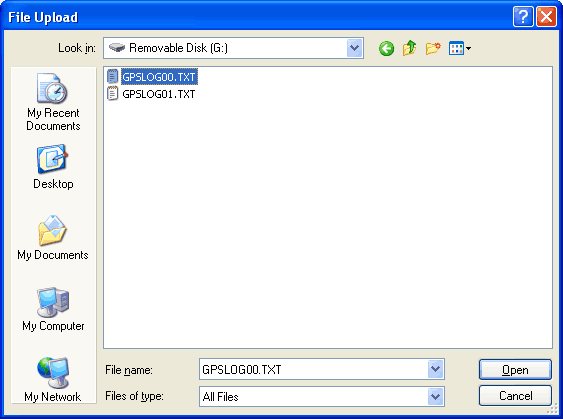
Under Upload your GPS data here you should Browse... and select the GPSLOGxx.TXT you'd like to convert,
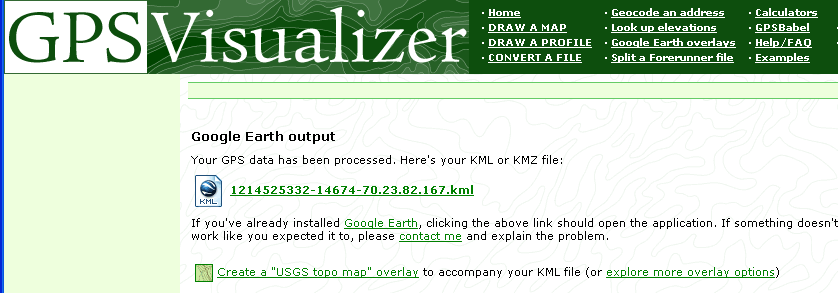
Click Create KML File and then you can download the KML file directly into Google Earth for viewing
There are a few small things you can do to customize the GPS logger. You can turn on and off specific NMEA sentences. For example
#define LOG_GSA 0 // satellite data
A value of 0 indicates that we do not want the GPS to emit satellite data. This saves memory card space and reduces power consumption. To turn on $GPGSA data, simply set it to 1:
#define LOG_GSA 1 // satellite data
You can also set it to only log data when we have a location fix (0 means log everything, 1 means only log during fix)
#define LOG_RMC_FIXONLY 0 // log only when we get RMC's with fix?
You can turn WAAS on or off. This is an addition to North America where GPS can use ground stations to get up to 3-meter radius precision. Set it to 0 to turn off.
#define USE_WAAS 1 // useful in US, but slower fix
You can also save a bunch of power by putting the Arduino and the GPS module to sleep. This doesn’t make much sense if you need to log data once a second, which is the default. But if, say, you don’t mind only grabbing data once every 10 seconds or minute, it can reduce power consumption a lot!
To enable Arduino and GPS sleep, you have to set TURNOFFGPS to 1
#define TURNOFFGPS 1 // enable sleep
The SLEEPDELAY constant says how long the Arduino and the GPS should sleep (do nothing, using no power) between reads. Setting this to 0 means it never goes to sleep (even if TURNOFFGPS is 1). 10 means sleep for 10 seconds. You can use any number up to 65535 seconds (about 18 hours). The system will not go to sleep -until- there is a valid fix sentence.
#define SLEEPDELAY 0 // how long to sleep before reading another NMEA sentence
You pretty much have to use LOG_RMC_FIXONLY when you enable sleep, because the first 5 seconds after the GPS turns on is 'warm start' and you'll get about 5 no-fix data points before a fix is acquired. Sleep is an advanced feature and may require some experimentation on your part to get exactly what you want.
One other annoying thing about NMEA is that theres no real standard for embedding sensor information into the data. So I wrote another sketch that will log RMC sentences, split them up into nice comma-seperated-values (CSV) and also log analog inputs 0, 1 and 2 values. Theres pretty much no more space for doing funky sensor processing on the Arduino but with the raw data, you can easily manipulate it on a computer by opening it up in a spreadsheet or data analysis program.